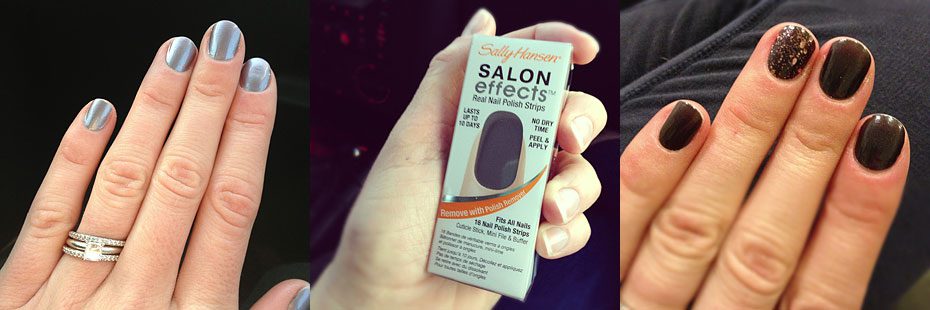
If you guys read my November Tidbits post – you’re aware that my nail polish obsessed self recently has a new nail polish addiction. I’ve been eying Sally Hansen’s Salon Effect Nails for a while – but at the $10 price tag I just wasn’t sure if they were worth it. Then I was heading out to my friend Sarah’s wedding in Ohio with my nails looking miserable and no time for a manicure or to paint them myself… so I finally gave in and picked up a box of Salon Effects. About 30 minutes before leaving for the wedding I decided to give these bad boys a try and one nail in – I was SOLD!

Here are a few reasons I love them…
1. James hates (I mean HATES) the smell of nail polish. Because these are dry from the start – they don’t stink! i.e. I can do my nails wherever I want in the house instead of stuck in the bathroom.
2. I tend to mess up nails because I have no patience for them to dry. But these – THESE ARE DRY FROM THE START! Problem solved.
3. I love dark color polishes – but have an especially difficult time painting my nails dark colors because any little mess up is SUPER obvious. Again – problem solved because these are already the right shape for your nail – no painting prowess needed! 😉
4. Chips. I chip nails quickly it seems… as in – the day I get a manicure. But these? These tend to last for 7-10 days. No joke. The ones I’m currently wearing I’ve had on since the Saturday of Thanksgiving weekend – that was 11 days ago. (These are pale pink and so any cracks or imperfections are even less noticeable than normal… yeah!)
5. These don’t destroy your nails like the no-chip gel manicures! They’re just like regular polish – so they come off with normal polish remover!
Basically – I’ve fallen in love & I’m worried I may never go back to all my regular polish sitting in the box in my room! (Well, maybe I’ll give those a try once off-season is in full swing and I actually have time for painting & drying…) My only real problem with them is that they don’t have more/better colors available. There are literally like 5 solid colors that are reasonable colors (and really only a couple I like enough to buy again)… the rest are a bunch of crazy patterns that I wouldn’t want to put on every single nail (maybe just one for an accent nail). So my hope is they’ll get a clue and come out with some more solid colors and a wider range of colors too. 🙂 We shall see!
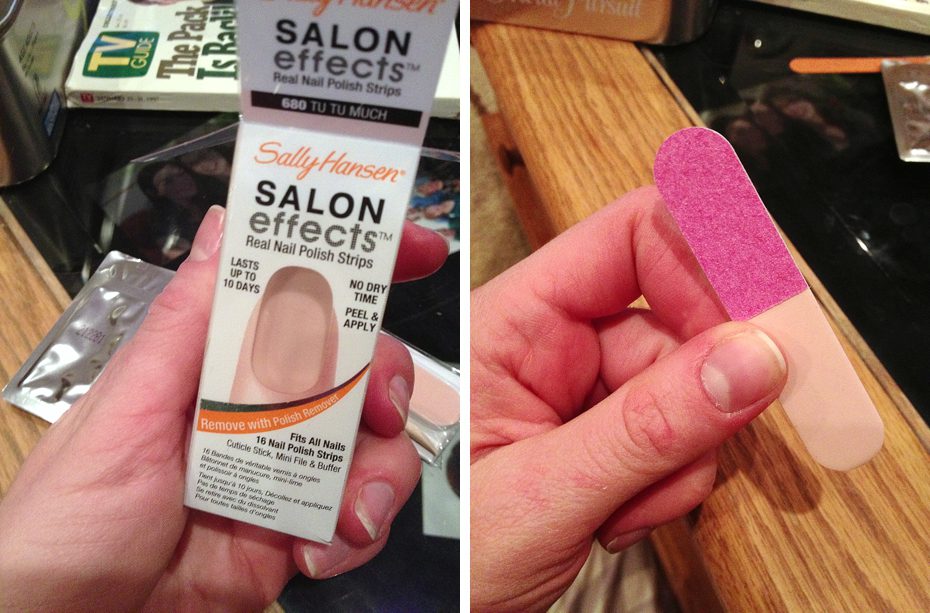
Anyway – as promised – here are some pics of my last Salon Effects manicure from start to finish! (taken with my iPhone… I apologize!)
First you start by filing your nails, and using the included supplies to push your cuticles back & buff the top of your nail so the polish with adhere more easily…

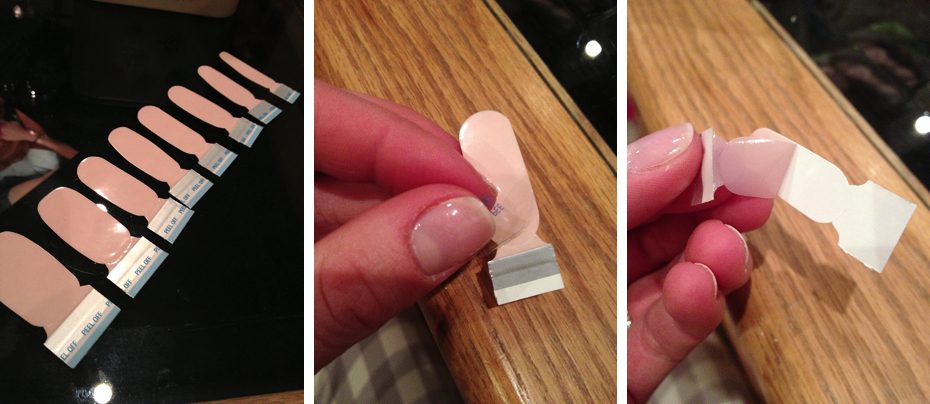
Then you figure out which one will fit on each of your nails… Peel the top clear plastic off… peel the paper off the other side…

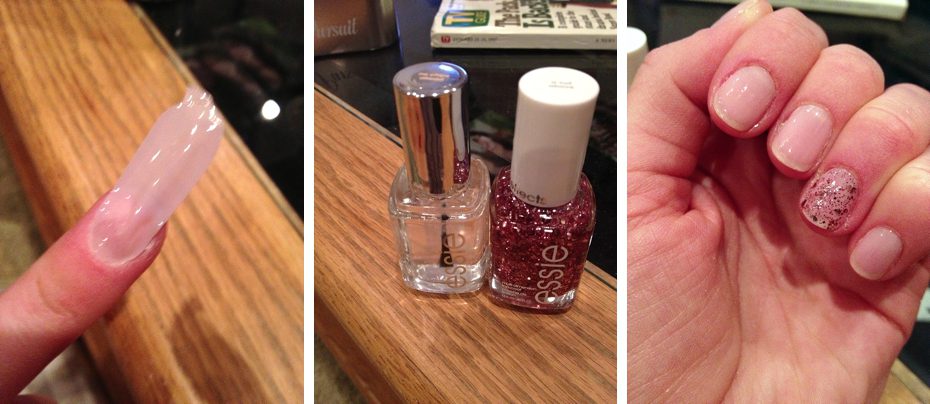
Line it up along the bottom of your nail and pull out and down to create a smooth fit (and some of the excess snaps off), then file along the edge of your nail to make the edge clean. I topped one nail with glitter for fun, and painted a top coat over all the nails. The top coat isn’t necessary – I just hear from others that it makes the polish last even longer…

The end! Enjoy your manicure! (For the record – I prefer the darker colors to this pink (which is more clear than pink really). Here’s to hoping they come out with more/better colors!!)
Stay tuned tomorrow on the blog for an awesome Madison barn wedding!!


