It’s that time of year where I’m in the middle of designing and ordering most of the wedding albums our 2013 clients booked with their packages. It also happens to be booking season with new clients (for 2014 & 2015) so I find myself chatting about albums pretty regularly via email and in meetings with them. Aside from that, I’ve also gotten quite a few emails from other photographers asking how exactly we design and order the heirloom wedding albums our clients purchase through us – so I figured why not share our process here?
Over the years I’ve ironed out our systems for this as we started to book more and more clients who wanted albums with their wedding packages. It took me a bit to find a workflow for this that worked for me – and now that I feel like we’ve got to a well-oiled machine – I wanted to share the process! Hopefully this helps clients to better understand the process and other photographers to get an idea of what works for us – so they can find a system that works for them!
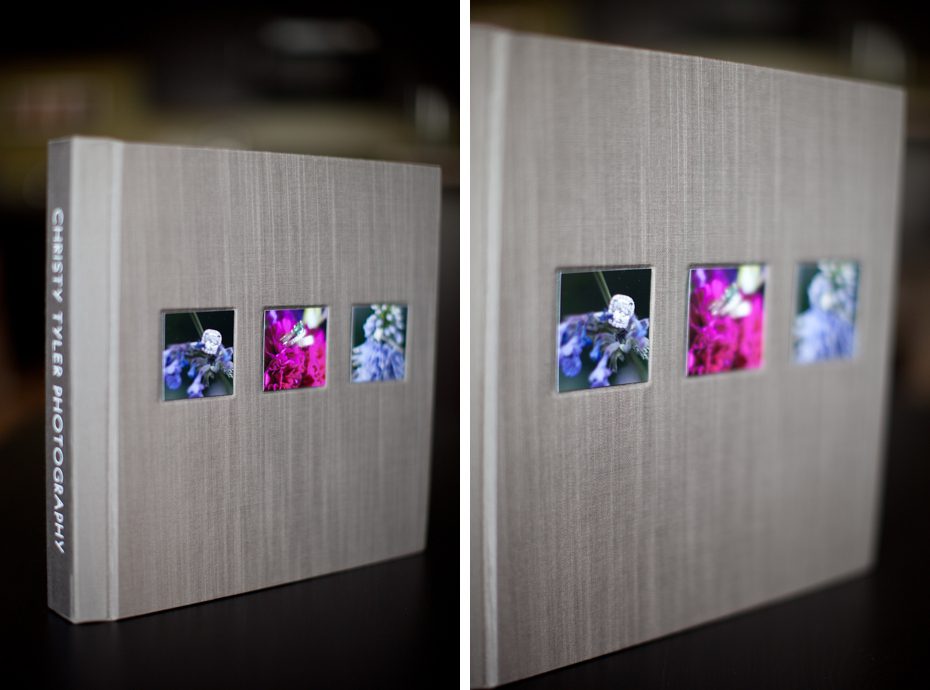
We use Leather Craftsmen (their 3500 flush series) for our all albums because I just love their quality, customer service, and feel that they fit very well with our brand and our clients. I wanted to offer something to our clients that will last for generations – so when their kids, grandkids (and beyond) are leafing through their wedding album – it still looks as beautiful as the day they first looked through it as young newlyweds!
Here’s the process:
1. Clients are allowed the choice to decide what photos go into the album. If they would rather I choose the photos, I’m happy to do that – but I like to offer clients the option to choose the images themselves – because often times the images I love are not necessarily the same images my clients love. The people in certain images may give something special meaning, and so I like to offer them the choice to pick the photos, or have me pick the photos!
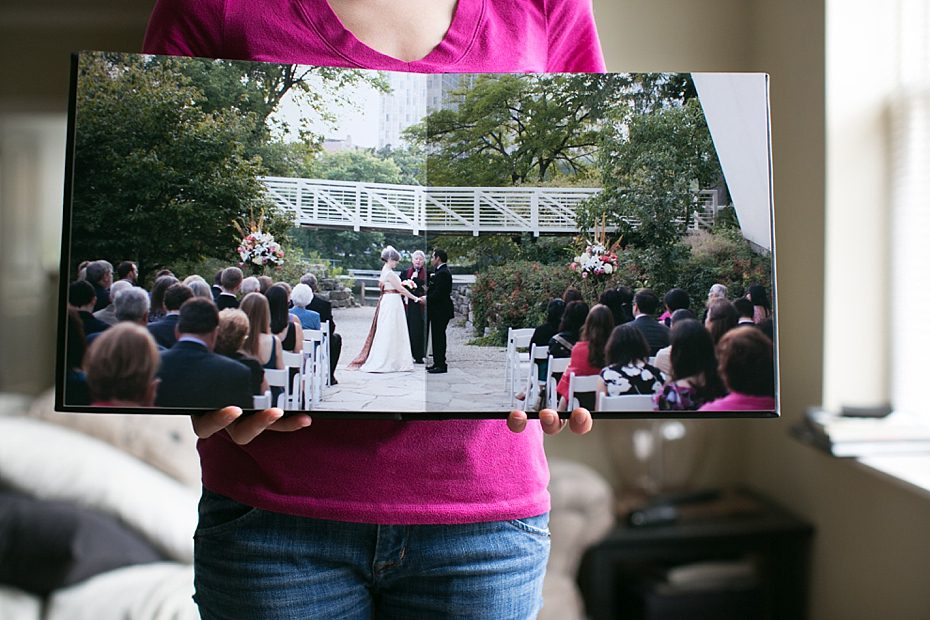
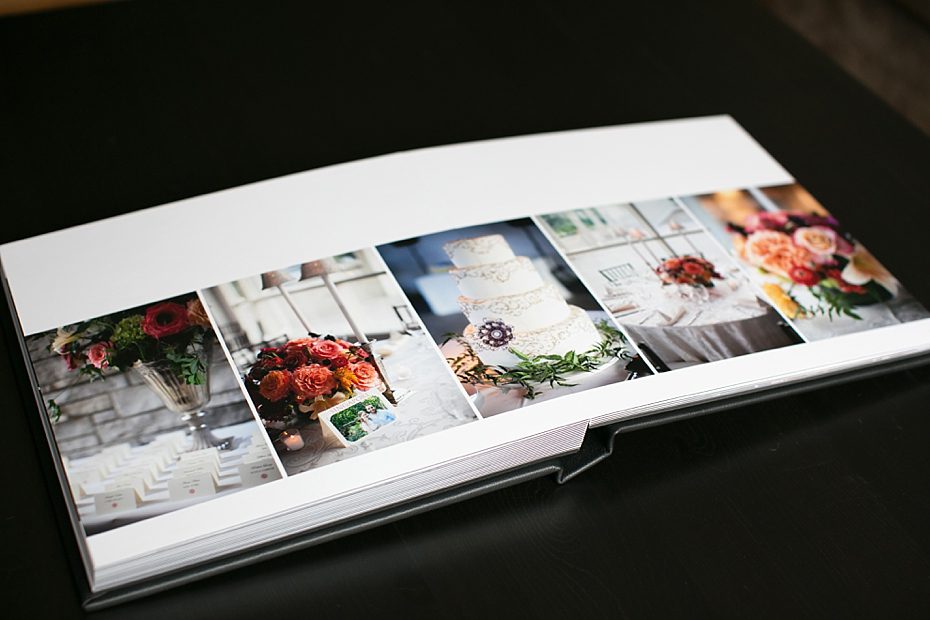
2. Our albums come with 40 pages (20 2-page spreads, as shown above), so I suggest clients choose around 80 images for their album so that the design isn’t too crowded. If they would rather choose more images then I ask if they’d like me to try to fit everything in the 40 pages, or add pages in order to preserve the integrity of the design (and so not to overcrowd images).
3. If the clients choose the images I have them mark them as “Favorites” in the online gallery I delivered to them. That way I can just go in to find their folder of favorites and download the folder right to my computer and start the design process!
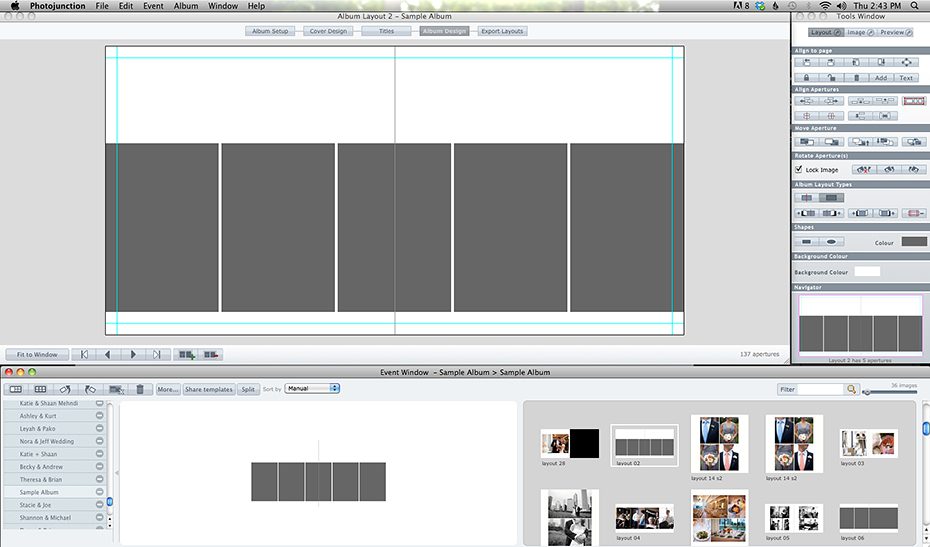
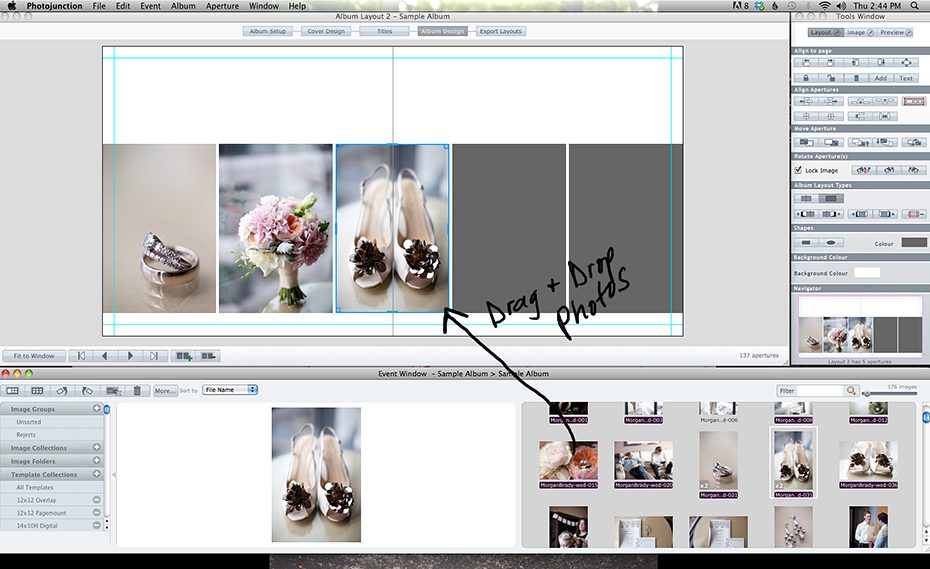
4. I use Photojunction as the design software for my albums. It is free and super easy to use! You’re able to save your own templates from your designs so you can re-use previous spreads that you liked in the past! You can also purchase pre-designed templates if designing them yourself isn’t really your thing. (Side note: I have been looking into switching to Smart Albums, because somehow it looks even faster/easier… but I haven’t made the transition yet. I’ll keep you posted when/if I do!)
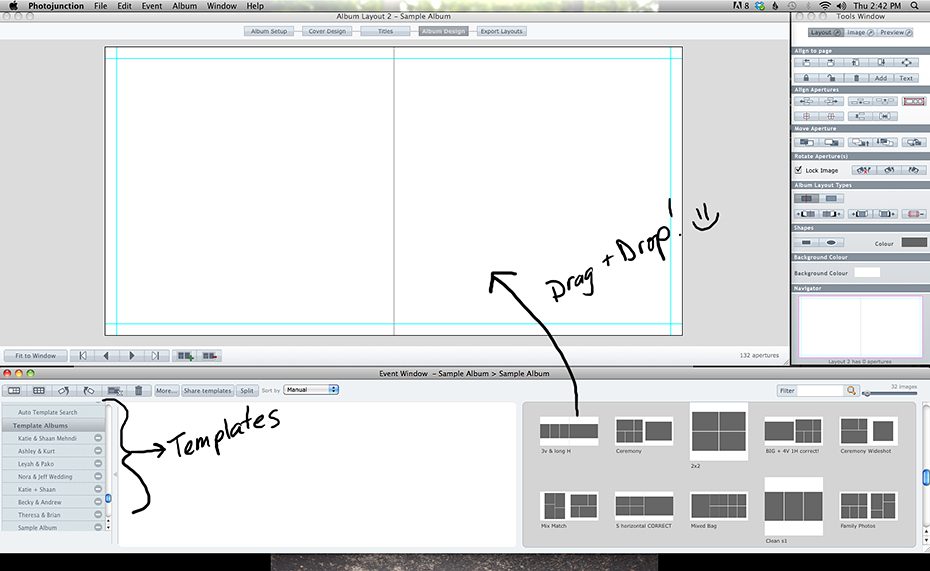
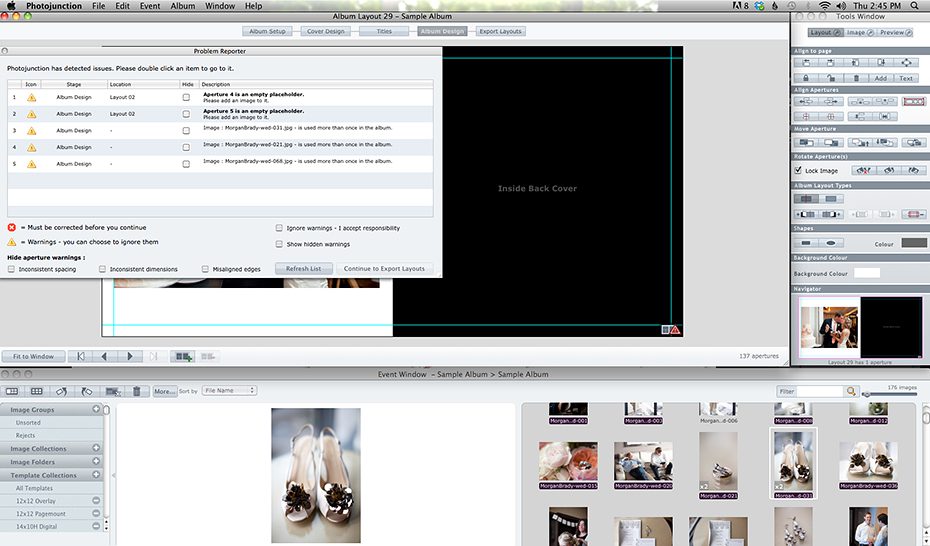
When you go to export the spreads – warnings pop up if anything is amiss…
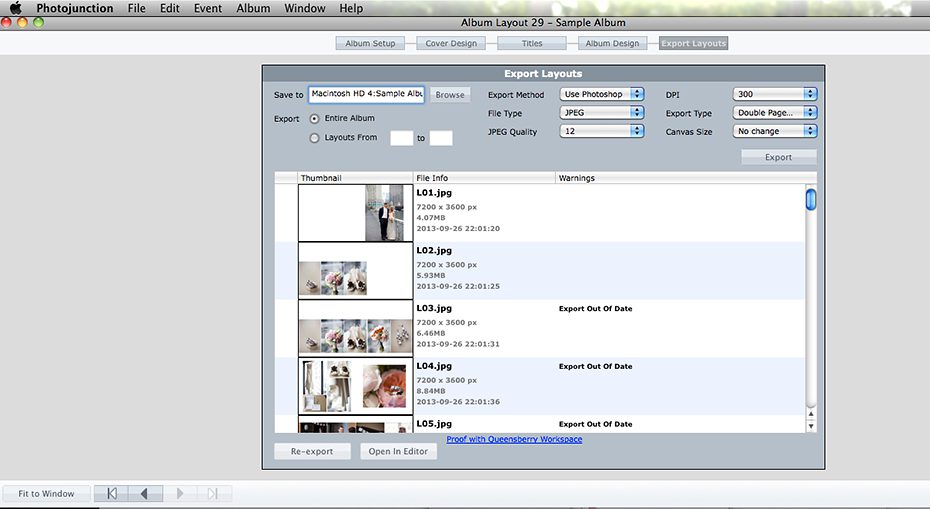
You choose your export settings and you’re on your way!
5. I use Album Exposure for a client proofing site and it is amazing! I just upload my spreads into a new album, choose my preferences for how to show it, and send a link to the clients! They are able to use a password to access the design and comment on each spread if they want any changes made. I get an email when they’ve made requests and I get right to adjusting their design. Once I’ve made the adjustments (back in Photojunction) I export the updated spreads and upload them to Album Exposure. It automatically puts them in place of the old spreads, which is so nice – and then I email my clients to let them know it is ready to be viewed/approved. (Here’s an example of what they look like to clients through Album Exposure: http://albumexposure.com/ChristyTylerPhotography/12×12-sample-album Password: album)
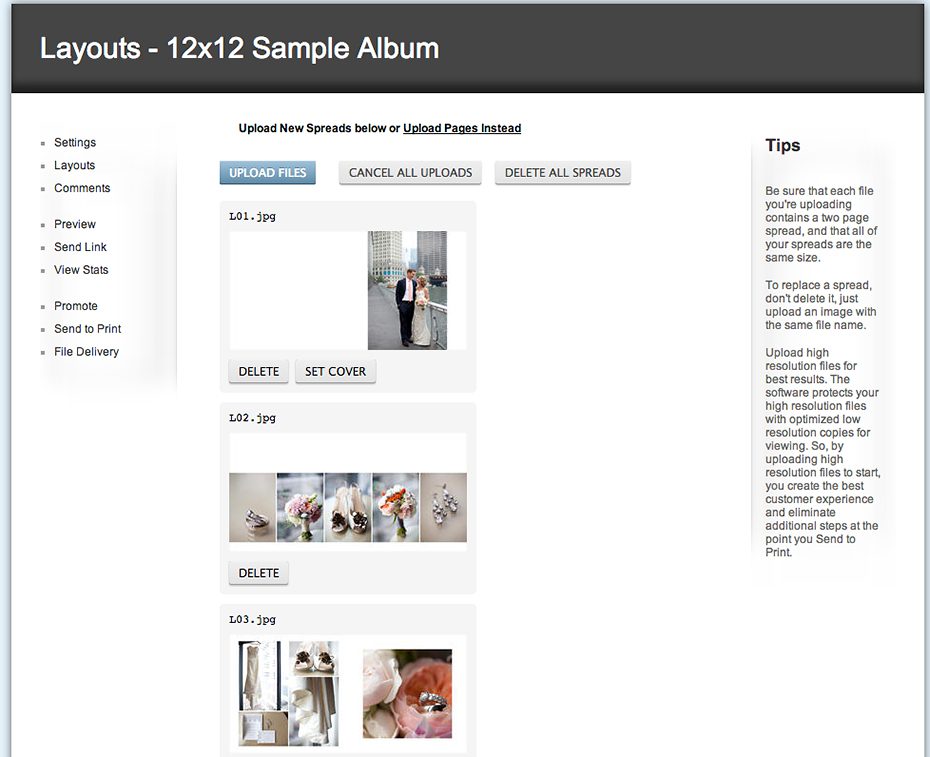
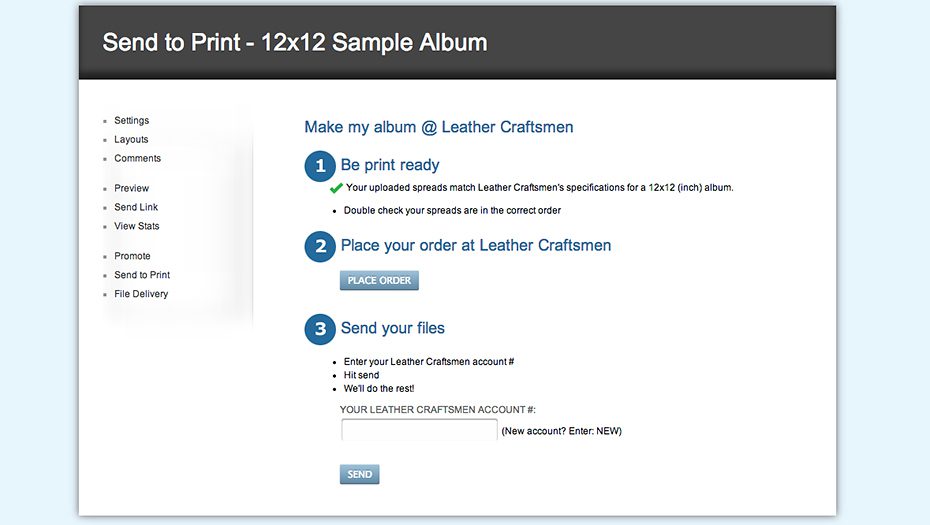
Once the client has approved the design – I just click the “Send to Print” option, choose my album company, fill in the album specifics, and click “Send Photos!” Super easy!
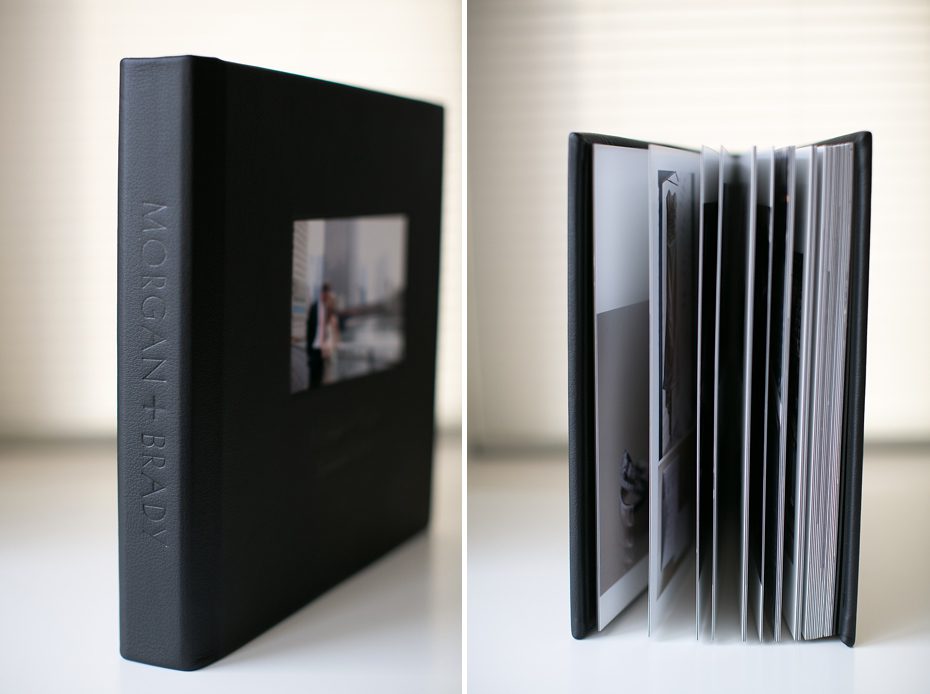
Then in a month or two when the printing, hand mounting, and binding is complete – we receive a beautiful heirloom album in the mail to deliver to our clients! 🙂
Let me know if you have any additional questions! I’m off to work on some more album designs!
Happy weekending everybody! Here’s hoping March brings us some warmer weather! haha! xoxo

