
I’ve had so many questions about how to build a raised garden bed along with tips for planting, growing, and harvesting – that I figured what better time to share all the details with you all!! It is getting close to planting time here in Chicago now that the snow and frost are finally done (we hope!) – so I wanted to share all the details so you can get your own vegetables going this year too!! And what better time to pick up a new hobby and have fresh vegetables accessible right from your own backyard – right?!
First, we’ll talk about how to build your raised garden bed. This part was generally pretty easy – but did require access to a truck to fit the wood in and more importantly – to haul all the soil!! All the blogs I had read for tips when I was researching building a garden never mentioned the soil!! The soil is the most expensive part of this whole thing by far and also the most time consuming to haul from the truck to your garden! A wheel barrow would definitely be helpful, but in our case we just carried them ourselves or used our kids’ wagon to haul! haha.
Here is the list of things I got from Home Depot to build two 4 x 8 feet raised beds:
(1) 3 ft. x 50 ft. WeedBlock Weed Barrier Landscape Fabric with Microfunnels
(12) 5/4 in. x 6 in. x 8 ft. Premium Kiln Dried Cedar Lumber
(5) 36 in. x1-1/4 in. Cedar Square-End Baluster
(50) 1 cu. ft. Garden Soil (25 per bed)
Other things you’ll need that we already had:
Power Drill
2″ Galvanized Screws (we had 2 boxes)
Staple Gun
In total the items for the garden cost me about $390, plus we rented a truck to haul the soil. You could likely just have them deliver everything if they offer it though!
Step 1: Saw the wood to the proper length (or have them do this at Home Depot for you). Each bed needs four 8 feet long cedar pieces, and four 4 feet long cedar pieces. So you can leave 4 pieces exactly how you purchased them, and saw two pieces in half. (**If you couldn’t find wood that was 6 inches wide then you would just need to buy more pieces to make sure the bed was 12 inches tall. In our case we did two boards that were 6 inches wide, so the beds are 12 inches tall once finished. But you could also get 4 inch boards and use 3 instead if necessary.)
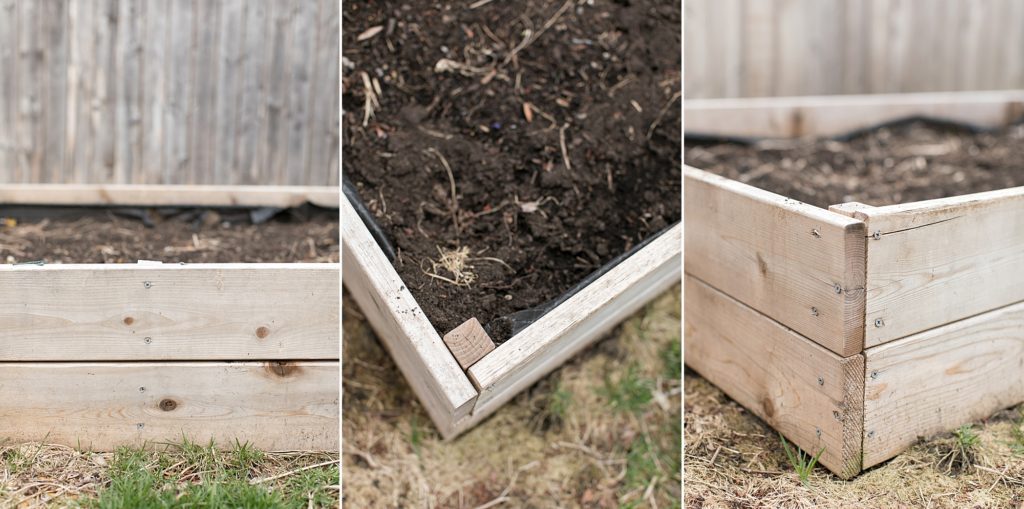
Step 2: Saw the balusters to be about 10.5-11 inches tall. These will reinforce your design and keep the boards together so they need to be about as long as your boards are when stacked tall.
Step 3: Find a flat work space and line your boards up to set up your first layer of boards. Put the corners flush together and drill two screws through them to secure together. Do all 4 corners. Then add a baluster to each corner – putting 2 screws through each board into the baluster. Make sure to stagger the screws so they don’t drill into each other from the two directions.
Step 4: Repeat again to make the second layer/level of the bed.
Step 5: Add one more baluster to each mid-section of the longer length sides, drilling two screws through each board. This helps support the design as a whole.
Step 6: Staple the landscape fabric along the inside of the wood to protect it from water/soil damage and rot. This will help your bed last longer.
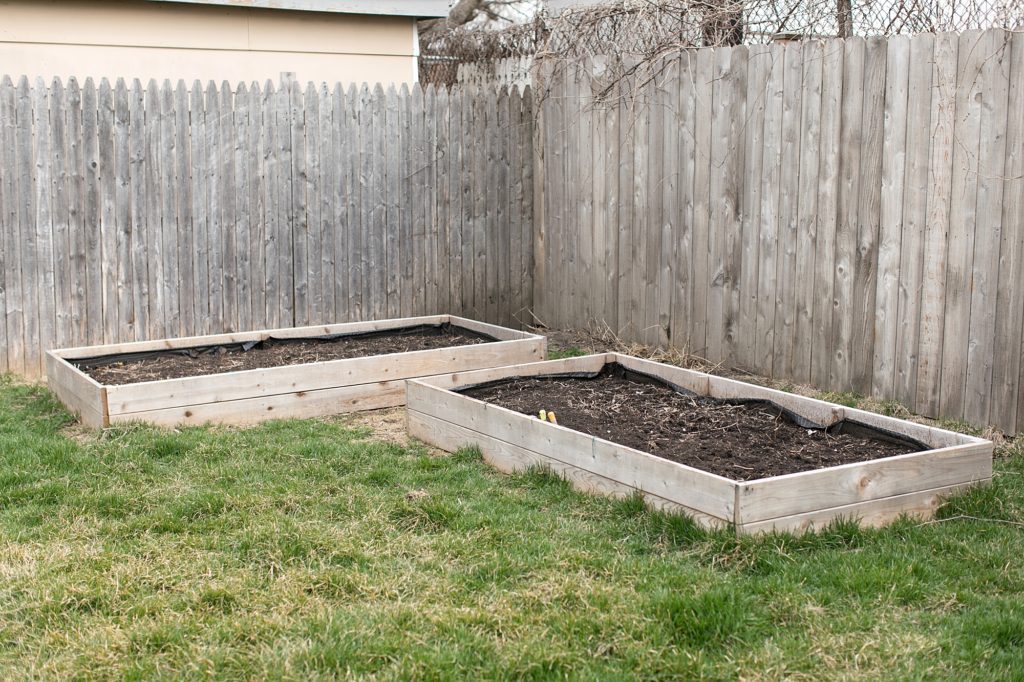
Step 7: Find the spot in your yard for your raised bed! It is important it is a spot that will drain well (so not at the bottom of a hill or anywhere that water sits when it rains!) and also important that it has AMPLE SUN. Vegetables need a lot of sun to grow – so drainage and sun are the two most important things!
Step 8: Fill with soil. Once you’ve found your spot – fill each raised bed with 25 cubic feet of garden soil. As mentioned above – I used the Vigoro All-Purpose Garden Soil Plus Fertilizer (specially blended soil for fruits, flowers, vegetables & herbs). I think the soil I used made a huge difference in the success of our garden too – so I definitely feel this was worth it!!

When to plant: Now that you’ve got your garden beds built – you can get ready to sow your seeds!! It is important though to pay close attention to the best time to plant for each type of vegetable or fruit. They thrive in different temperatures and just because the air feels warm doesn’t mean the soil is warm or ready! The Chicago Botanic Garden has a great guide about this that you can check out HERE. I didn’t get to building my beds very early last year – so we didn’t plant until mid-May – but in general I think you can start in the Chicago area around late April. I would advise you to read what your seed pouches say though or look specific information up online for best times to plant in your part of the country.
What to plant: Last year I just bought every kind of plant that I remember growing as a kid and others I thought would be fun to grow and planted them. Radishes, snap peas, kale, carrots, cucumbers, cherry tomatoes, basil, yellow peppers, watermelon and for some stupid reason – I thought adding wildflowers to the mix would really fill out the garden. (Spoiler alert: plants need SPACE to grow – not wildflowers crowding them out and blocking the sun! haha) This year I was more intentional about what I bought based on what we actually ate and loved last year, and the plants that didn’t do well (like watermelon)! We had one sad one that ended up breaking off the vine and never grew all the way and that was it!
Here is the list of what we are growing this year:
| Carrot Seeds – Imperator 58 – Packet |
| Cucumber Seeds – Poinsett 76 – Packet |
| Kohlrabi Seeds – Purple Vienna – Packet |
| Kale Seeds (Organic) – Lacinato – Packet |
| Lettuce Seeds (Organic) – Buttercrunch – Packet |
| Pumpkin Seeds – Fairytale – Packet |
| Pumpkin Seeds – Casper – Packet |
| Tomato Seeds (Organic) – Small Red Cherry – Packet |
| Pea Seeds (Organic) – Tom Thumb – Ounce |
| Basil Seeds (Organic) – Genovese – Packet |
I ordered all our seeds from Eden Brothers and was really happy with the quality! (Use code LOYALCUSTOMER for 10% off.)
Where to Plant & Garden Accessories: When deciding what to plant – also do some research on what each plant needs! Things like cucumbers and tomatoes need trellises or cages, and certain vegetables grow better next to one another than others. (For example, Tomato and Basil are companion plants – meaning they thrive when planted in close proximity. We planted them next to each other last year and both plants did phenomenally well!) While others need more sun or space to thrive than others. Pay close attention to plant heights and make sure you don’t plant something at the front that grows really tall and will block the sun from everything behind it, for example!
There are some helpful website when it comes to laying out the design and planting map for your garden so make sure to look them up! I especially liked the ideas on the Farmers Almanac website: https://www.almanac.com/content/over-20-vegetable-garden-layout-ideas
Indoor Starters or Seed to Soil?
We planted everything directly from seed to soil (right into the garden) except our tomato plants because they are a little more finicky. Those we planted in little planters indoors first and transferred them out to the garden once they were a few inches tall.
Pesticides / Plant Food / Animals & more
Because we have a completely closed backyard we don’t have to deal with many animals coming in and snagging our veggies. We did have some rabbits last year, but didn’t notice that they stole anything actually. Our biggest issue was our dog, Chloe, deciding she should take a daily stroll through the raised beds!! We had to teach her to stay down but other than that we were good.
We eat organic so we definitely did not plan to use any pesticides or anything on our veggies. We wanted them to be fresh and clean and didn’t have any issues with plants getting eaten up by bugs, thankfully. And because we bought good soil to begin with that included plant food in it – we didn’t need to add anything to the soil! Just some good old fashioned water and sunshine was all we needed!!
Whew – I feel like this was a lot since I was trying to cover all the questions you all left for me over on Instagram!! If there’s anything I missed or if you have any additional questions please let me know in the comments below!!!
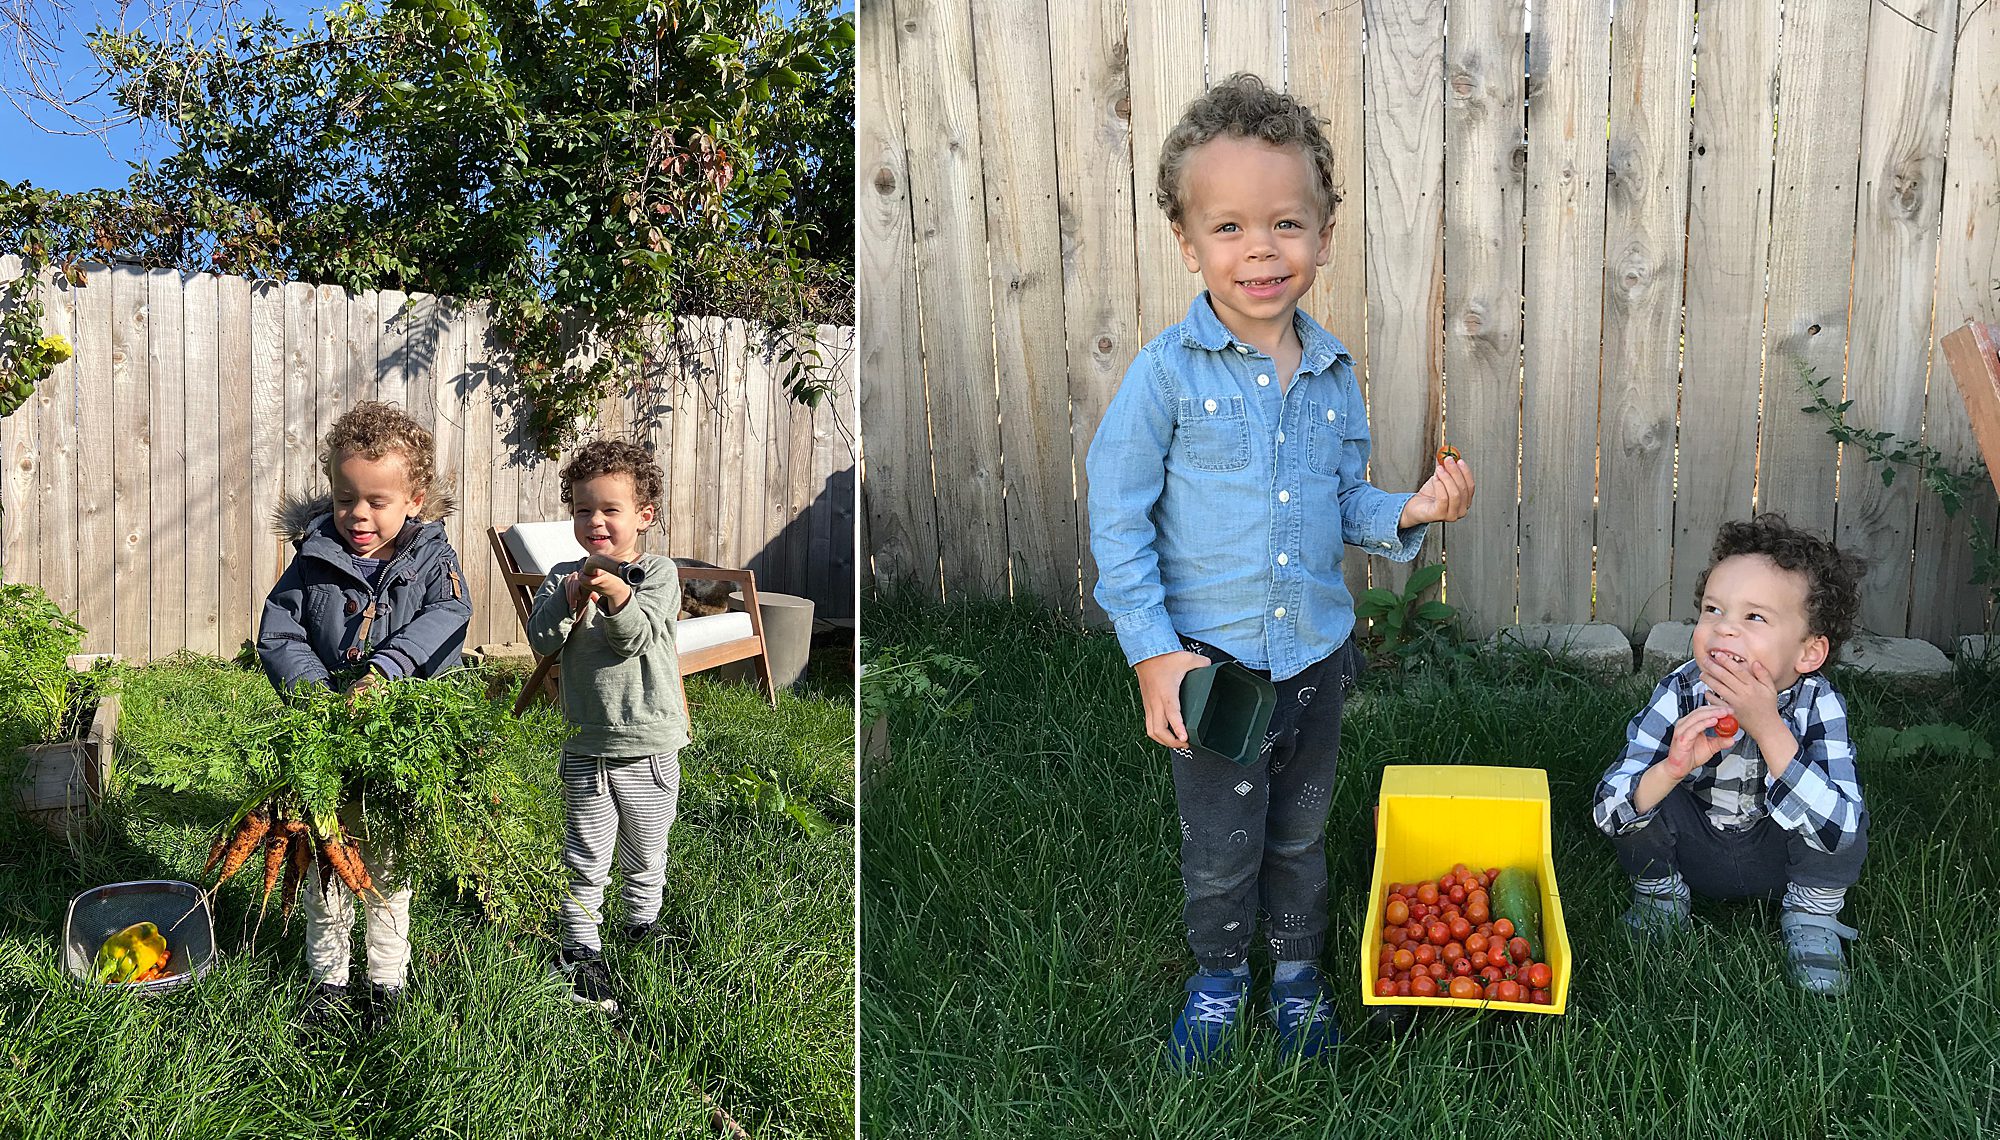
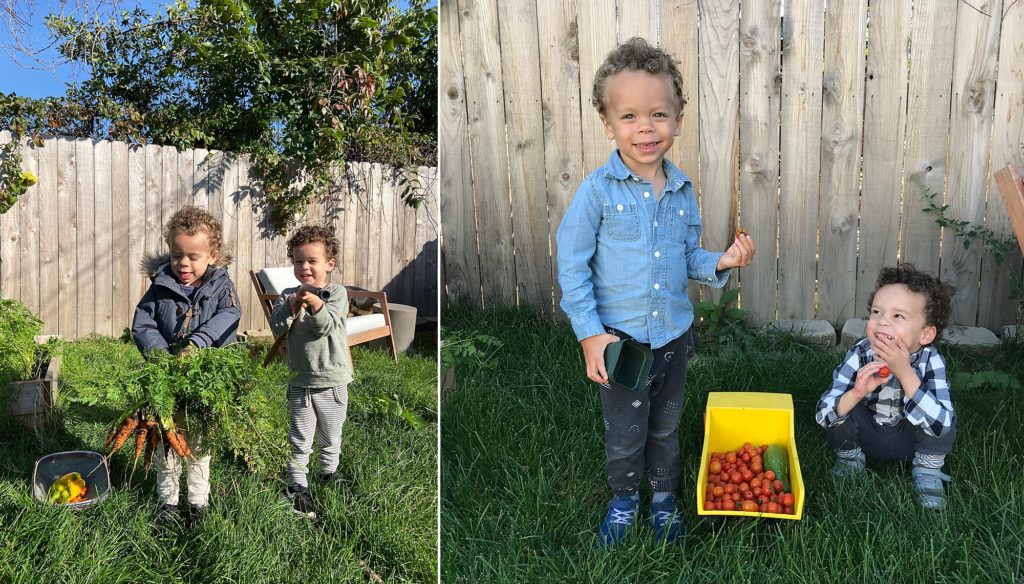
I hope you all enjoy your new gardening experience as much as we did!! We regularly ate salads from the garden, used the herbs for recipes, and the boys LOVED going to pick tomatoes every day once they were ready to harvest.
Happy gardening!!!