After each wedding we photograph, James and I talk about what our strengths were and what our weaknesses were. And lately, in the middle of that discussion James has been suggesting topics I should blog about to educate our current & future clients on what they can do to make sure their wedding photos are the best they can be, and that the entire day flows as smoothly as possible. One that has been coming up a lot lately between us in discussion is where our couples decided to get ready.
So today I’m going to talk about what you can do to ensure you have bright, beautiful preparation photos from your wedding day! (This also doubles as tips for photographers who are shooting weddings as well, I suppose!)
Tips for the Couple:
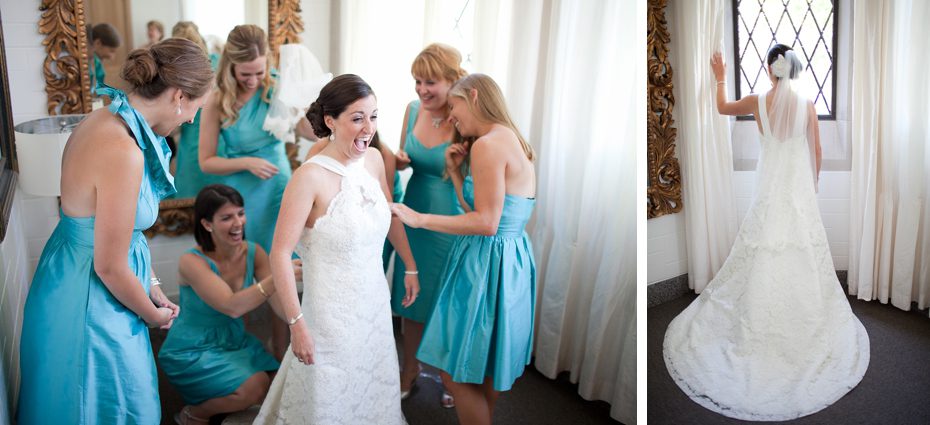
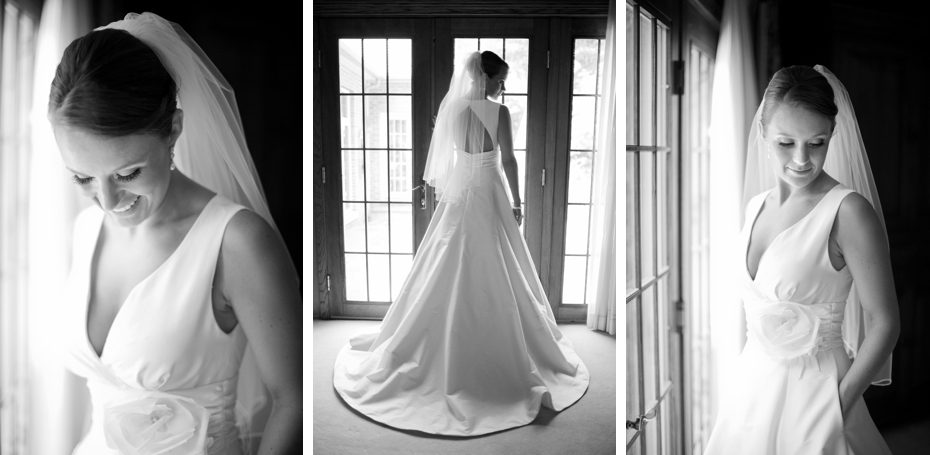
1. Make sure you are in a room with windows! My style of photography calls for natural light. And one of my favorite types of natural light is window light! It is soft… it is flattering… it is beautiful! Yes, I know how to use flash and off-camera flash, but pulling out a flash stand and umbrella can be a bit abrasive in a small prep room because there isn’t usually a whole lot of room to work with. Also, preparation photos are usually done early or midday – so why not take advantage of the beautiful light we’re given and make sure you’re in a room with windows?!
I was so thankful at last Saturday’s wedding that Alyssa thought to email me and ask if I had a preference where the girls got dressed at the church. The options were a big room in the basement of the church, but it had no windows… OR a small room at the front of the church with windows. I immediately replied – THE SMALL ROOM WITH WINDOWS PLEASE! 🙂 And I’m so happy I did…
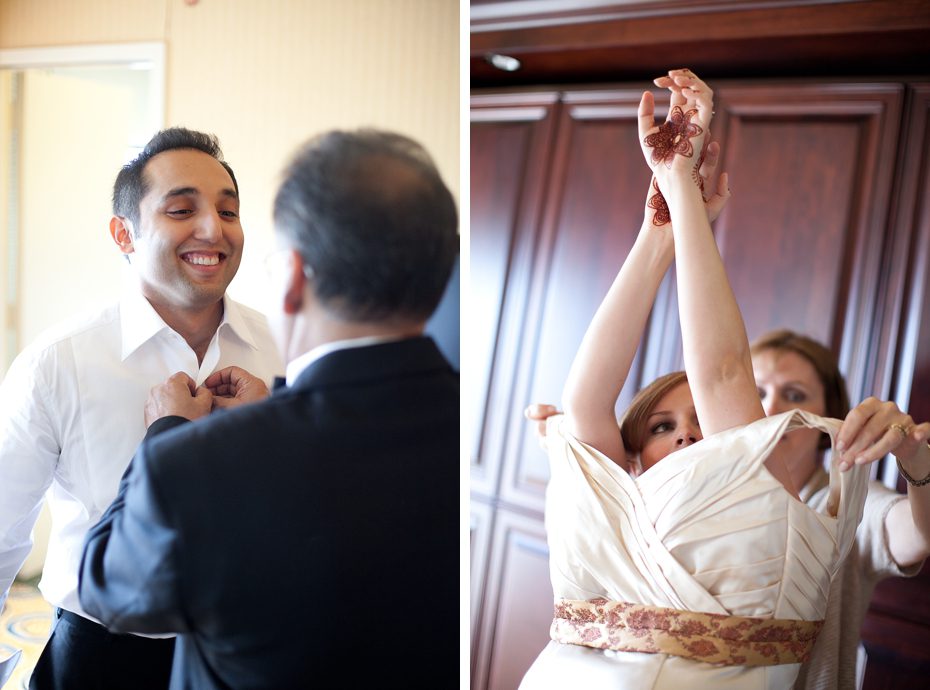
2. If possible – the couple should get ready in the same venue. If that isn’t an option, then try to get ready within a 5-10 minute drive of each other. This is something that is important if you want to get the most bang for your buck! Otherwise if you are getting ready in separate venues – James has to drop me off at one venue, then drive to the other venue to document the other person. Which means, obviously, that however long that drive time is – you’re missing out of photos during that time! If you’re all at one venue – then both of us can show up and get right to work. It’s as simple as that. Also – if you’re getting ready at the same venue, then the preparation photos will all have a similar look and feel to them as well – which will make your wedding collection, and album design feel more cohesive.
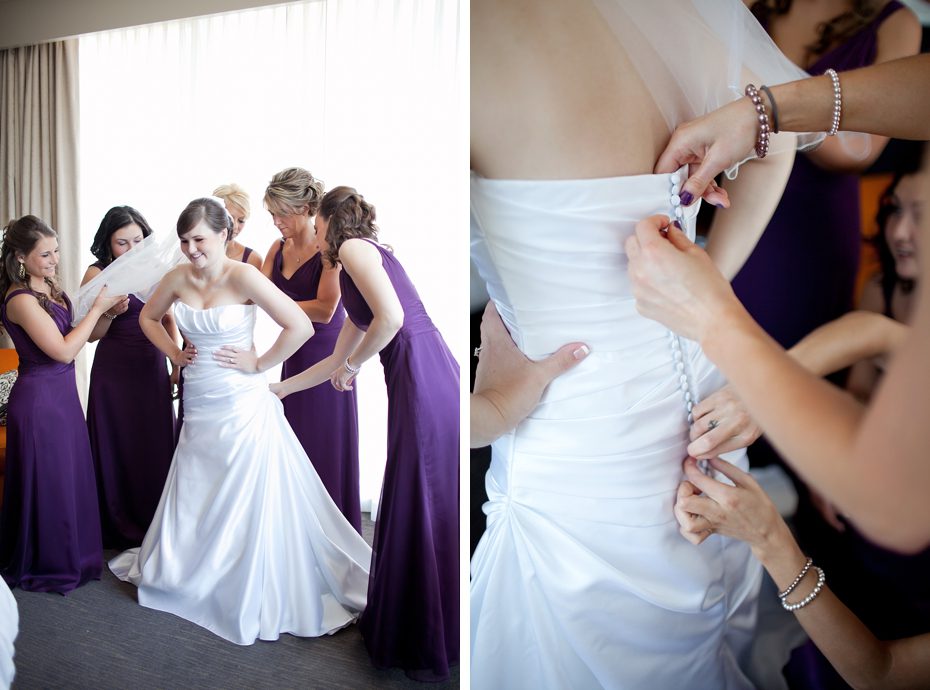
3. Try to keep the area you’re getting ready in somewhat tidy. Obviously, things get a little crazy on wedding days (I know!), and there ends up being stuff everywhere. 🙂 It’s fine!! …just be aware that when we arrive – we’re probably going to ask you if it is okay if we tuck things away in a corner or in the closet (especially for the most important photos – like getting into your dress/suit, and for portraits we shoot before we head out for the first look).
4. Schedule about an hour into your timeline for preparation photos. I talked about the timeline more in depth in a previous FAQ post, but thought I should mention it here too since we’re on the topic. 🙂 For me, anyway, I like to have an hour for the preparation photo time of day. This allows me to arrive, grab all the details that have already been set aside for me (because we’ve talked about it in an email before the wedding day) and photograph them. Then I have time to capture candids as people are finishing up getting ready, and another 20 minutes or so to document getting dressed, putting on shoes, jewelry and anything else… and am able to do a set of portraits before heading out the door.
Tips for Photographers:
1. Turn off all other lights in the room. The yellow glow of tungsten light bulbs, and the green flickering of fluorescent bulbs, mixed with the bright bluish tone of natural light coming through windows can seriously confuse the camera’s white balance, leaving photos with a mixture of tones throughout. To create the best, most natural look to your photos – turn off all other lights in the room – so that the natural light can shine through and bounce around without any confusion from other light sources.
2. If there isn’t direct/harsh sunlight shining through the windows – then feel free to open the blinds or curtains to maximize the amount of natural light coming into the space if need be.
3. (See #3 above) Tidy up the room when necessary! Move lamps, shoes, bags, garbage… anything that is in the frame and distracts from the photos – remove it! Of course – ask permission before doing so… that way anybody whose things get moved know where to find them!
4. (See #4 above!)
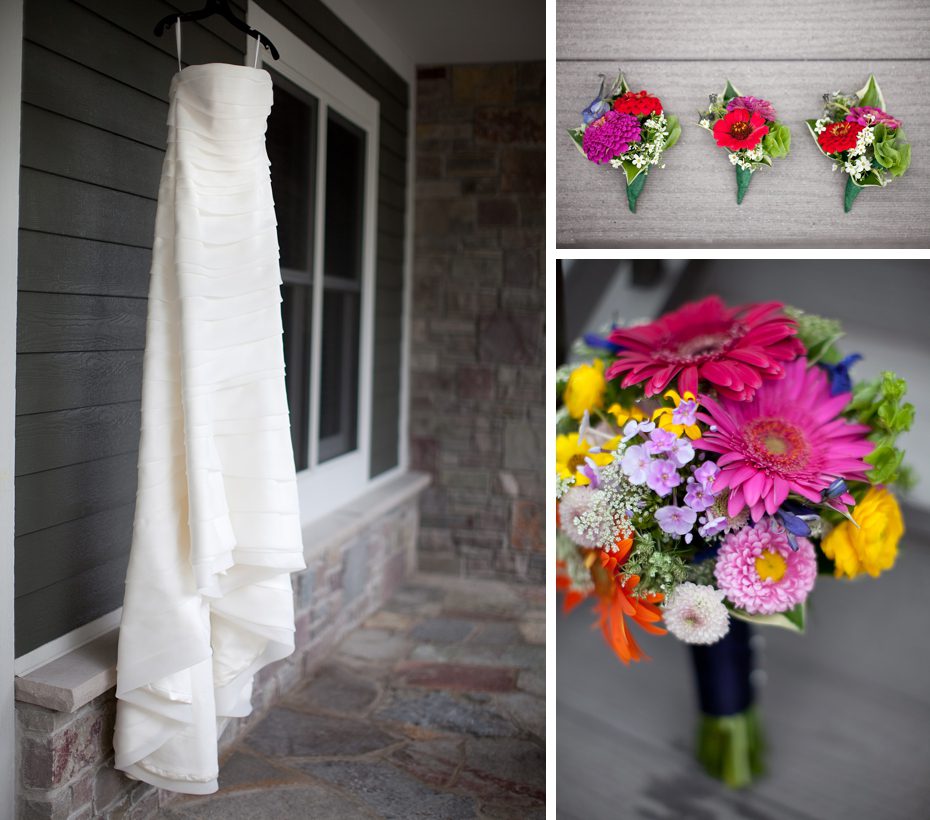
5. Feel free to take details into another room or outside to photograph if the light in the prep room isn’t great… or if there isn’t anywhere you see that looks like it’ll work for the photos. I regularly take dresses outside and hang from porches or trees, or whatever else I can find if it means a better photograph! 🙂
Let me know if you guys have any questions about anything I talked about in this post! Feel free to ask anything I didn’t address regarding preparation photos – or send me questions for future posts with wedding day tips for couples & photographers!
. . . . .
**Remember, this is just how I do things. It doesn’t mean it is the only way or the right way… it is just what has worked for me! 🙂

