
I get asked this question a LOT and have meant to blog about it for so long, but back then I didn’t have a family of my own! Now that I have 3 little ones running around I realize how stressful planning outfits for family photos can feel if you have no idea where to start! So I’m finally sitting down and sharing some tried and true tips I’ve used for planning our own family photos! Here goes!!
1. Wear something you feel GREAT in!! This is the most important one of all!! If you don’t feel awesome in what you’re wearing it is going to show in the photos! You want to feel confident and comfortable – so that you can look confident and comfortable! It’s as simple as that!! If you’re not normally a dress and heels kind of person, then don’t try to be that person for your family photos! Most importantly – you do YOU. If you have a particular outfit you love – then start with that as your inspiration and build the rest of your family’s outfits from there. Pulling hues, textures, tones, and style from it!
2. Wear something appropriate for the location and time of year you’ve chosen. If you’re doing a shoot at a ranch among hills, trees, and nature – then a fancy dress and heels are probably not really appropriate. I always say to save the dressy-dressy outfits for more urban locations – which tend to lend themselves better to that level of dressiness (think skyline views, downtown amid the architecture, etc)… while rustic/nature locations tend to work better with more casual clothing. If it’s cold outside – bring a cute jacket, scarf, or mittens – and make sure to dress your kids in LAYERS! It looks silly trying to pretend you’re not freezing, rather than just wearing something appropriate (and cute) for the weather! If you have them in a sweater – put a long sleeve shirt underneath it, for example. If they are cold 2 minutes into the session – it’s no good. 🙂
3. Wear the same level of ‘dressiness’. Meaning, if someone is in a dress and heels, someone else shouldn’t be in shorts and sandals. If you’re going casual – everyone go casual. If you’re going more formal – then everyone should as well.
4. When aiming for neutral colored clothing – make sure to choose pieces with texture. I love love neutral colors in photos. They really help to balance the look of an entire family and even sometimes a range of neutrals on everyone can really be just so beautiful. If possible – rather than bright white or stark black – choose neutrals like ivory, off-white, grays, and beige – as they tend to photograph better and have more depth. It is even better if you choose items that have some texture to them (knits/sweaters, eyelets, heathered fabrics, lace detailing, etc), which adds more interest to the fabric & the photos!
5. Balance patterns. Patterns are great, but I suggest if one of you wears a pattern – then the others should wear solid colors that are complimentary to the pattern so the photos don’t get too busy. You can pull hues & tones from the pattern to decide on other colors to include for the rest of the family!
6. Don’t wear matching outfits! Wear colors that compliment each other, but no need to exactly match! In fact – don’t. 🙂 Please, please, please – no white polo shirts + blue jeans for the whole family. No red tops + khaki pants (this isn’t Target). No his & her matching polo shirts. You are individuals so dress as such! 🙂 (Of course sometimes families like to dress the kiddos the same and that’s okay. If you’re a sucker for a sibling matching outfit – I get it! 😉
7. Wear layers! Layers always look great in photos and in real life! They add interest and texture to outfits and photos. Throw on a cute cardigan, scarf or light jacket to compliment your outfit! Bonus is that if you take it off you’ll have what appears to be a whole different “look” or outfit for other photos! And another bonus is that layers keep your whole family warm in cooler temps!
8. Accessorize! Accessories add a lot of interest to photos…. necklaces, bracelets, belts, scarves, shoes… you name it! It can also be a nice way to add a pop of interest or color if you’re otherwise aiming for mostly neutrals.
9. Avoid big logos and words on your clothing. You don’t want to wear anything that distracts from you or from your children, which is what happens when the first thing someone sees is logos and words on clothes.
10. Get your hair & makeup done! Mamas – I know you’re so busy scrambling to get everybody else ready that you hardly have time for yourself. So if you’re up for it – get your hair, makeup and nails done! I know I always feel better when I’ve been pampered from head-to-toe, which translates to feeling even more confident and fabulous in your photos. (Of course this isn’t necessary – but if you’re like me and enjoy any excuse to get pampered & made up… then take it and run with it! haha)
And now – a couple tips for preparing your family (AND YOURSELF) for the session!!!
1. Relax and have fun! Family sessions are low-key and about capturing your family as you are – interacting, loving, playing, laughing… so make sure to bring your smile and be ready to have a great time! No need to hammer it into your kids heads that they need to “smile for the camera” before the session – just tell them we are going to have the best time exploring together and I’ll take it from there! Too much pressure on kiddos to act perfectly, or smile a certain way can make them nervous and make them freeze up – so let’s focus on just having fun!
2. Make a day of it! Plan something fun for after the shoot – like grabbing pizza or ice cream so the kids are extra excited about all the fun plans for your day! (And this can work to help bring out some happy faces mid-shoot if you remind them they are getting a treat after! haha)
All these tips are well and good – but where on earth do you begin when you’re looking for clothes for your whole family? Well, here’s how I do it in case you’re curious to hear the process!
- If I already have something I LOVE for one member of our family and know they are going to wear that – then I base the color scheme off of that piece of clothing. For example – if I have a dress I love that is a bold pattern, then I will choose my kids’ and husband’s outfits based on the hues & tones in my dress.
- If I have no basis for where to begin – then I head to my favorite websites for clothes (for kids this tends to be H&M and Zara, because they have beautiful basics that are not-so basic looking. They have great textures (knits, lace, corduroy) and beautiful colors that tend to compliment each other throughout their collections naturally.
- Once I get to the site – I scroll through available options for each of my kiddos and just add anything to the cart that I love and think might work.
- Once I have everything added – I go through the cart to see what colors are popping up and what compliments each other the best. If I find one piece I love in particular (like a dress for Aya) – I keep that and then narrow down the sweaters I chose for the boys based on what tones work with her dress.
- Don’t forget to add accessories for the kiddos and shoes that match the look of their outfits and dressiness of the overall vibe!
- Then I start the hunt for mine and James’ outfits, which I handle same as I did everything else – with tones that compliment the rest of the family – keeping in mind to choose pieces with texture & a few accessories we can add or subtract. (Honestly, we often end up wearing basics we already own since the kids are constantly outgrowing stuff each year and we (usually) aren’t. haha)
Last, but not least – here are some examples of outfits for family photos over the years. You’ll see that we tend to keep it pretty simple for ours. Too much can sometimes distract from what is most important – the people in the photos! And if you need more inspo – check out the family category here on the blog!
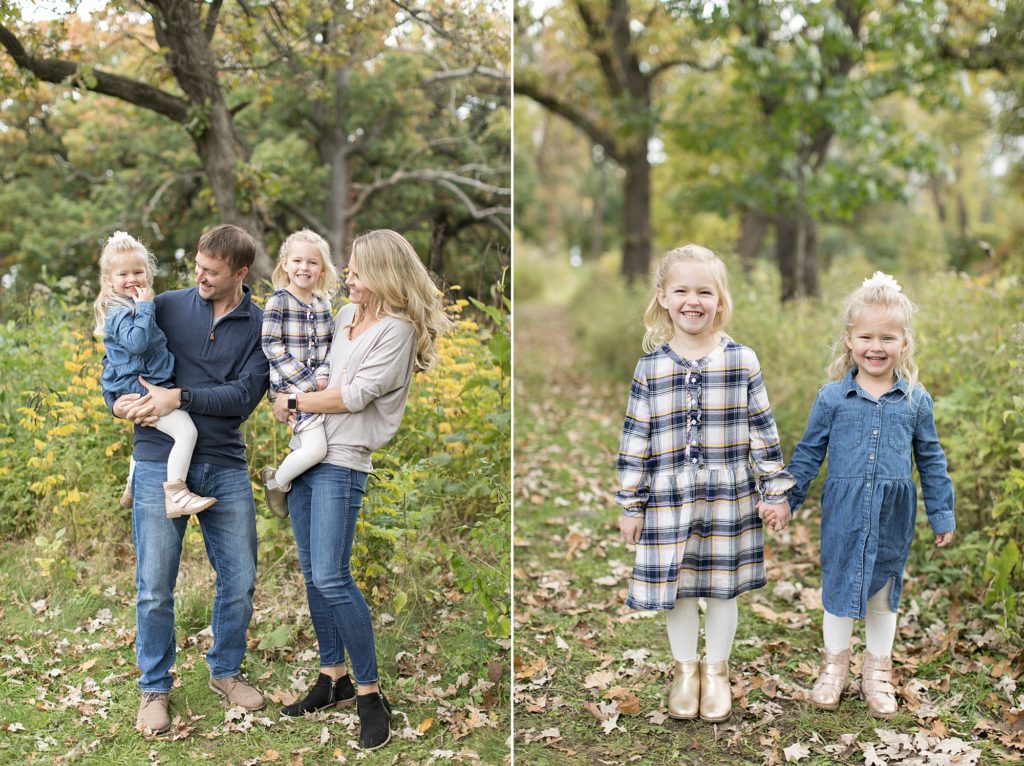
This one was an early fall session – we aimed for ivories and shades of blue. (Photos by Caili Helsper)
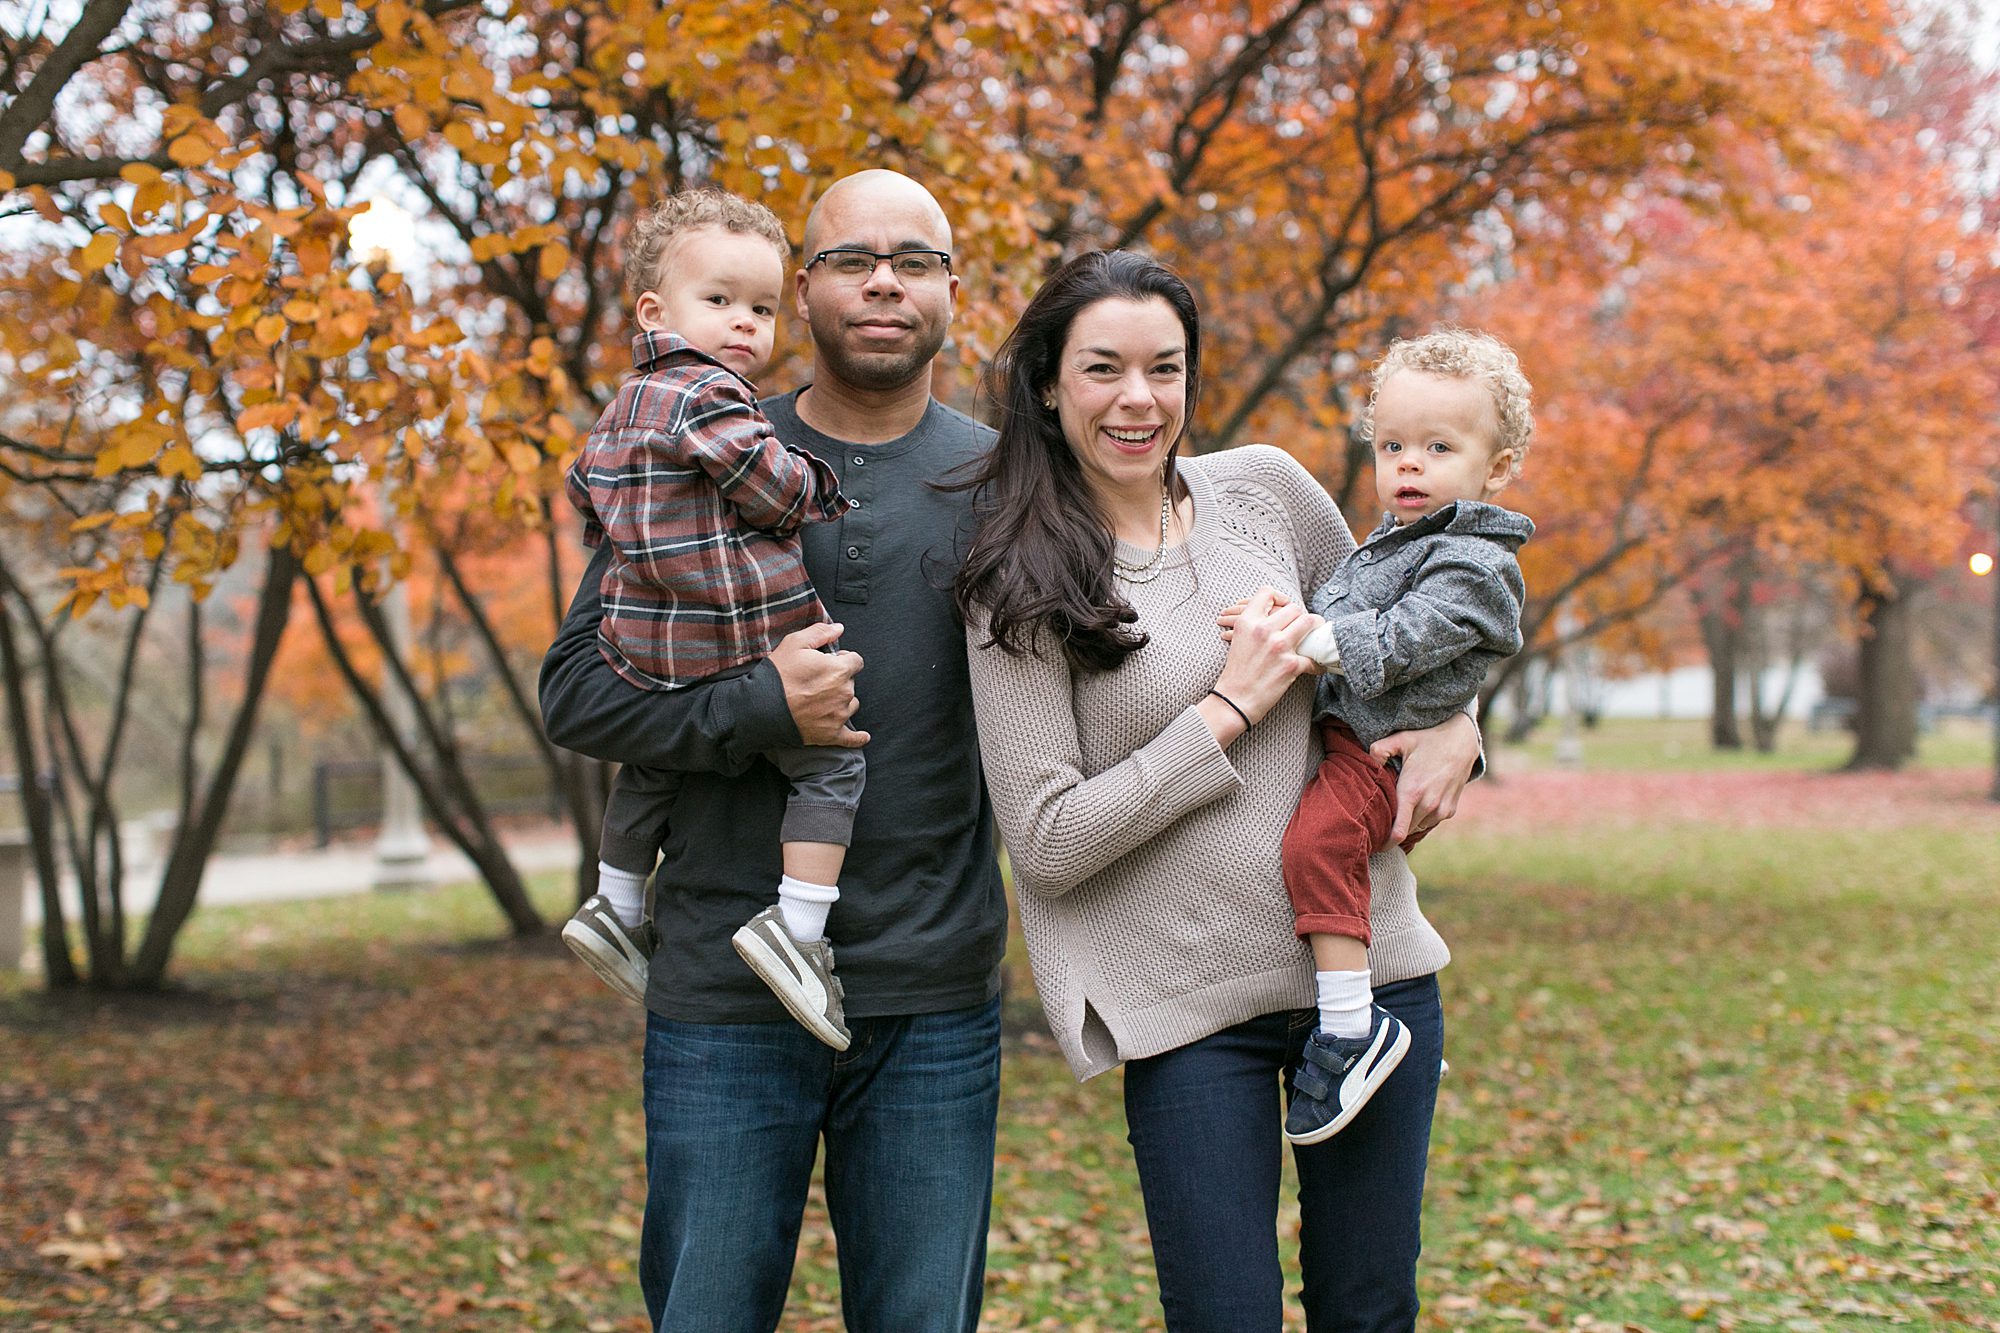
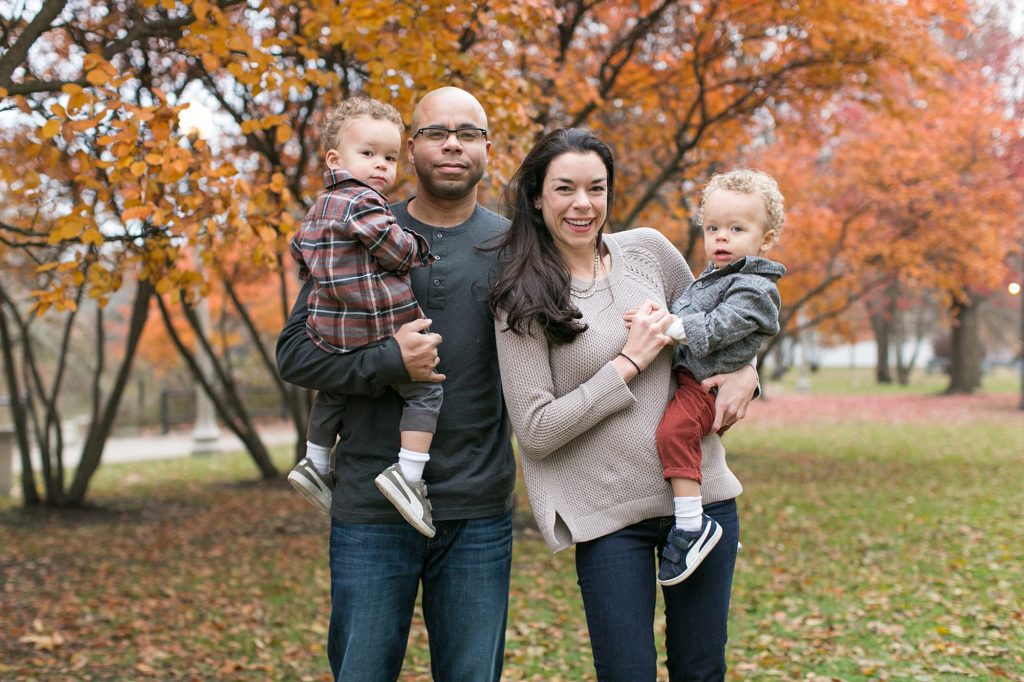
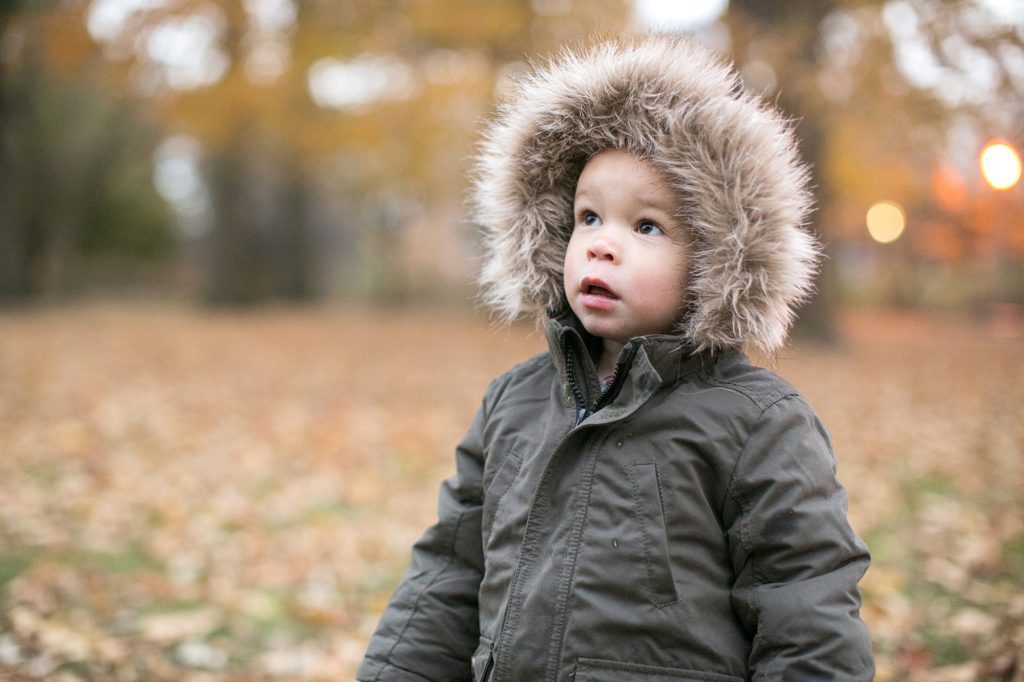
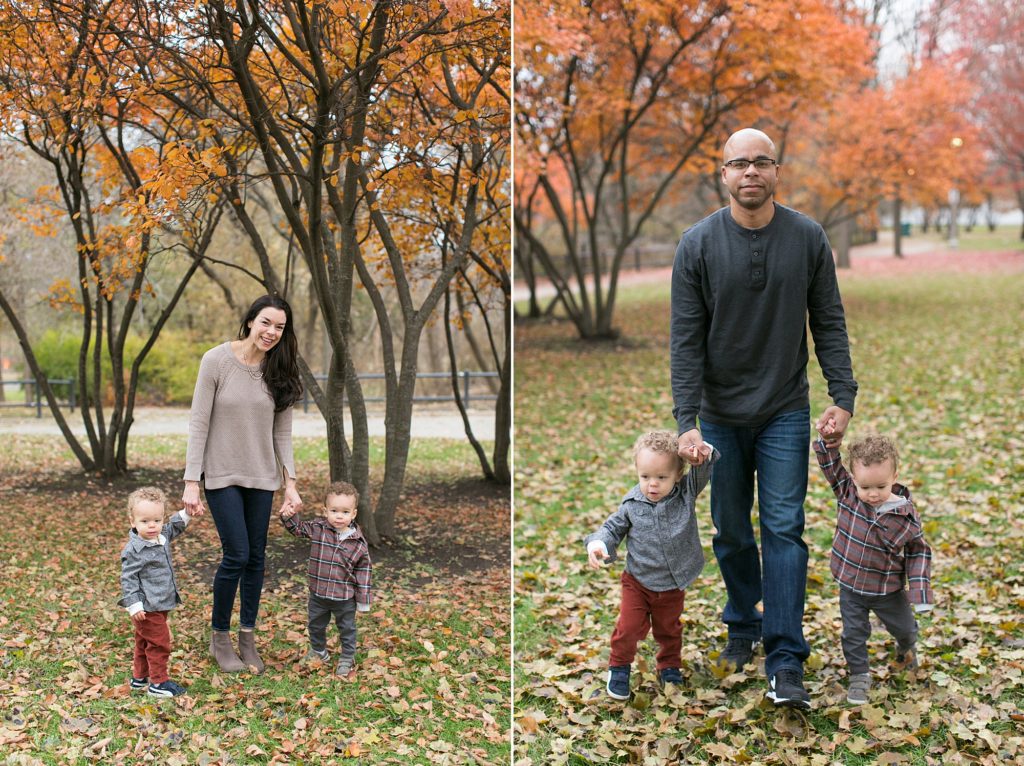
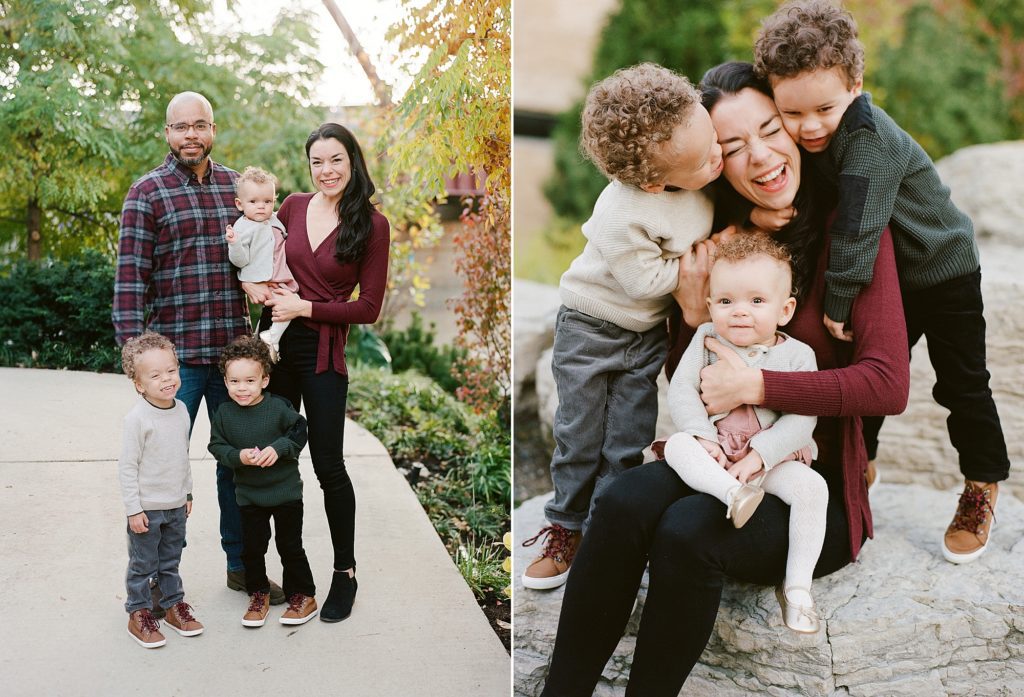
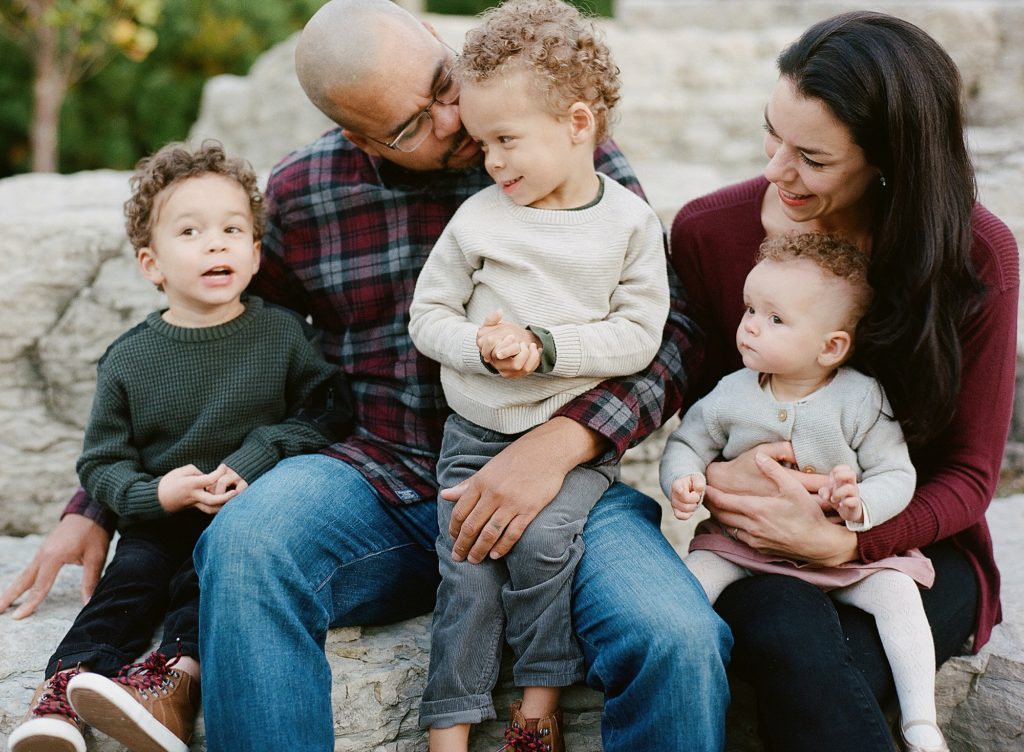
The next one was more of a true fall session and I knew the leaves would be beautiful so we went for more earthy tones! Our scheme was beige, grays, and burnt orange. Everyone’s shirts had nice texture (knit, heathered, and flannel!) and we layered up for warmth. The boys were in casual sneakers – so James matched their look with his sneakers too. And once the layers weren’t cutting it anymore – we put the boys’ jackets on – which were just as cute! 🙂 (Photos by us.)
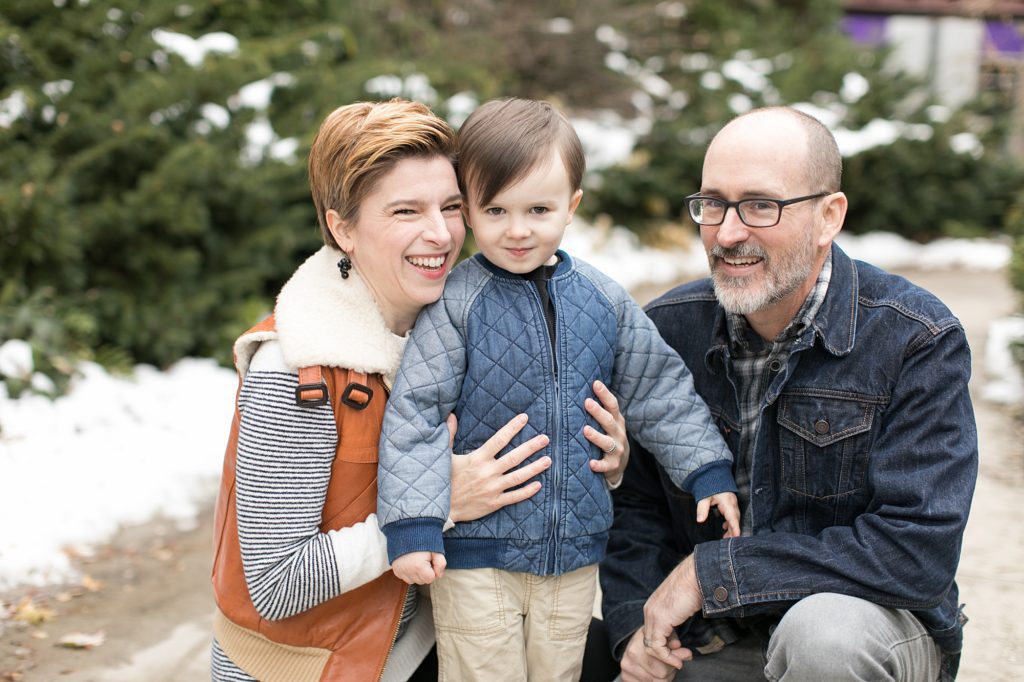
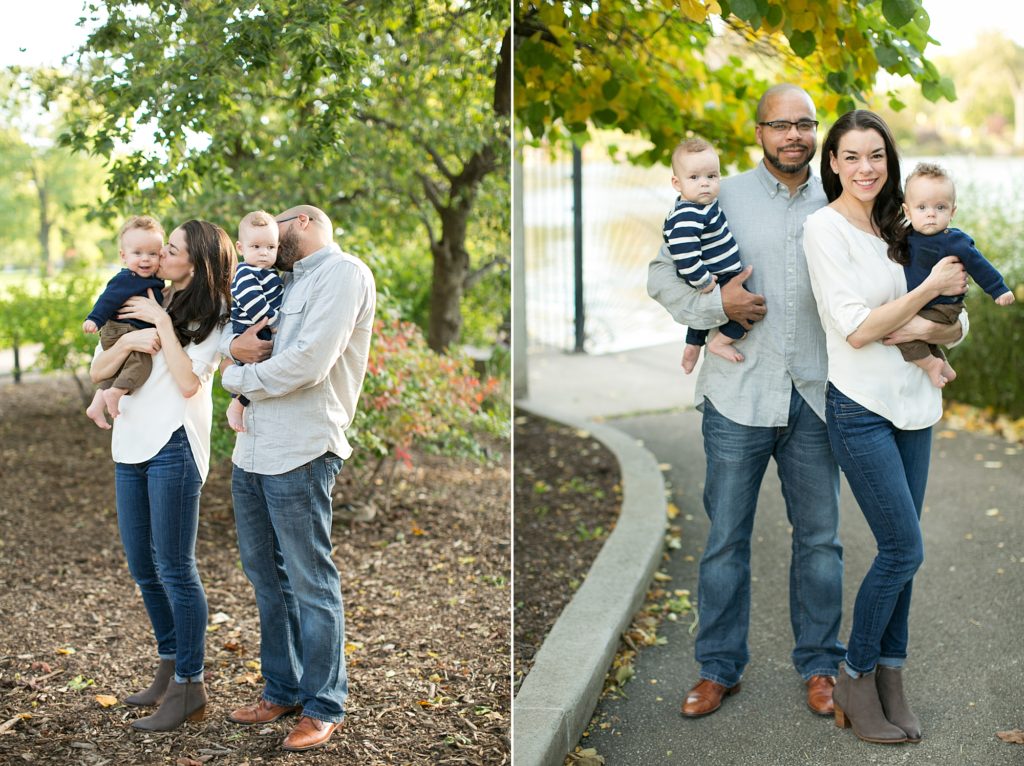
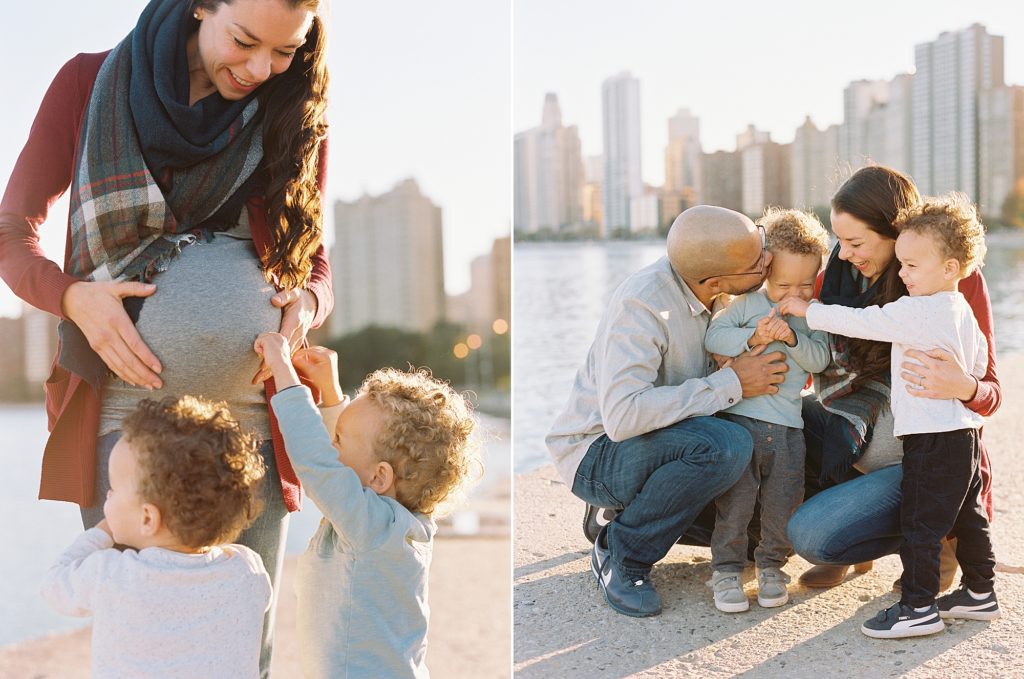
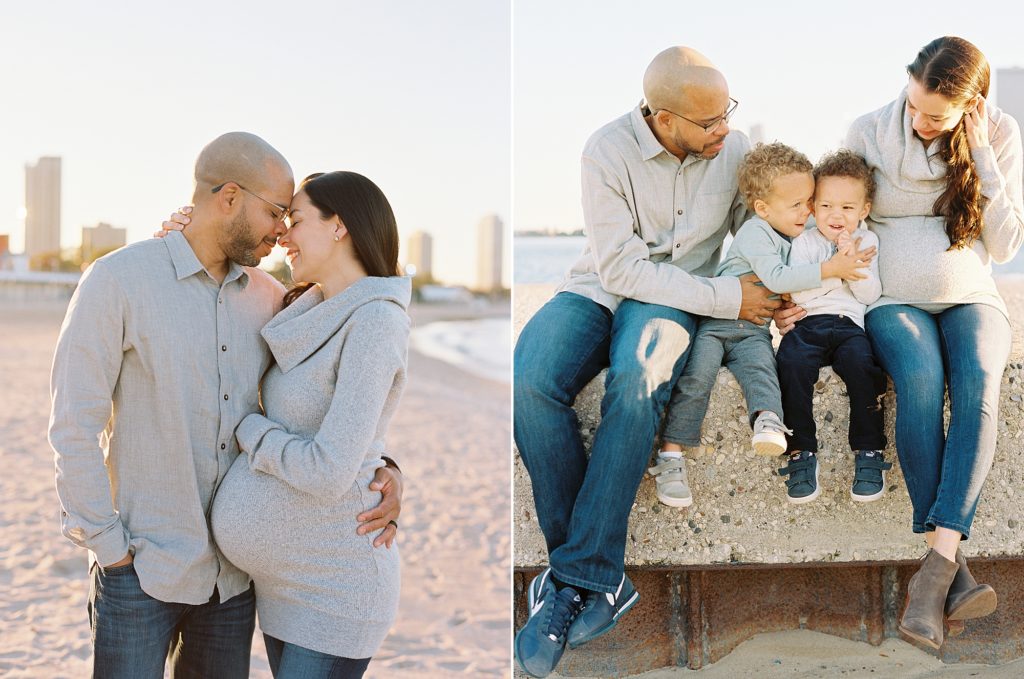
The next one I knew we’d be by the lake – so tried to chose colors to compliment the blues & neutral sand surroundings. I started out with more color on myself – a maroon cardigan & bold scarf – and the rest of the family wore pale sea blue, ivory & light gray to compliment it. Then I swapped that easily for a nice textured gray sweater with a cowl neck to simply our look even more & give us variety in the final gallery. Notice it was a little chilly so even though the boys were in henley shirts, I layered them up with another shirt under it! (Photos by Simply by Suzy)
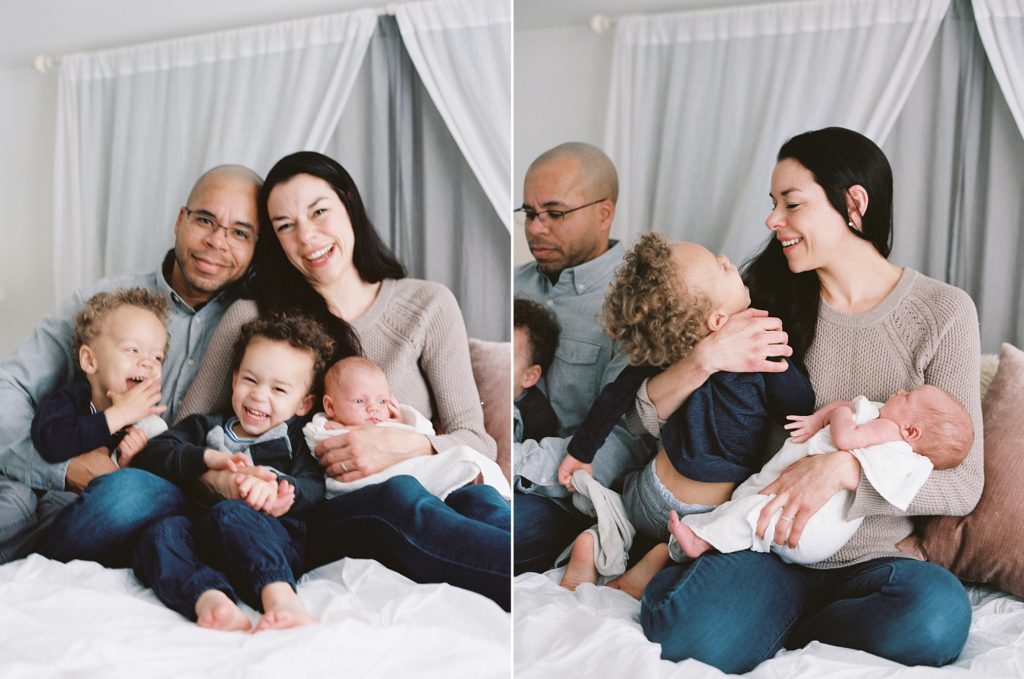
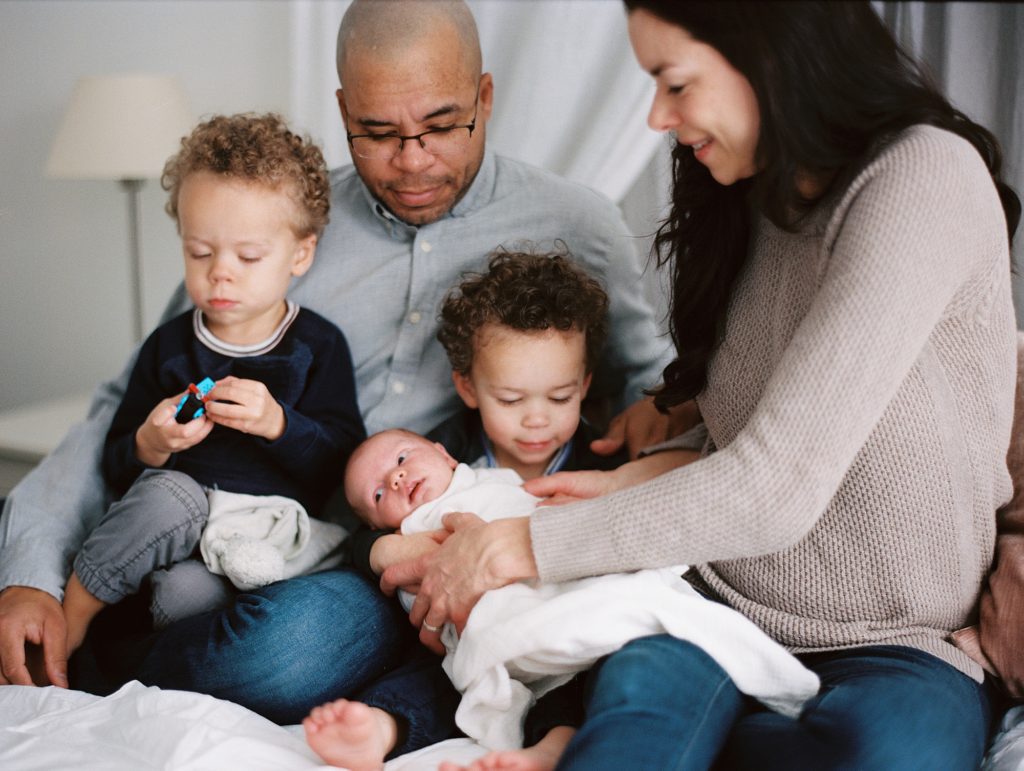
Newborn sessions at home are casual – and the way light bounces around – any bold colored clothes can really cast funny light on the baby or elsewhere in the room. So for these sessions we always opt for casual clothes, bare feet, and neutral tones. You’ll notice James & I are re-wearing some old standbys. 😉 (Photos by Simply by Suzy)
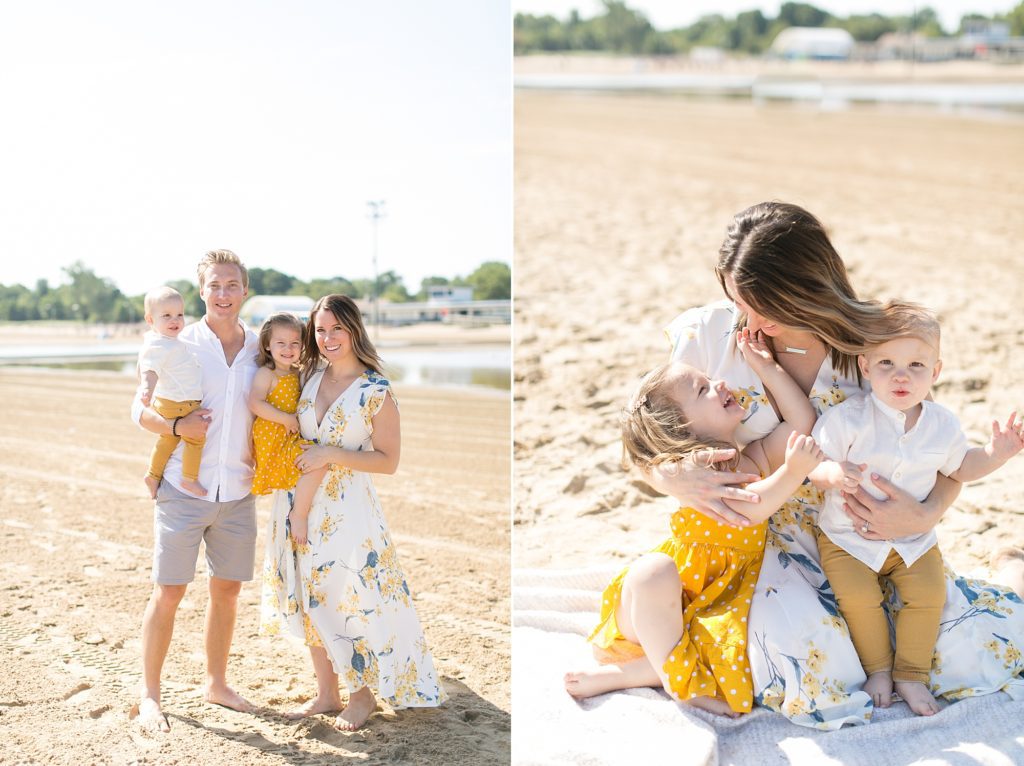
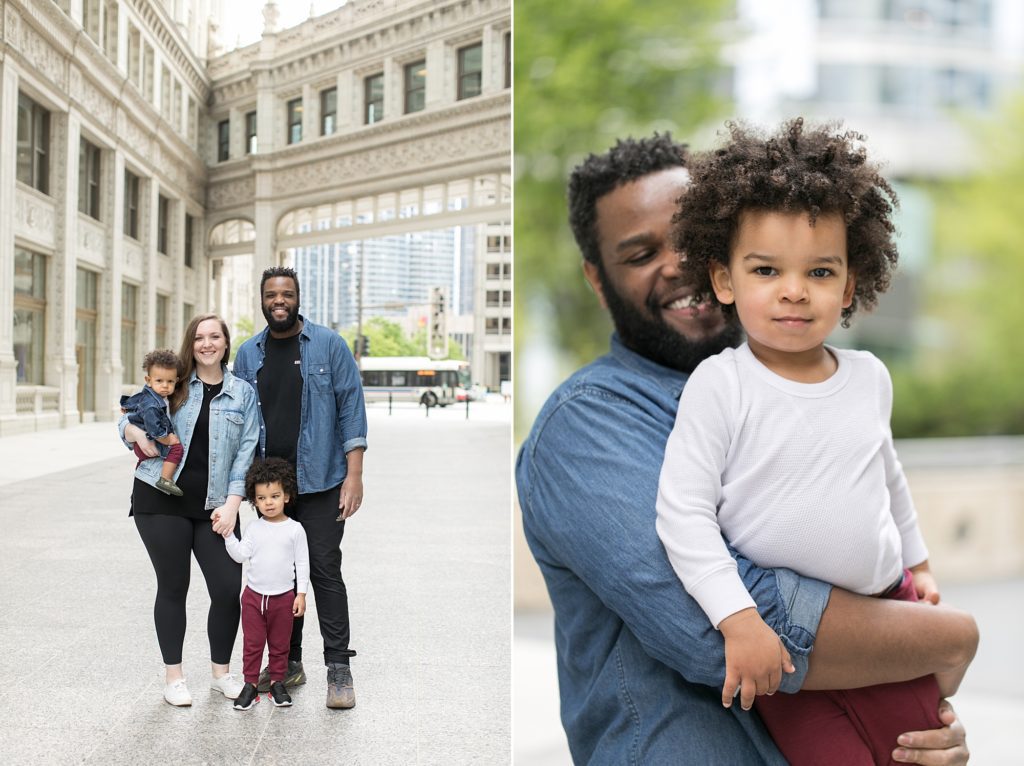
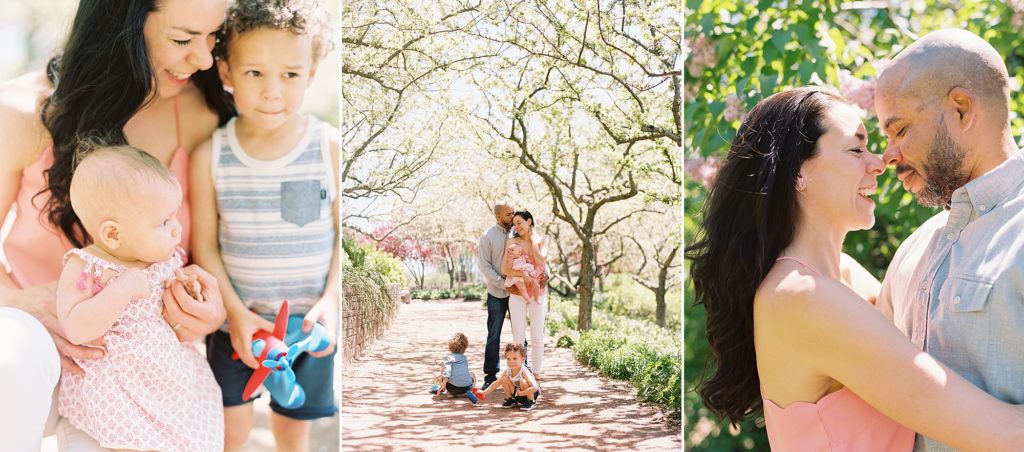
The next one was a hot spring day celebrating our 10th anniversary – and so we opted for summer clothes (obviously!) and brighter colors. Some pink, different shades of blue (and stripes) and Aya in a fun little dress that I pulled the color of my top from. (Photos by Simply by Suzy)
Are you sick of seeing our family photos yet? haha. The next one was a fall session and we opted for some deep hues of maroon, hunter green, black, oatmeal, and a dusty rose corduroy dress for Aya (the shade was a lighter tone of my sweater). Lots of texture in the sweaters, corduroys, Aya’s tights, and lots of layering to compliment each other’s colors (& stay warm)! The guys all wore brown shoes this time and I loved the pop of maroon that we lucked upon at Old Navy in Gabe & Micah’s hightops! (Photos by Britta Marie)
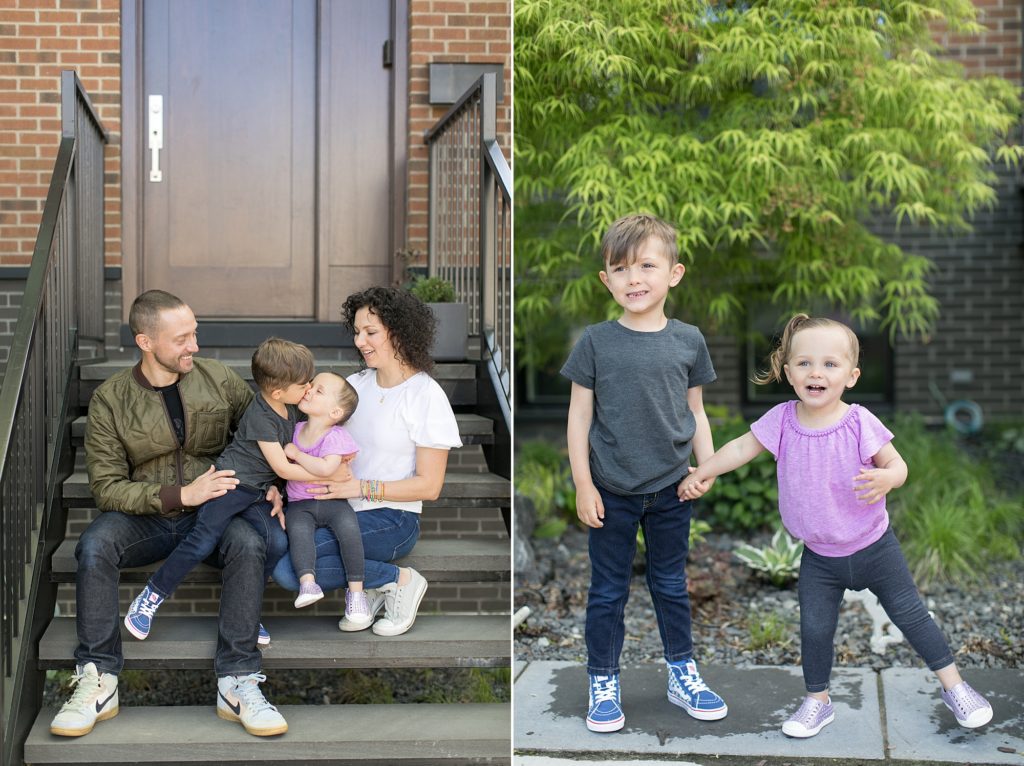
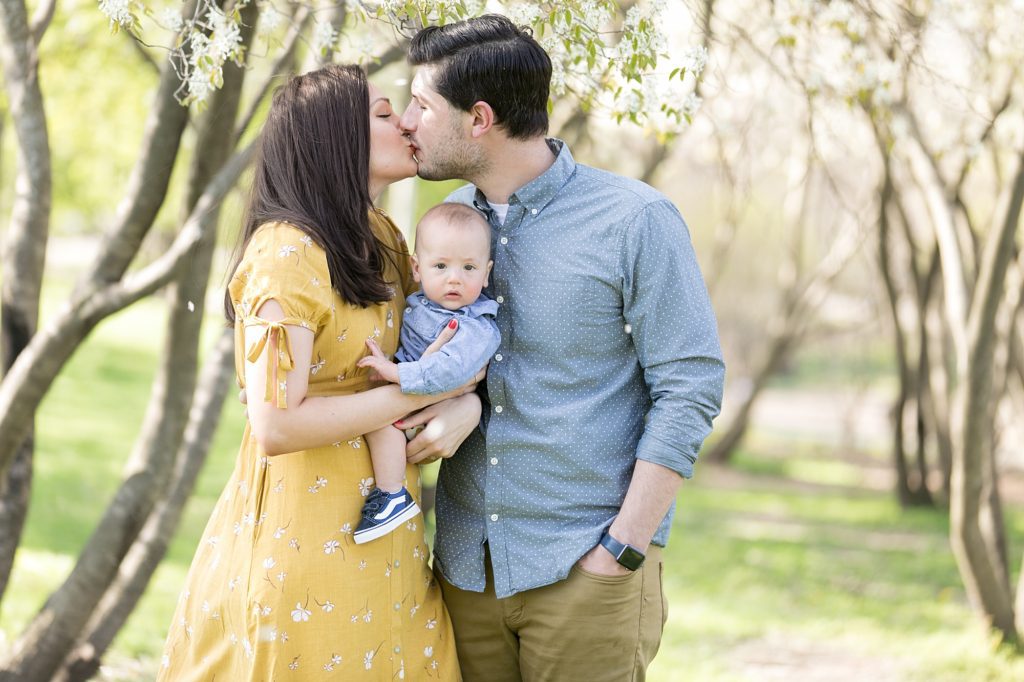
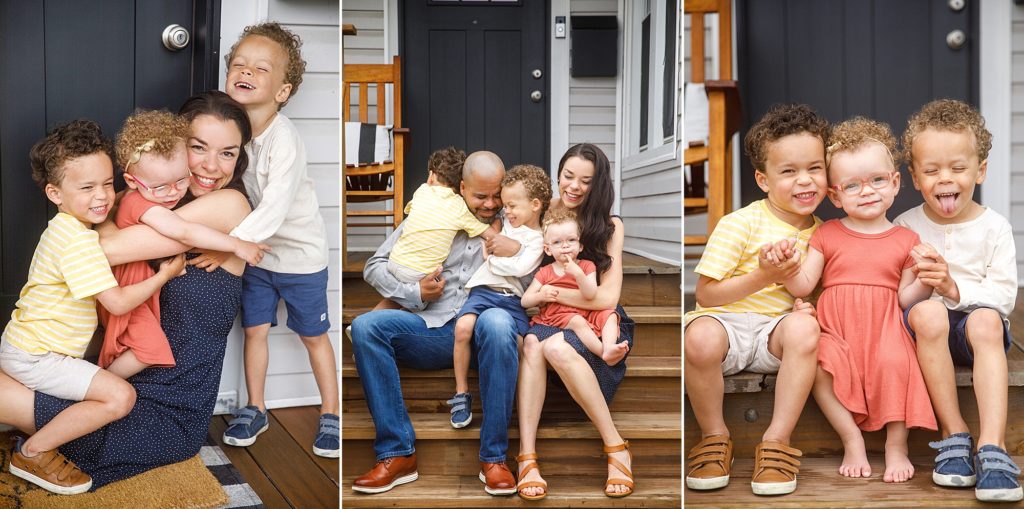
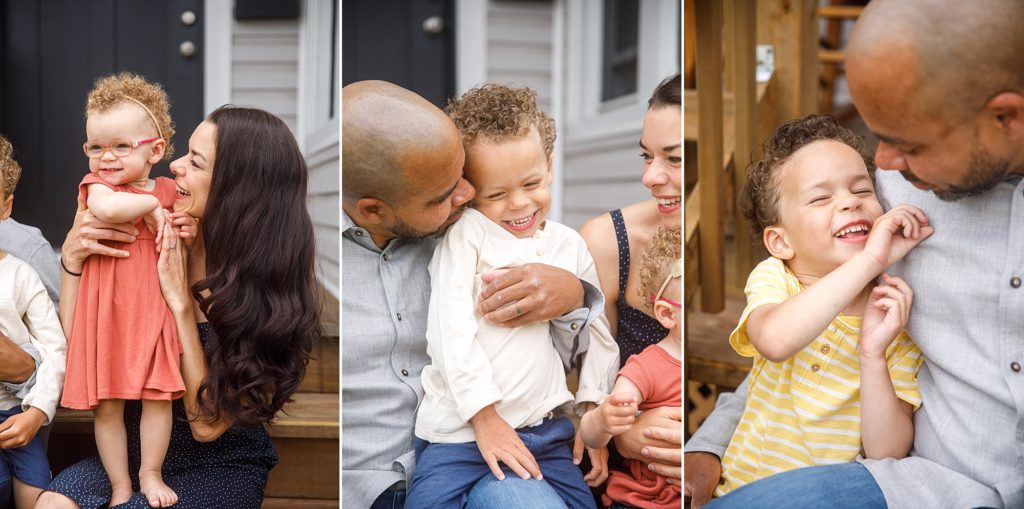
One last one is a spring/early summer session at home! I loved this dress on Aya and decided to wear my navy one because the colors complimented each other well. It felt like a toned down version of primary colors – so I added the pop of pale yellow for Micah, and tied it all together with some shades of blue, gray & ivory on the rest – along with some camel colored shoes. (Photos by Simply by Suzy)
Whew! I hope this gave you some inspiration and at least an idea of where to start as you prepare for your family photos!!
If you need additional inspiration – head to my Pinterest page for Family Outfit Inspiration! Please let me know if you have any additional questions!!
And since I know people will ask – here are some of our favorite spots to buy clothes:
James: J.Crew, Banana Republic, and jeans from Nordstrom Rack usually.
Christy: Banana Republic, J.Crew, Abercrombie (yes, really! they rebranded for us older folks now! haha), and LOFT
Kids: H&M, Zara, GAP, Childhoods Clothing, Old Navy
Interested in booking a session with us? Find out more information on our Lifestyle site HERE.