
**Join me in Chicago to learn artificial lighting hands-on at our Lighting Intensive workshop!! The next workshop will be held on March 25, 2018 in Chicago! For more information – click HERE!**
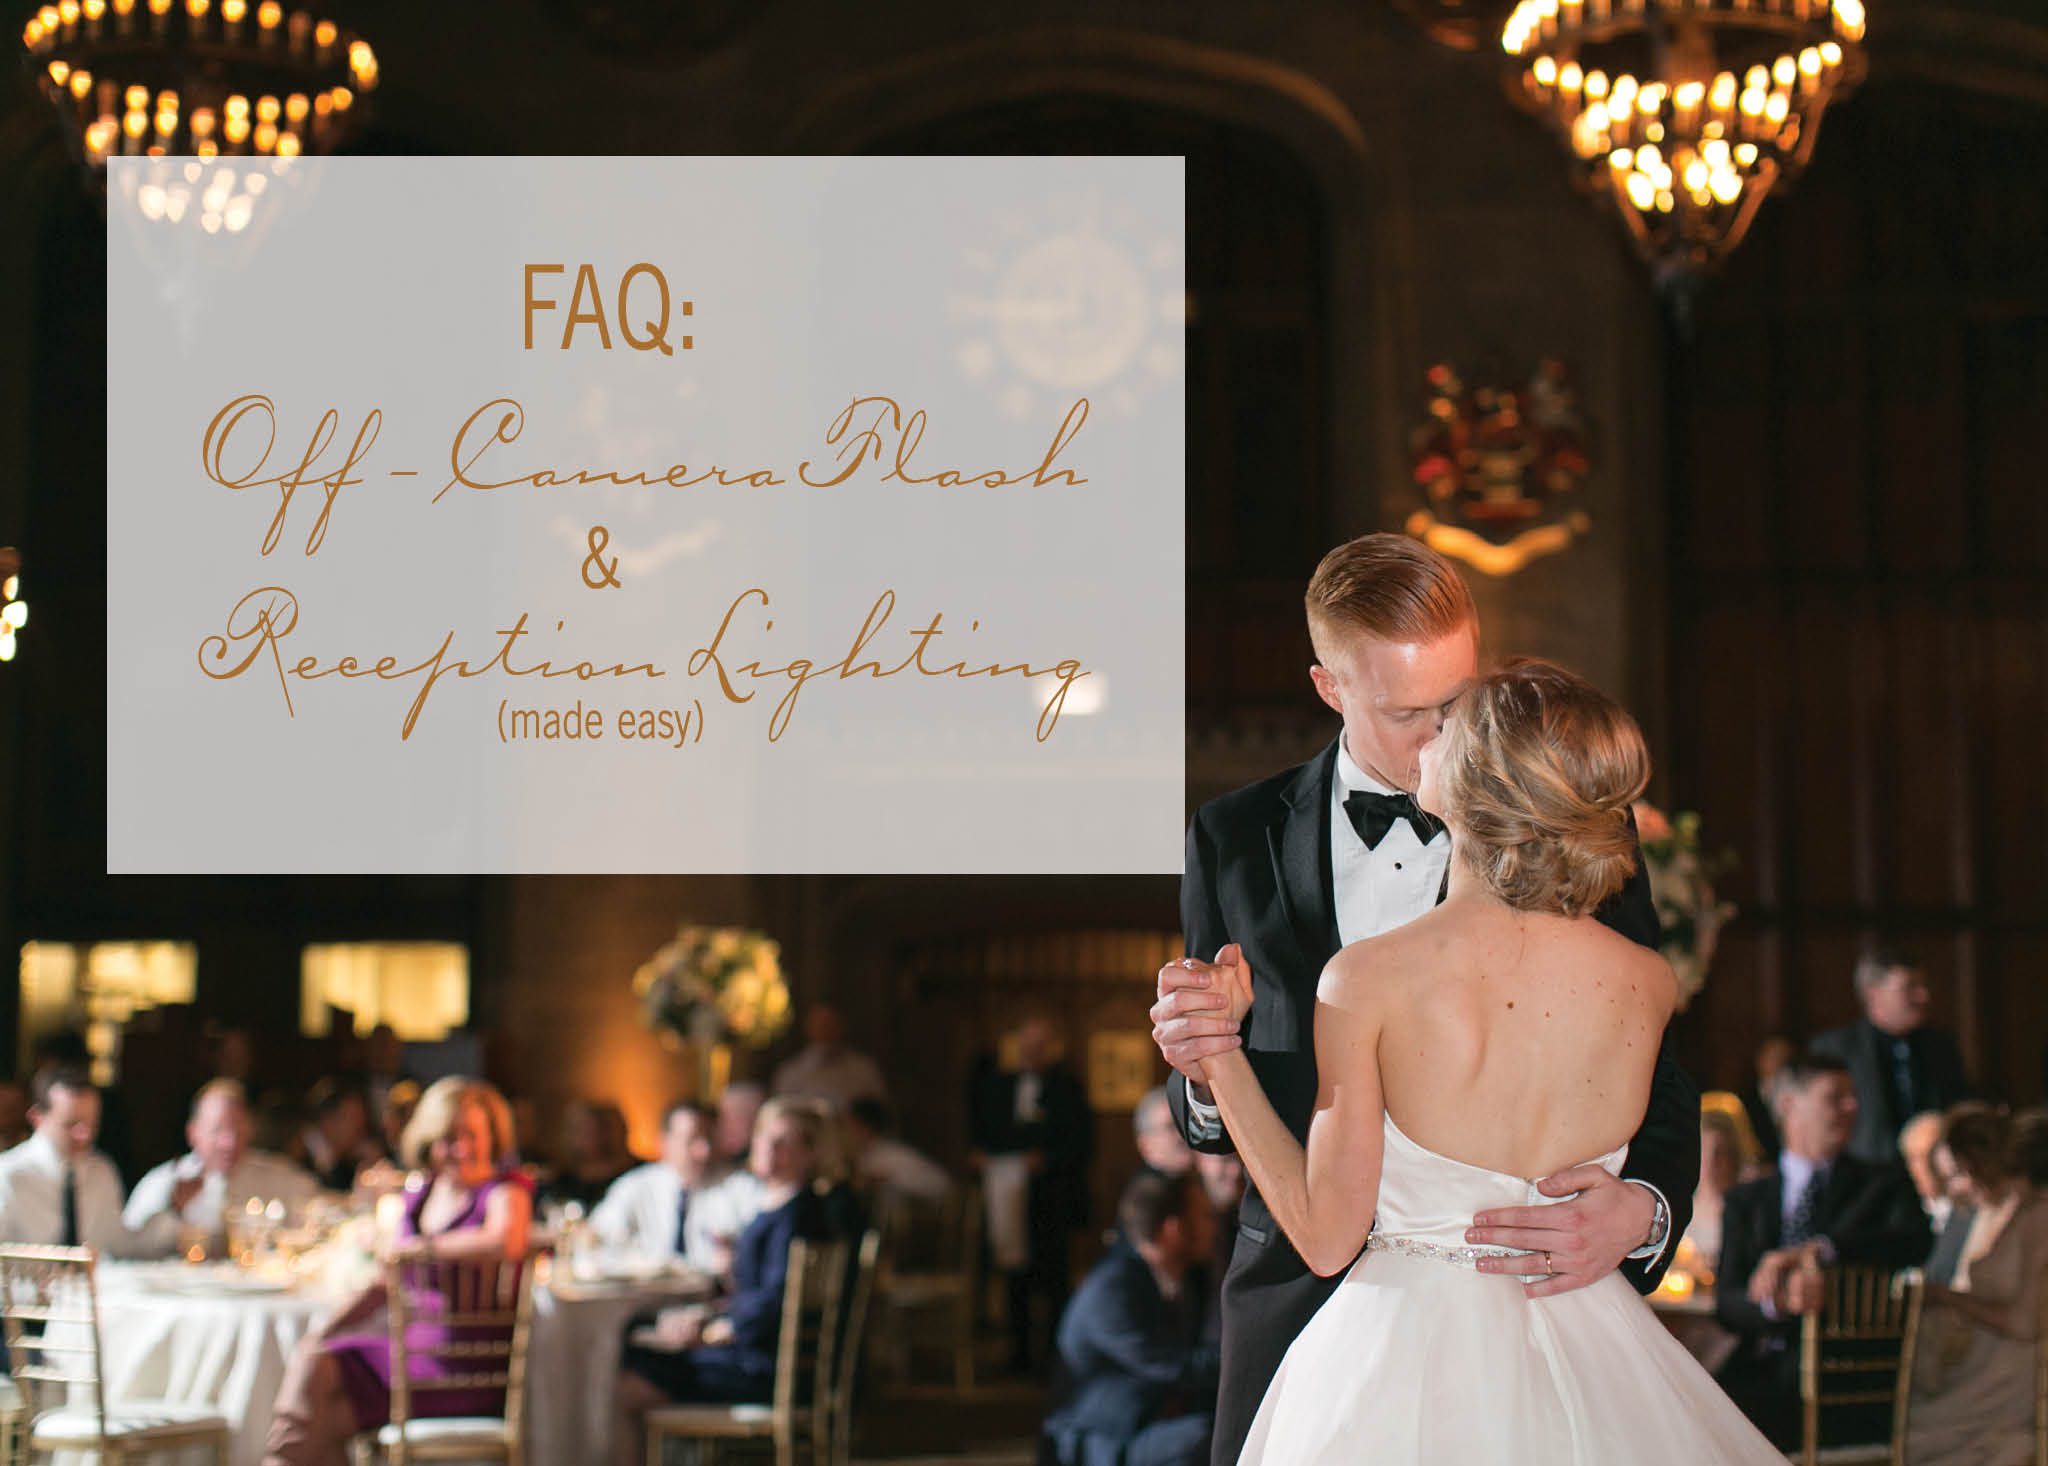
Hi guys!! I wrote a pretty intensive/thorough post way back in 2012 about what we did for our off-camera lighting set up at weddings and I recently touched on the topic again in one of our Facebook Live posts that I’ve been doing every Tuesday at noon central time! (Except for today – because I lost my voice shooting a wedding this weekend and made it even worse shooting 13 mini sessions the very next day on Sunday! haha! So I can’t hardly speak, let alone do a video talk of any sort…)
SO – I figured I would share last week’s video here and write a little update on our lighting set-up now (since it has been almost 6 years since that last post)!!
To start this out – lets update our lighting gear list!! Here it is:
For Off-Camera:
- Light Stand & flash mount
- Large-sized Umbrella & umbrella bracket (The umbrella is large enough to help throw the light even when we are doing huge family formal set ups in a church)
- Canon 600EX-RT Speedlite flash
For On-Camera:
*If you don’t have the Canon 600EX-RT flashes with the built in radio/triggers – then you will need to invest in Pocket Wizards, or something similar so the flashes can ‘talk’ to each other and the one you are using on-camera can trigger the off-camera flash.
Other Lighting Gear:
- Battery Packs (we use Bolt brand – one for every flash we use – so each of us have one on camera and each of us have one hooked up to our off-camera)
- Eneloop Rechargeable Batteries (We loooove these! First of all I’m no longer throwing away piles of batteries every week (how awful! ah!) – but these also work WAY better and we hardly have to switch out batteries on wedding days anymore!)
- Fotodiox Pro LED Video Light (We have two and you can read more about how we use them HERE.)
- Gary Fong Lightsphere (We have two – one for each on-camera when necessary – like in cases where we can’t bounce our on-camera flash anywhere.)
Here is the Facebook Live I did last week chatting more about this and about settings we use and how we shoot with lighting on wedding days!
And here are more notes and explanations from that talk here:
The general settings I talked about are the following (so you have an idea where to start):
Canon 600EX-RT Speedlite Settings – You first need to adjust the settings on the two you are using and SAVE the settings to your flash, so then in the future you can just go to “Memory -> Load” and they will pull up the same for each wedding – with the Flash on your camera noted as ‘Master’ and the flash off-camera noted as “Slave”. You can find more information about this from Canon HERE. (Follow steps at the end of the PDF for setting up “Gr” mode. If you still need help – feel free to shoot me a message and I can send you my set-up notes!)
Off-Camera Flash – set to MANUAL and I set it to its lowest power setting of 1/64 as default to start and adjust from there. (Basically, the closer the flash is to the subject, the lower you want the power.)
Light Stand – I set it anywhere from 10-20 feet from where the subject I want it to backlight or side light is sitting/standing/dancing (depending upon the size & layout of the reception room). I set the height of it so that it is about 10 feet in the air (a rough guess here – so that it will throw all the way across the room and not be so low that people block it from getting to those further across the room. During speeches/dinner – I set it at about a 45 degree angle from the subject’s back so it is creating a rim light along their body, but so the light source is out of my frame (the same way I would light my subject if I were using natural sunlight). During the dancing portion of the night I move it somewhere closer to the dance floor – near a wall, pole, or anything else that will keep it from getting knocked over (if possible). Ideally – I like to have the light shooting towards the DJ so that I can stand at the DJ booth and shoot into the crowd for the dance shots (to get reactions of the crowd sitting at the tables, or surrounding the dance floor, instead of just the DJ booth in the background).
Umbrella – We always utilize the umbrella when shooting with the off-camera flash as our main source of light (like for family formal photos following the ceremony if the church, for example), and occasionally – we have the umbrella on for photos during the speeches/dinner because the umbrella softens the light but it still has a nice directional quality to it. Then for the dancing shots – we remove the umbrella so we can move more freely around the room for dancing photos and because we don’t mind the pop of the flash in the photo for those more crazy dance photos.
On-camera Flash – set to ETTL so the flash knows how much power to kick out to properly fill the scene with light. Since most receptions usually have ambient light (candles/Christmas lights/wall sconces/DJ lights) that can confuse the flash – I normally set it to +2/3 or +1 so that the image does not come out under exposed. (Also make sure to properly set the “Zoom” setting on your flash so it matches the lens you are using!) I should also note that if the room has neutral colored ceiling and walls I can bounce my flash off of – then I shoot with the on-camera flash aimed 45 degrees to the right (meaning if I were to set it facing straight up, then twist it to the right 90 degrees & tip it down 45 degrees). This set-up allows the on-camera flash to have a directional, almost window light-like quality to it.
Camera – set to MANUAL. I decide on the ISO, aperture, and shutter speed myself. I don’t like to leave this up to my camera to decide! A normal setting for my camera is usually around 1/125-1/200th (shutter speed) and f/2.0-2.8, depending on what I’m capturing. (Obviously I make adjustments as necessary. For example – if I want more of the ambient light to come out in the images, or if I want a bit of motion blur, I slow down the shutter speed. Or if I want more people to be in focus, I close down the aperture to f/4 or so.) For the ISO – we are basing that off of how much ambient light we want to be pulled into the photo. The higher the ISO – the more the background of what is going on in the room will come into play in the image. Ideally, we want the background to be one stop darker than our subject – so that the subject still stands out – but so that we also get the feel for the room. Make sure to note that when adjusting the ISO – that is also affecting the brightness of the off-camera flash because it is set to MANUAL – which means the higher your ISO gets, the brighter your off-camera flash will be in the photos! So you’ll need to find the sweet spot between your ISO to ensure you are getting enough information from the room behind your subjects, and your Off-Camera Flash’s power – so you’re getting a nice rim-light that should be a stop or so brighter than your on-camera flashes main light in the images.
And below are some examples of how we have utilized our lighting in a variety of scenarios!!
Left: OCF about 120 degrees from camera to right. On camera flash bounced to right 45 degrees.
Right: Video light to camera right.
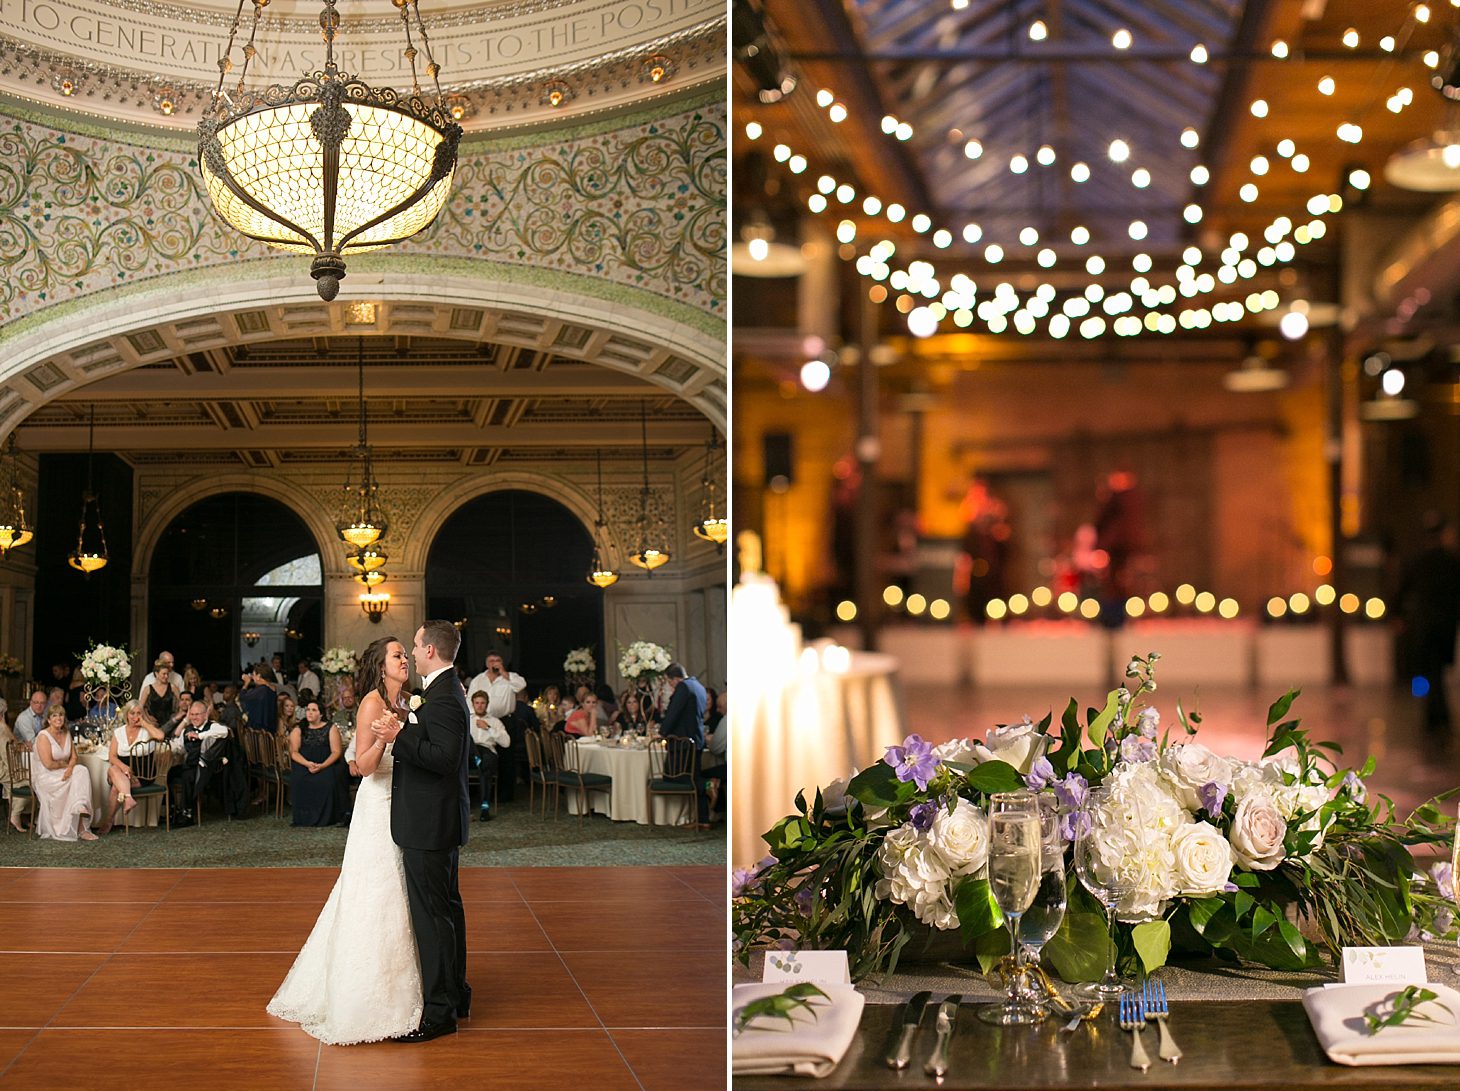
Left: Video light about 120 degrees from camera to left.
Right: Off camera flash on light stand with umbrella as main source of light 30-45 degrees to camera right. On camera flash aimed straight up (on low-power manual) with white bounce card up – used to fill shadows a tiny bit.
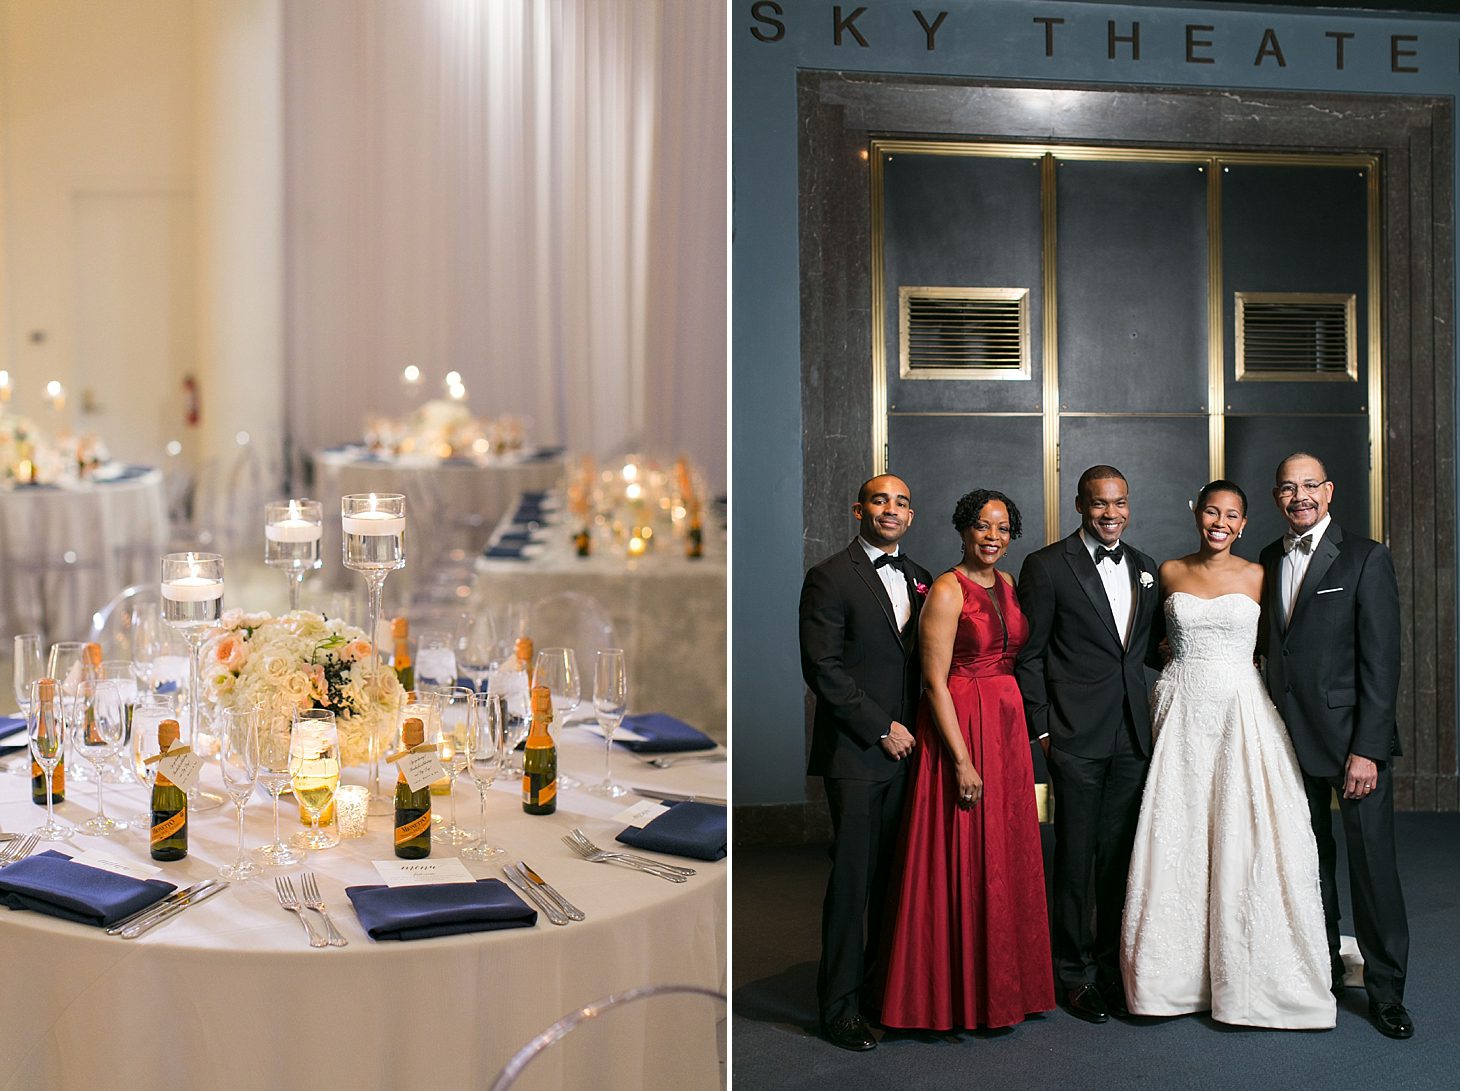
Left: Video light camera left.
Right: Off camera flash (as seen in image) about 140 degrees to camera right. On camera flash bounced 45 degrees right.
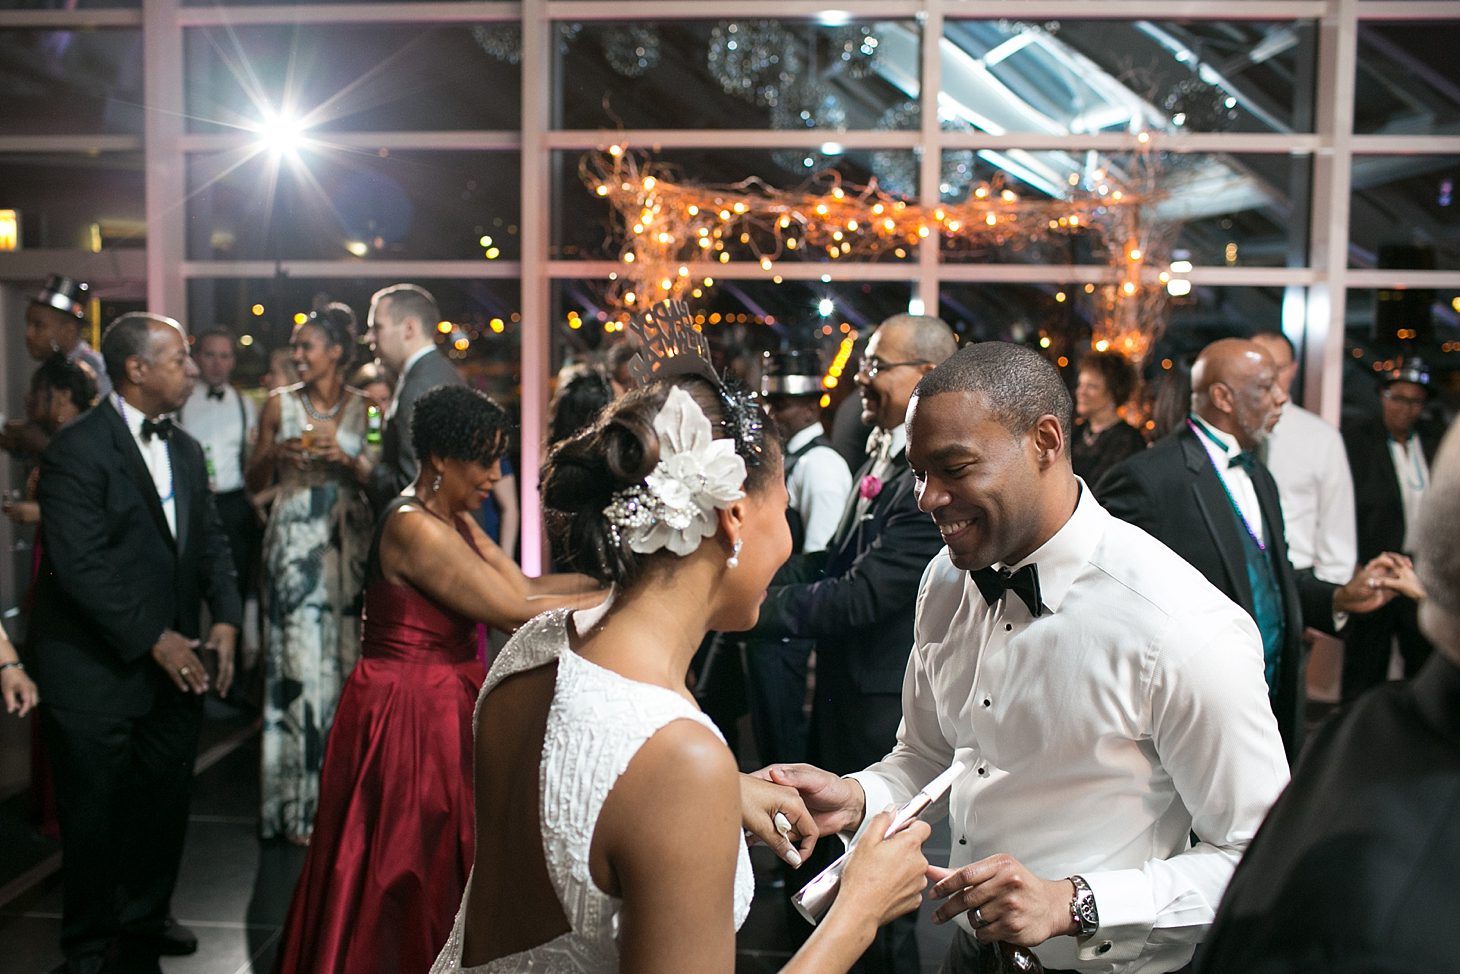
Off camera flash directly behind subjects but placed all the way across the room and raised up as high as the light stand would go so that the light would be able to throw across the length of the room. On camera flash bounced 45 degrees to right.
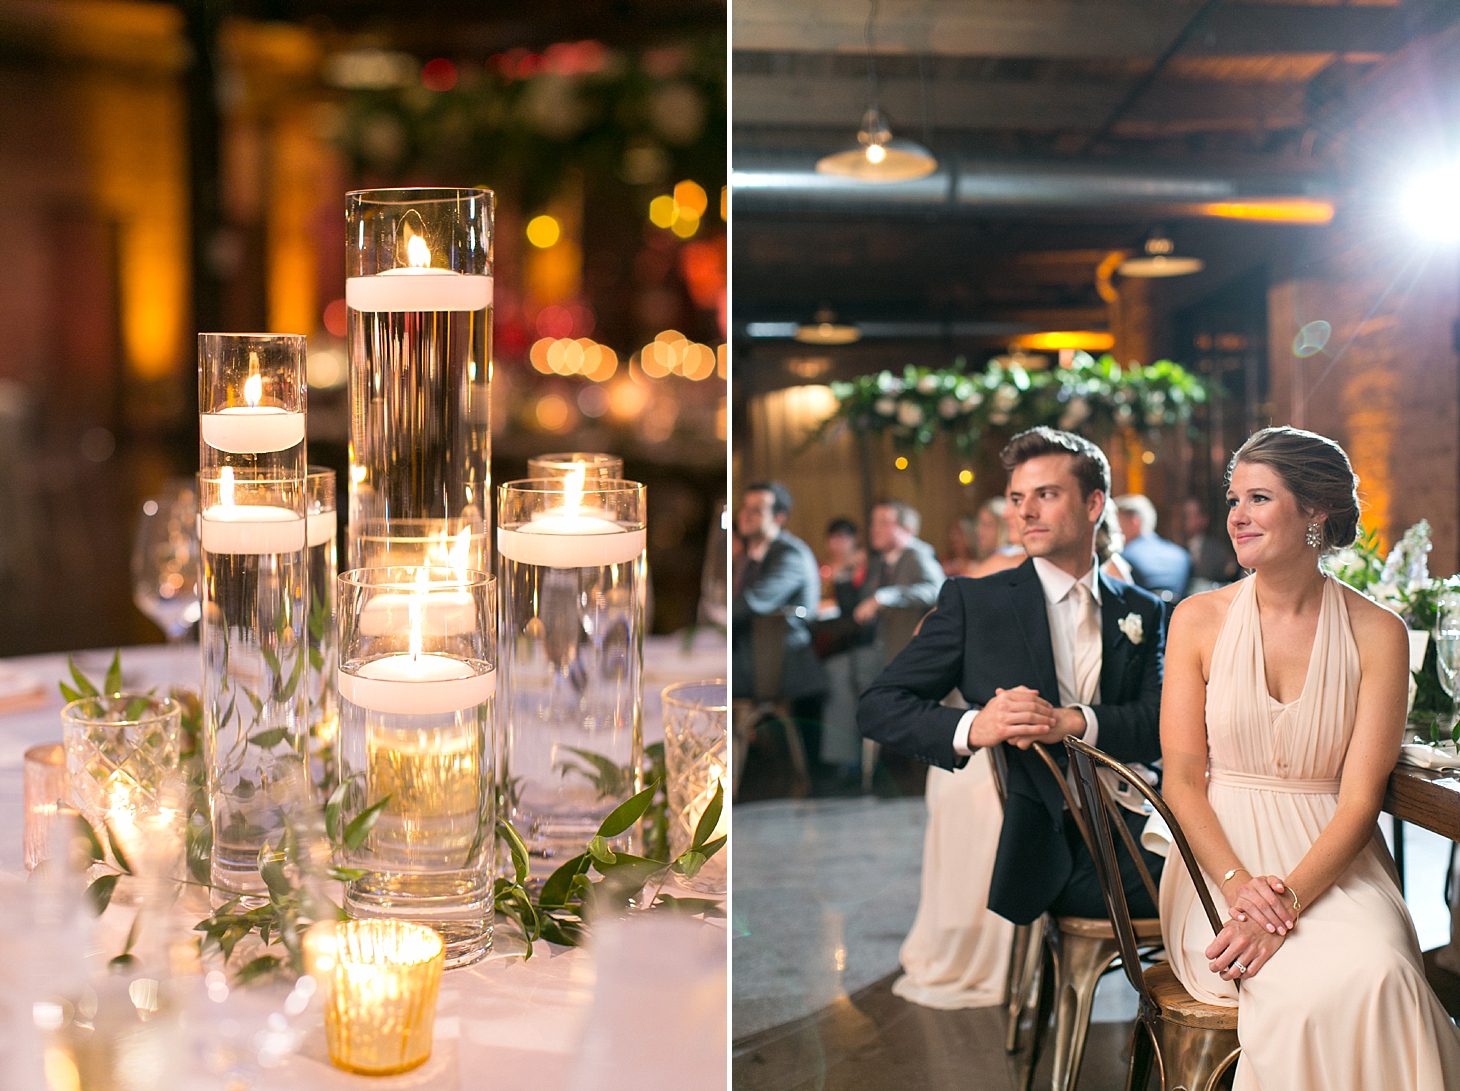
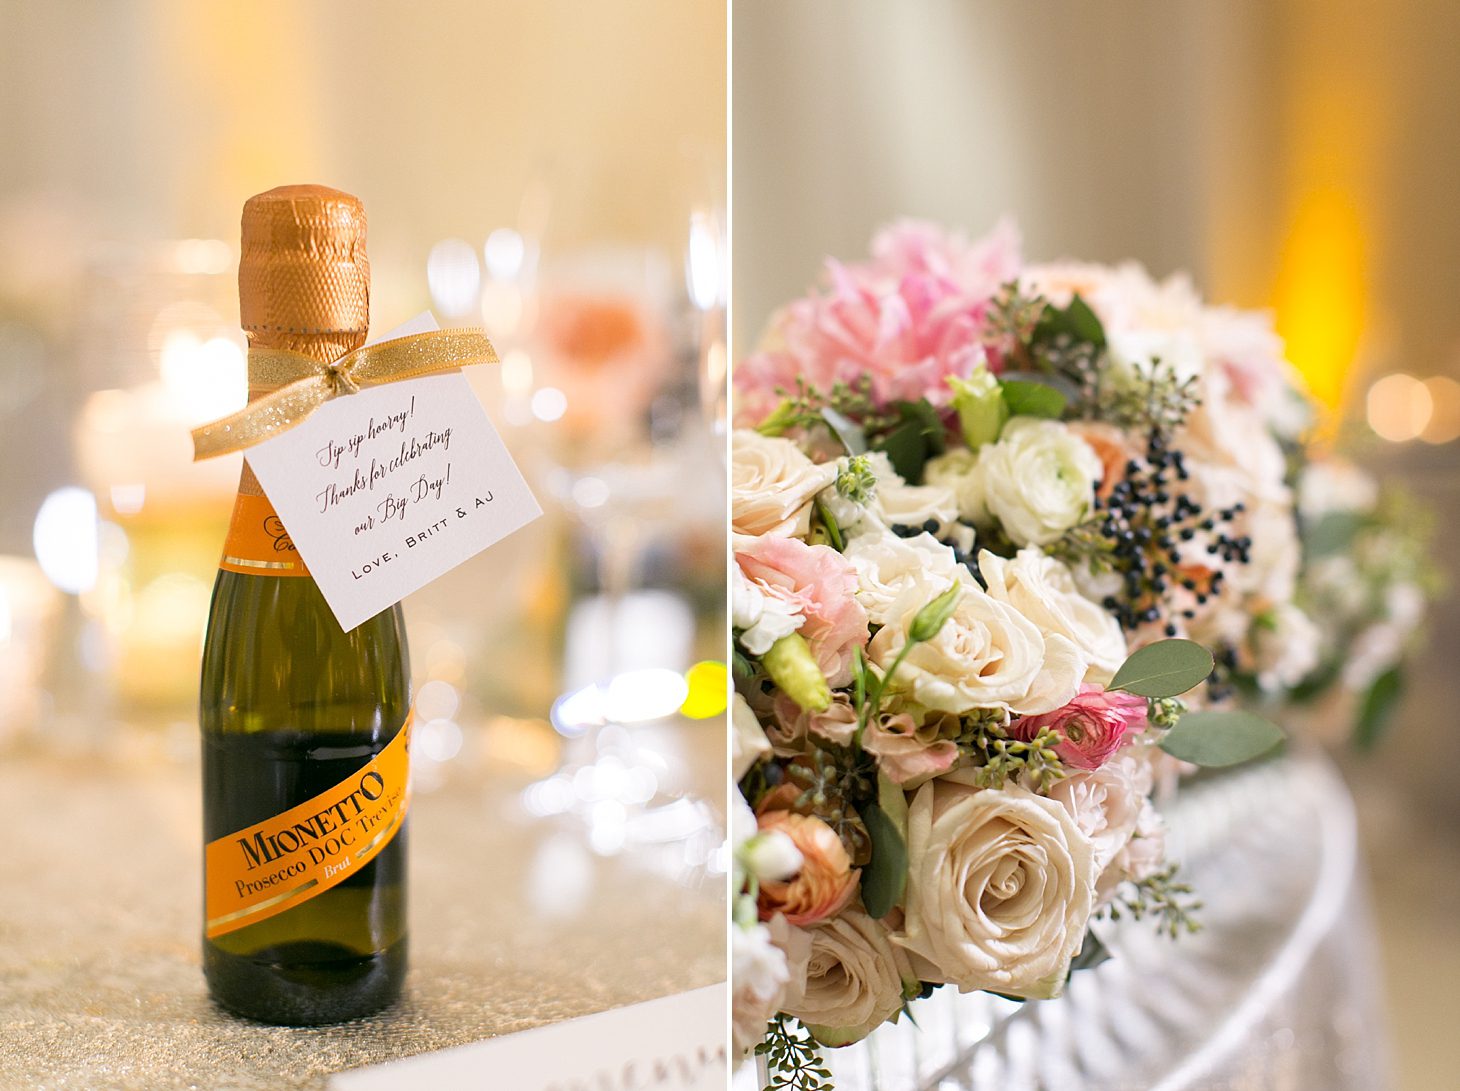
Both images – lit with Video light to camera right.
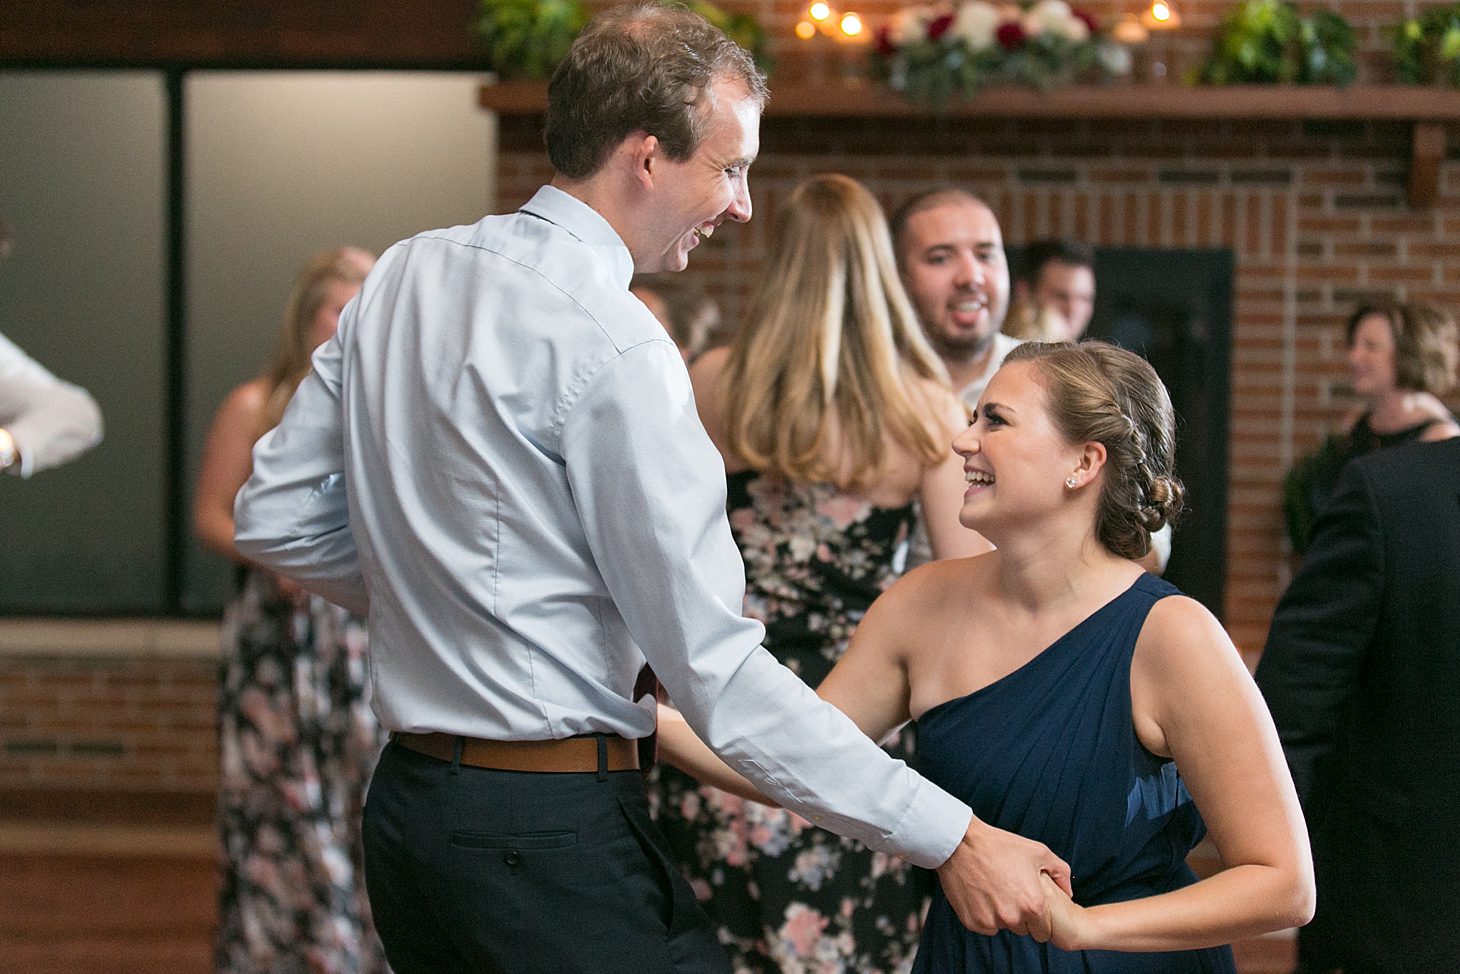
Off camera flash on stand just over 90 degrees from camera to right. On camera flash bounced 45 degrees to right.
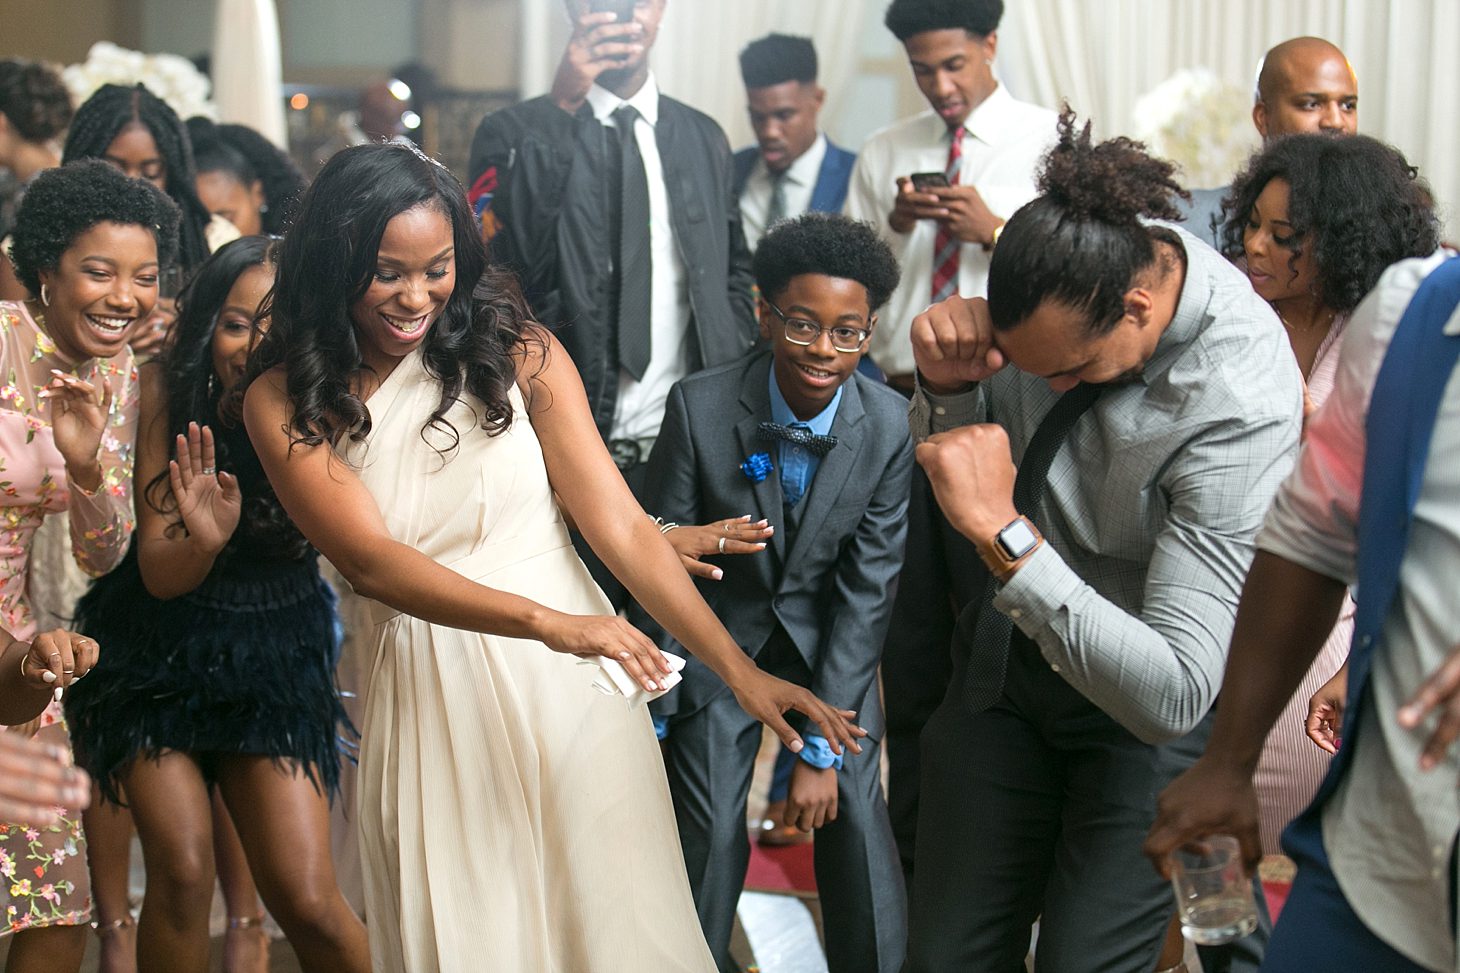
Off camera flash visible in frame about 135 degrees camera left. On camera flash bounced 45 degrees to right.
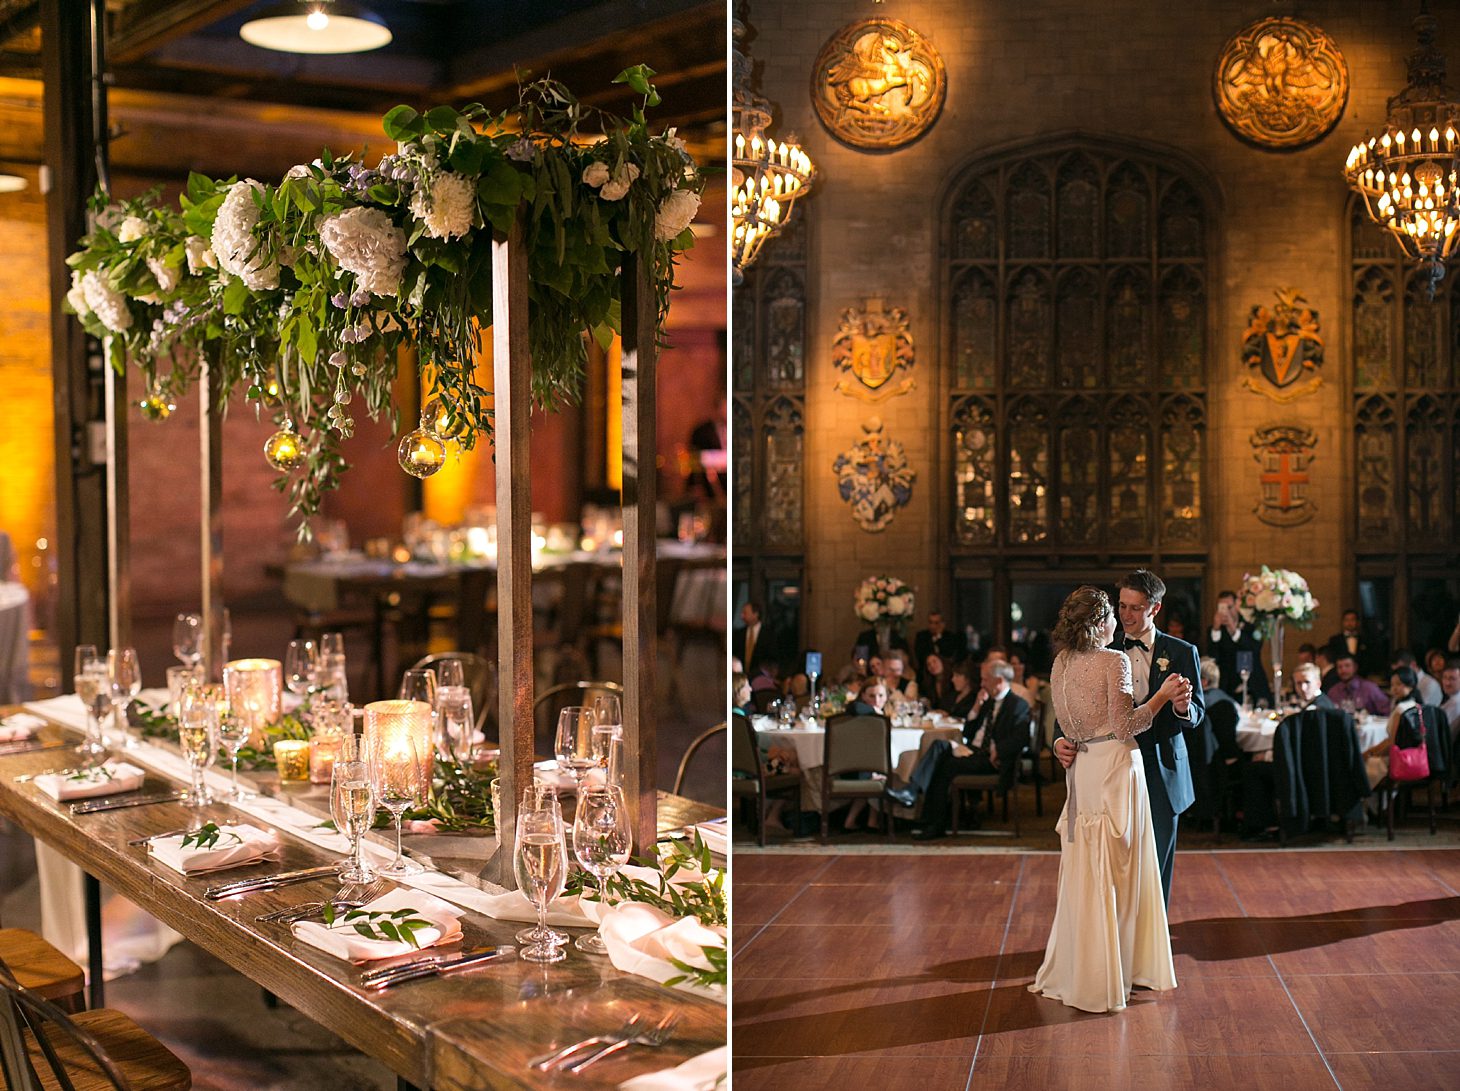
Left: Video light about 120 degrees camera left.
Right: Off camera flash 120 degrees camera right. On camera flash with Gary Fong adaptor aimed straight up.
You can also see a LOT more examples with explanations in the first lighting post I did way back when HERE.
Hopefully this helped to make sense of this sometimes overwhelming topic! Please let me know if you have any questions!! And if you want to learn in person from me – we host lighting intensive workshops 1-2 times a year here in Chicago! Just send me a message to be added to the wait list!!