
It’s been a few years since I originally posted about this topic, and since our process has changed a bit since then – I thought it was time for an update!! That, and I get asked this question a lot – so I figured it would be good to just write a post I can direct people to!!
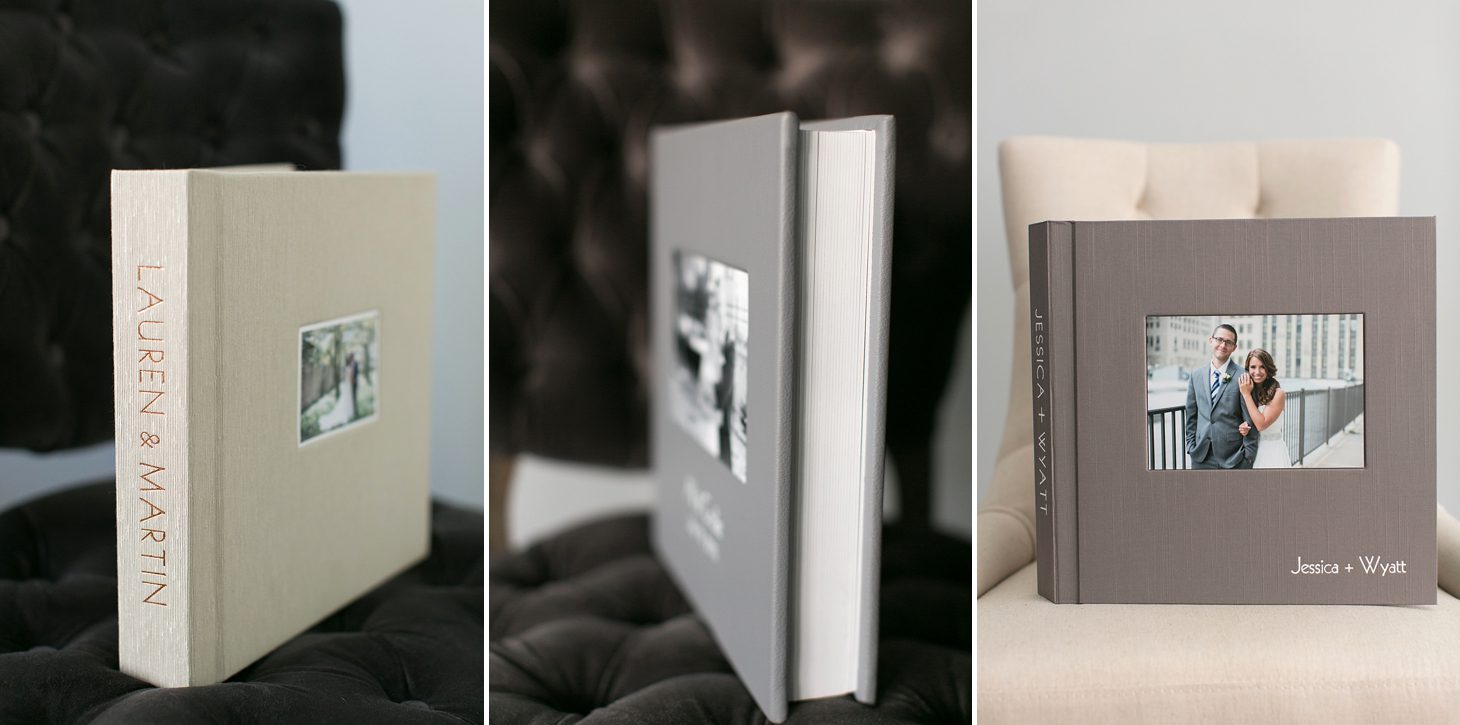
First of all, we order all our albums through Leather Craftsmen and I really don’t think I could ever use another company!! We’ve tried others in the past and they just didn’t feel as high quality to me. Since we want these albums to be family heirlooms for our clients that can be passed down for generations to come – it is SO important to me that we give them a product we are 110% proud of! And given that we ordered our own wedding album from Leather Craftsmen, you better believe we LOVE and vouch for this company!
The albums we offer from Leather Craftsmen are their 3500 flush series albums. We offer them in parent album size (8×8), and two sizes for couple’s to choose from (10×10 and 12×12)… though anybody, including parents, has the option to upgrade to a larger size if they’d like.
Here’s the process:
1. Clients are allowed the choice to decide what photos go into the album. If they would rather I choose the photos, I’m happy to do that – but I like to offer clients the option to choose the images themselves – because often times the images I love are not necessarily the same images my clients love.
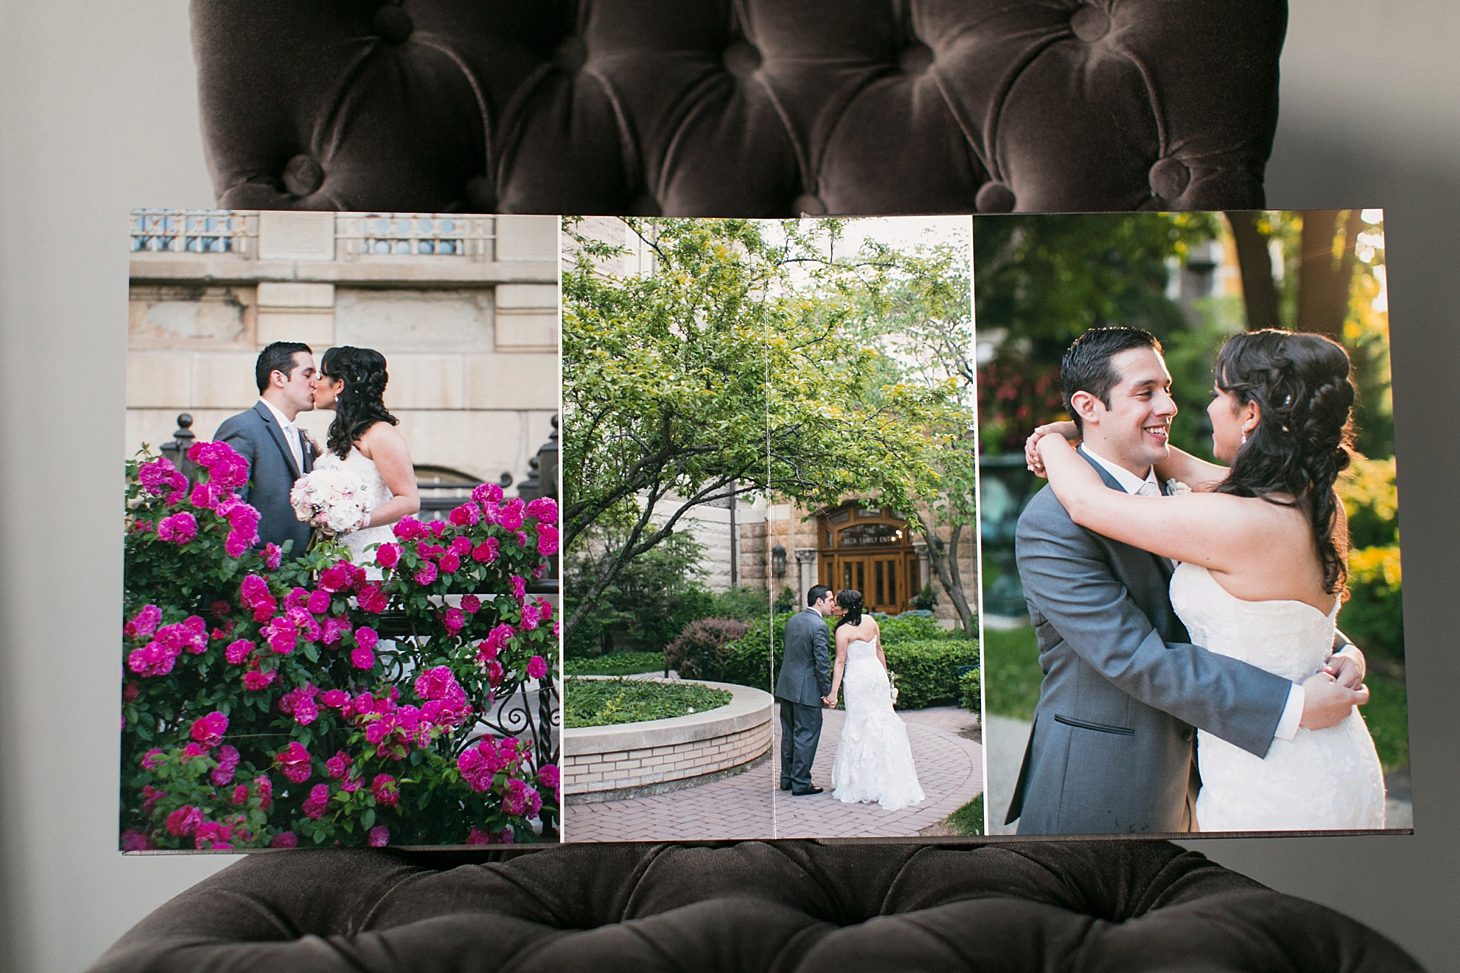
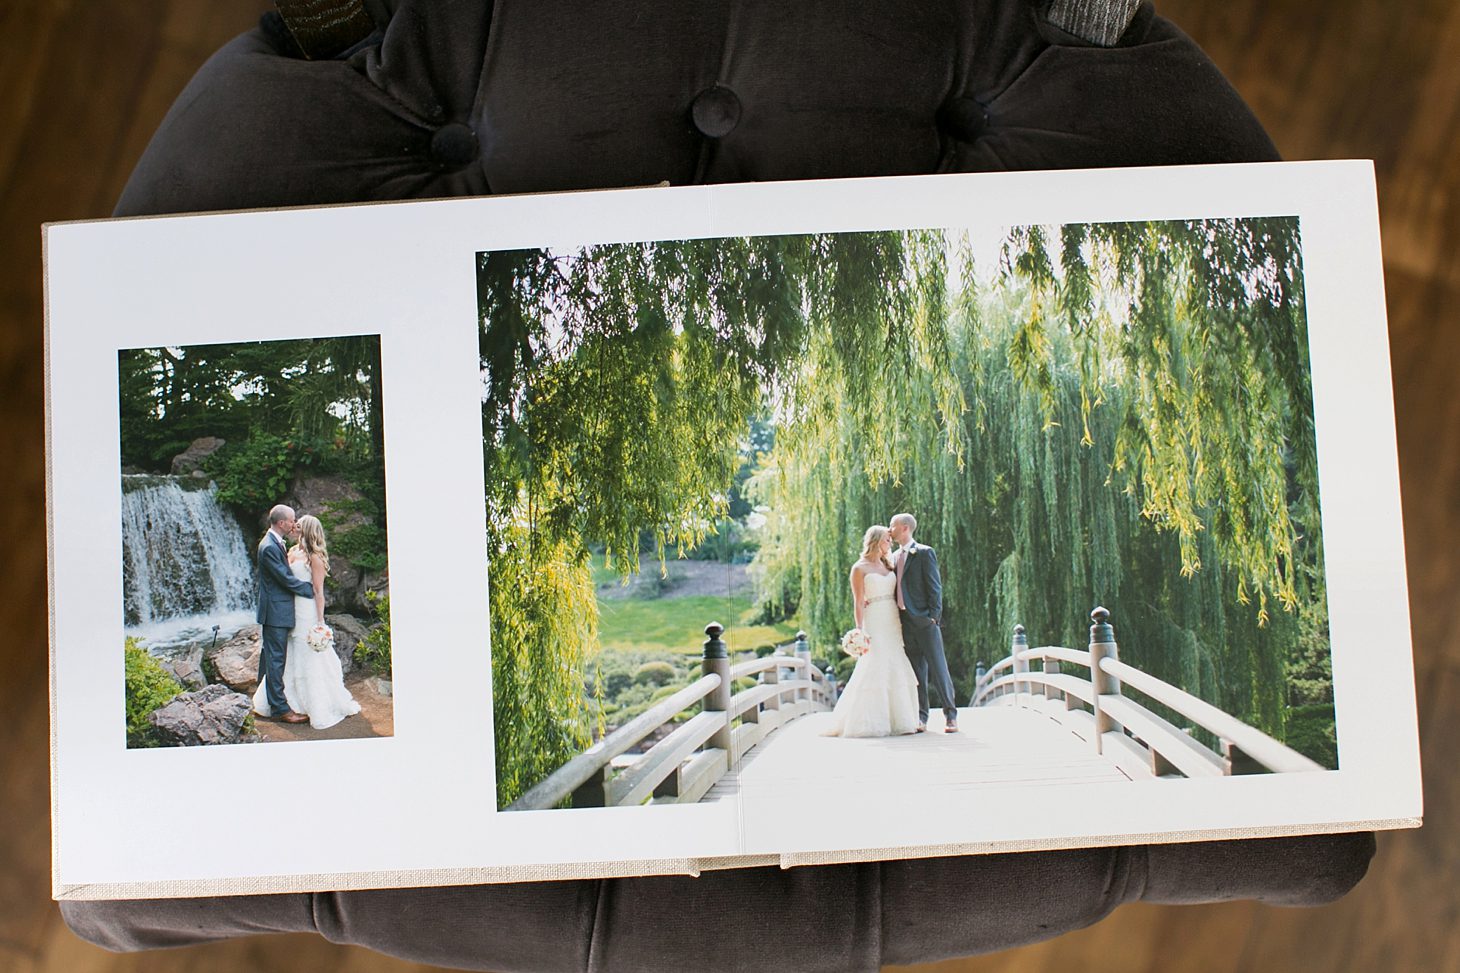
Our albums come with 40 pages (20 2-page spreads, as shown above), so I suggest clients choose around 80-100 images for their album so that the design isn’t too crowded. I do my best to fit them all in the 40 pages included in the price, but occasionally depending on the photos they’ve chosen – I’ll need to add a couple pages to make the design work. (Which is an additional cost clients can approve or request to take out before sending to print.)
If they would rather choose more than 100 images – then I make sure they understand that means I will definitely need to add more spreads in order to fit all of the images in the album. As mentioned above – I add pages in order to preserve the integrity of the design (and not to overcrowd images).
2. Clients mark which images they’d like included in the album by starring them as “Favorites” in their online PASS gallery (where I delivered their wedding photos to them). That way I can just go in to find their folder of favorites in the software, download the folder right to my computer, and start the design process!
At this point I also have clients note if they have any special requests: i.e.) images they especially love and want as a full page spread or to start/end the album with, or that they want in black/white vs. color. That way I know going into the design any requests they have and can make sure to design around that. If they don’t have any special requests – then I design the album in a way that best tells the story of their day in a beautiful and clean design!
3. This step is where the big change in my workflow came in the past couple of years!! I used to use Photojunction as the design software for my albums. It was free and you’re able to save your own templates from your designs so you can re-use previous spreads that you liked in the past. You can also purchase pre-designed templates if designing them yourself isn’t really your thing. But designing albums was taking me FOREVER and was a big time suck in my workflow. I found myself procrastinating the designs because it would take me a full day or two just to design an album. It wasn’t super intuitive and the warnings at the end about spacing being off and all kinds of other issues the software would find in my design drove me crazy!
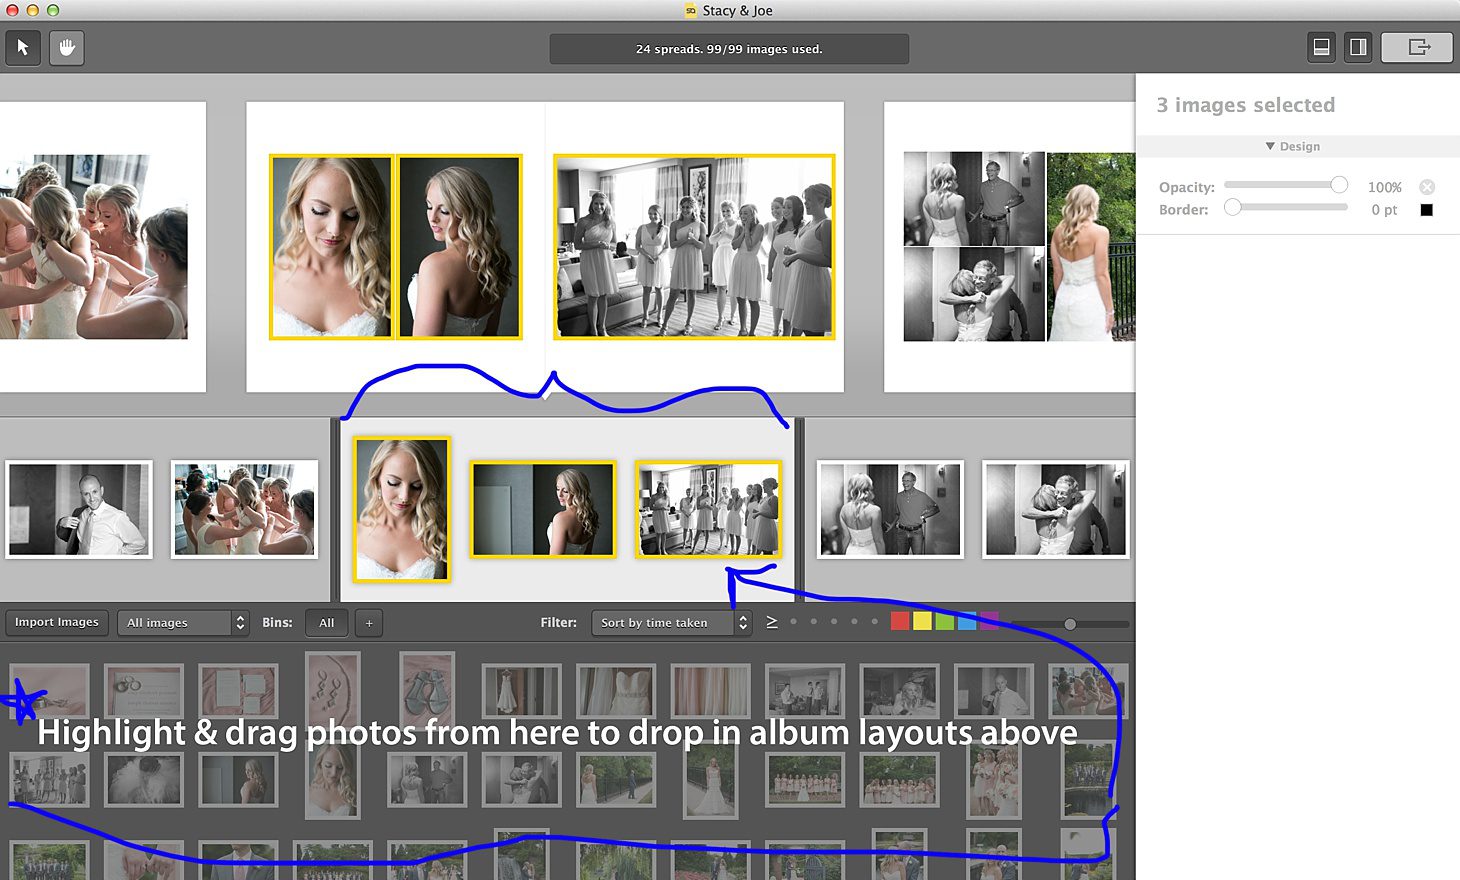
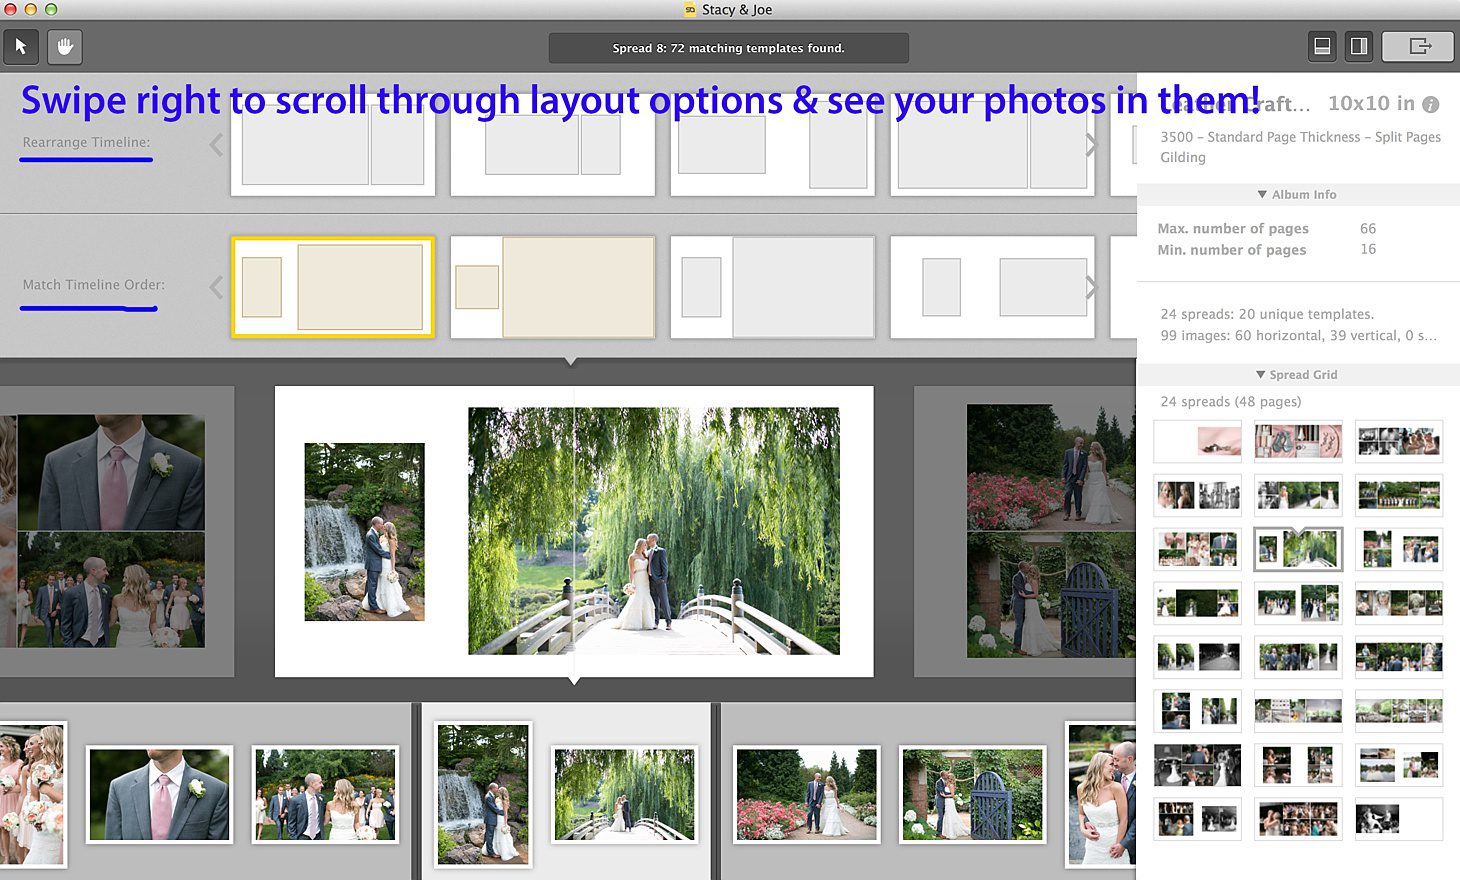
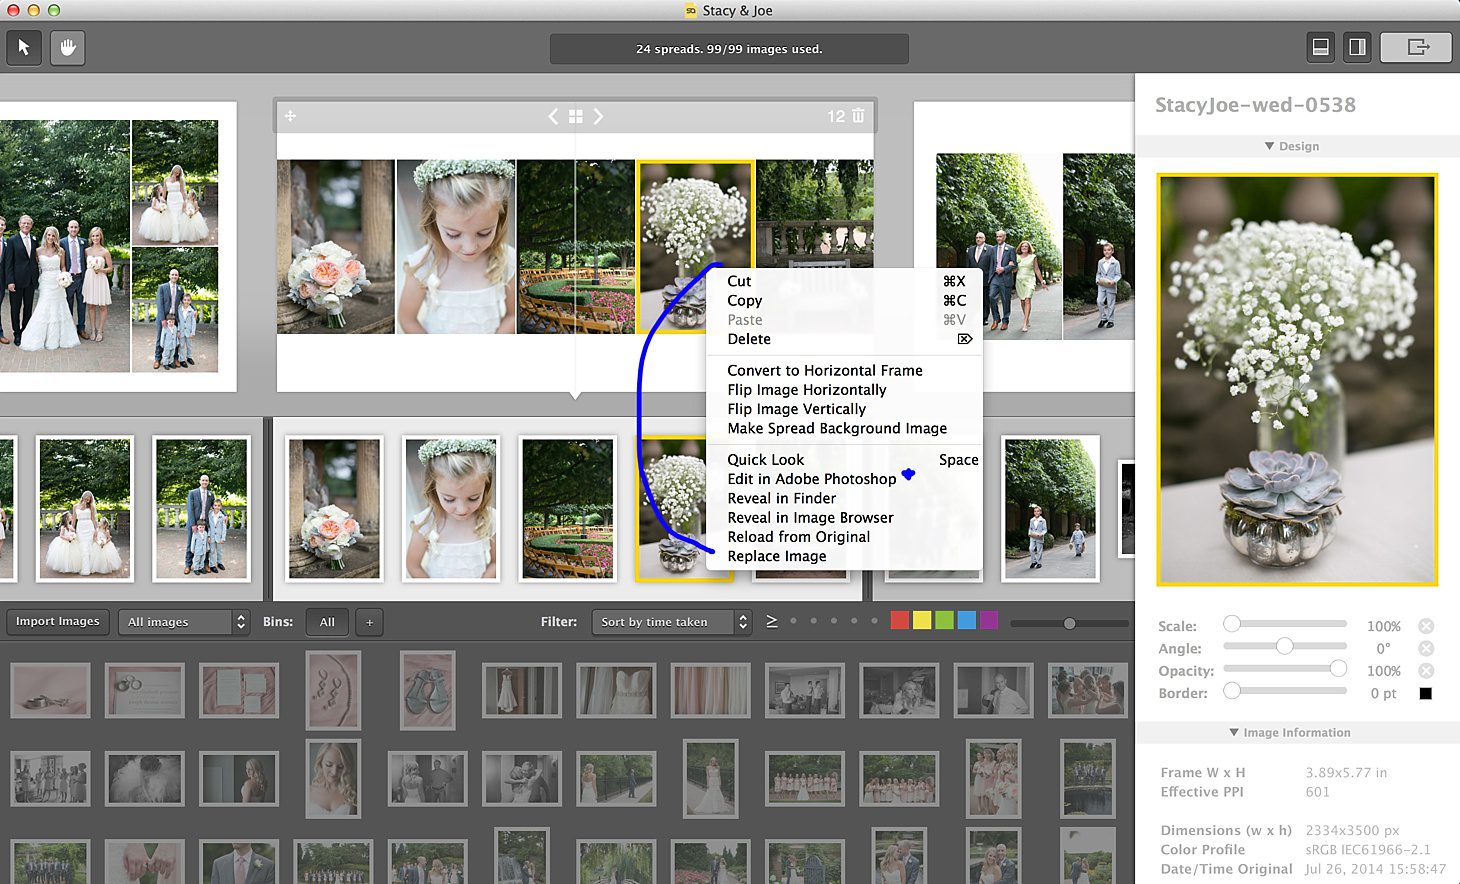
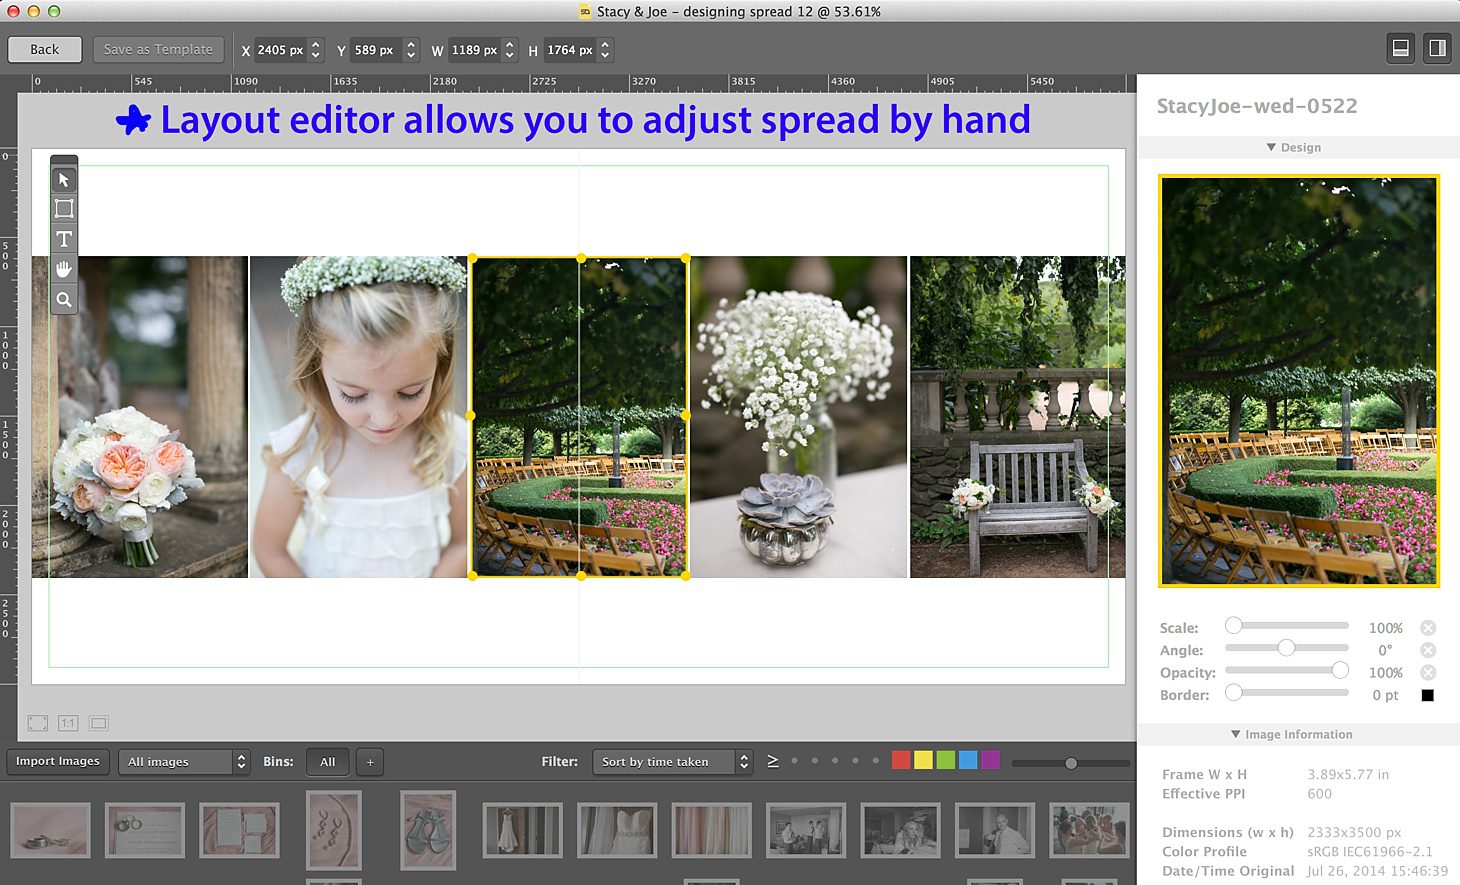
Then in came Pixellu SmartAlbums – and my life was changed forever!!! I seriously cannot say enough amazing things about this software and what it has done for my album design process!! It allows me to select images I want in a spread, and drag & drop them into a spread. Then I can easily scroll through design options and choose the one that best fits to tell the story of the images. If I don’t love something about a particular spread, I can double click on it and customize each part of it so easily! Then I just save it and head back to the design. It also allows you the option to right click on an image to “edit in photoshop” if an image needs something in particular edited out. Then once you save it in photoshop it automatically updates the image in the album to the newer edited version.
Here are some screenshots of the software:
I could go on forever about how much I love this software, but I really think the best way to understand all of its capabilities is to just get it and try it out yourself!!
4. SmartAlbums also has a proofing software at an additional cost, but I have stuck with my old company for proofing so far instead. I use Album Exposure for a client proofing site and it really makes proofing easy. I just upload my spreads into a new album, choose my preferences for how to show it, and send a link to the clients – along with setting notification reminders for them to view and approve the album within a certain amount of days. They are able to use a password to access the design, comment on each spread, and even tag particular images if they want any changes made. I get an email when they’ve made requests and I get right to adjusting their design. Once I’ve made the adjustments (back in SmartAlbums) I export the updated spreads and upload them to Album Exposure. It automatically puts them in place of the old spreads, which is so nice – and then I email my clients to let them know it is ready to be viewed/approved!
(Here’s an example of what the album looks like to clients through Album Exposure: https://albumexposure.com/ChristyTylerPhotography/stacy-joe Password: album)
And here are some screenshots of this software:
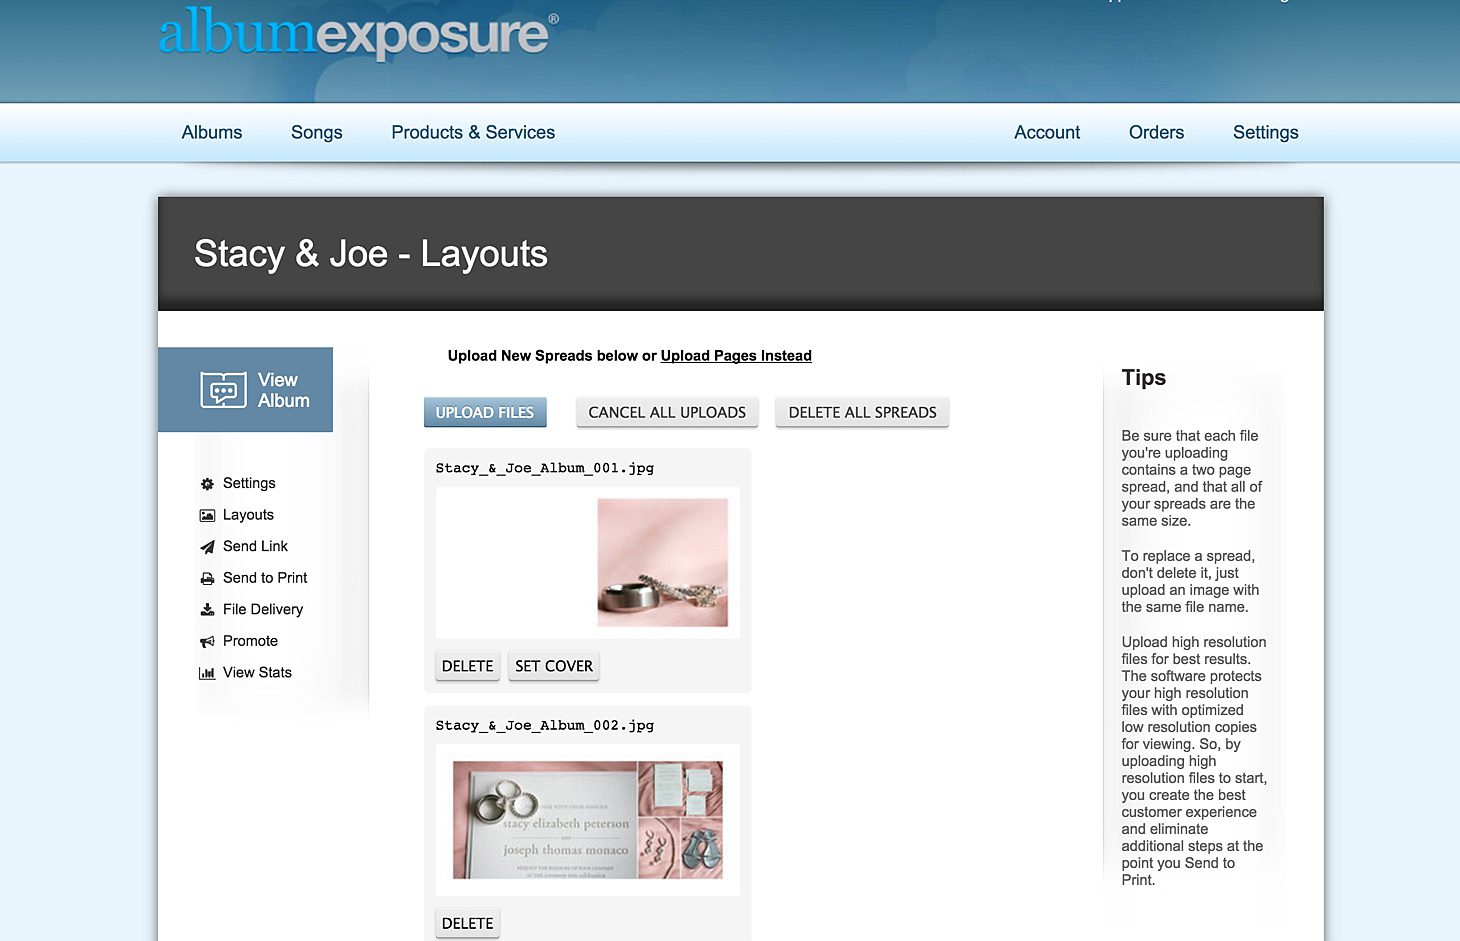
Uploading the album layouts…
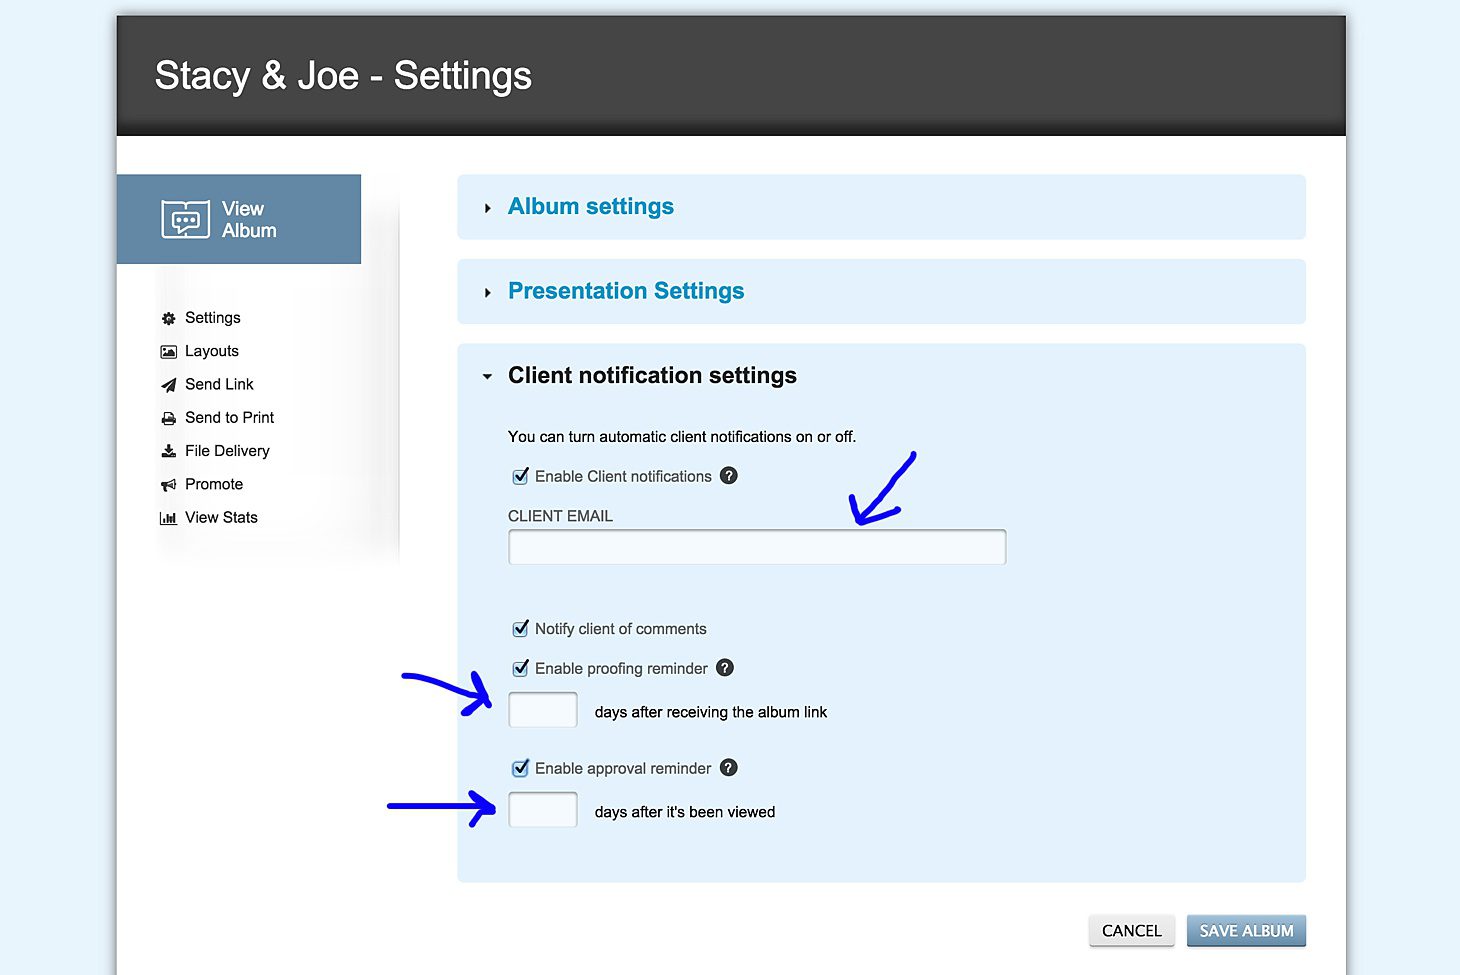
Setting client email and notification settings…
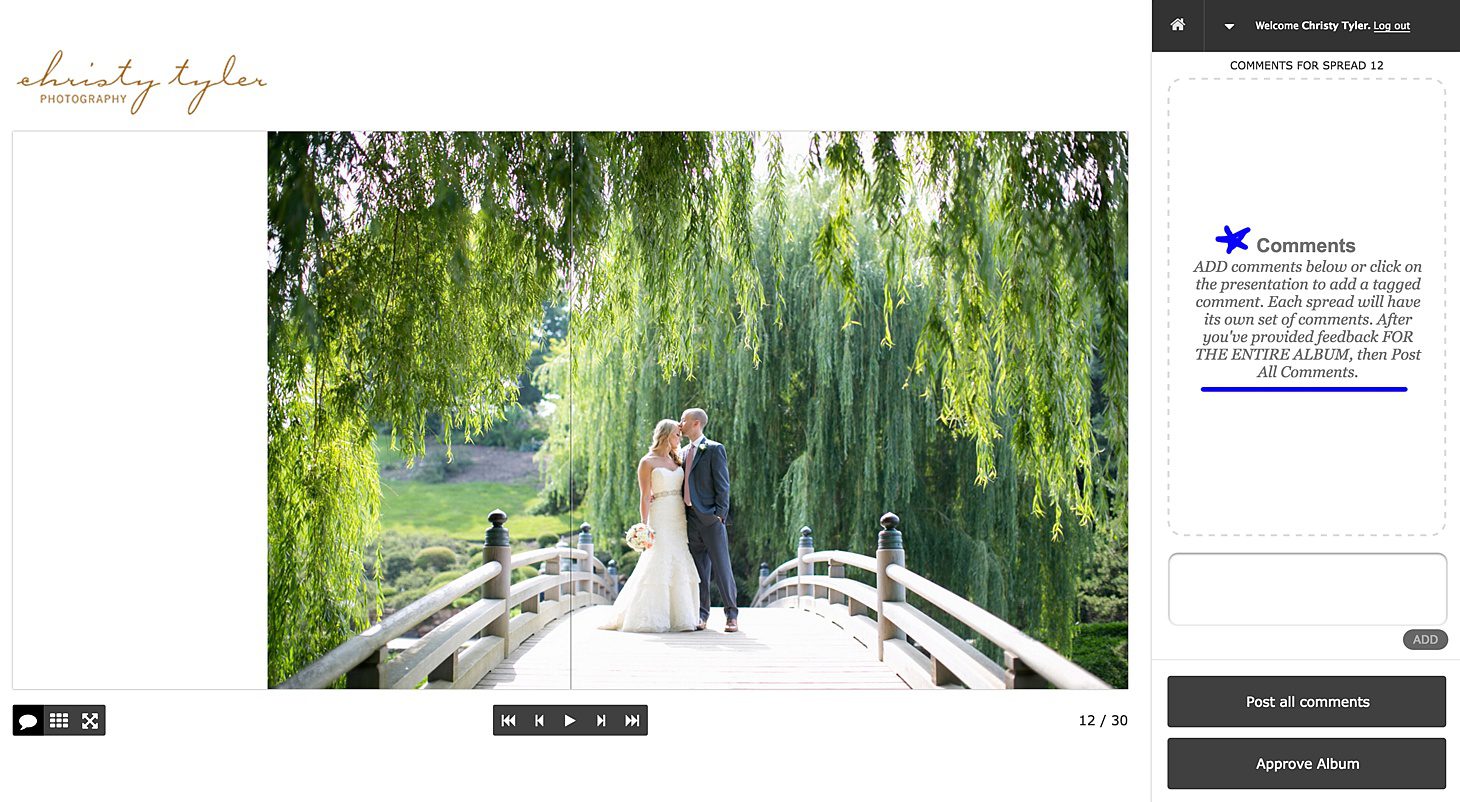
The interface where clients can view the album and leave comments…
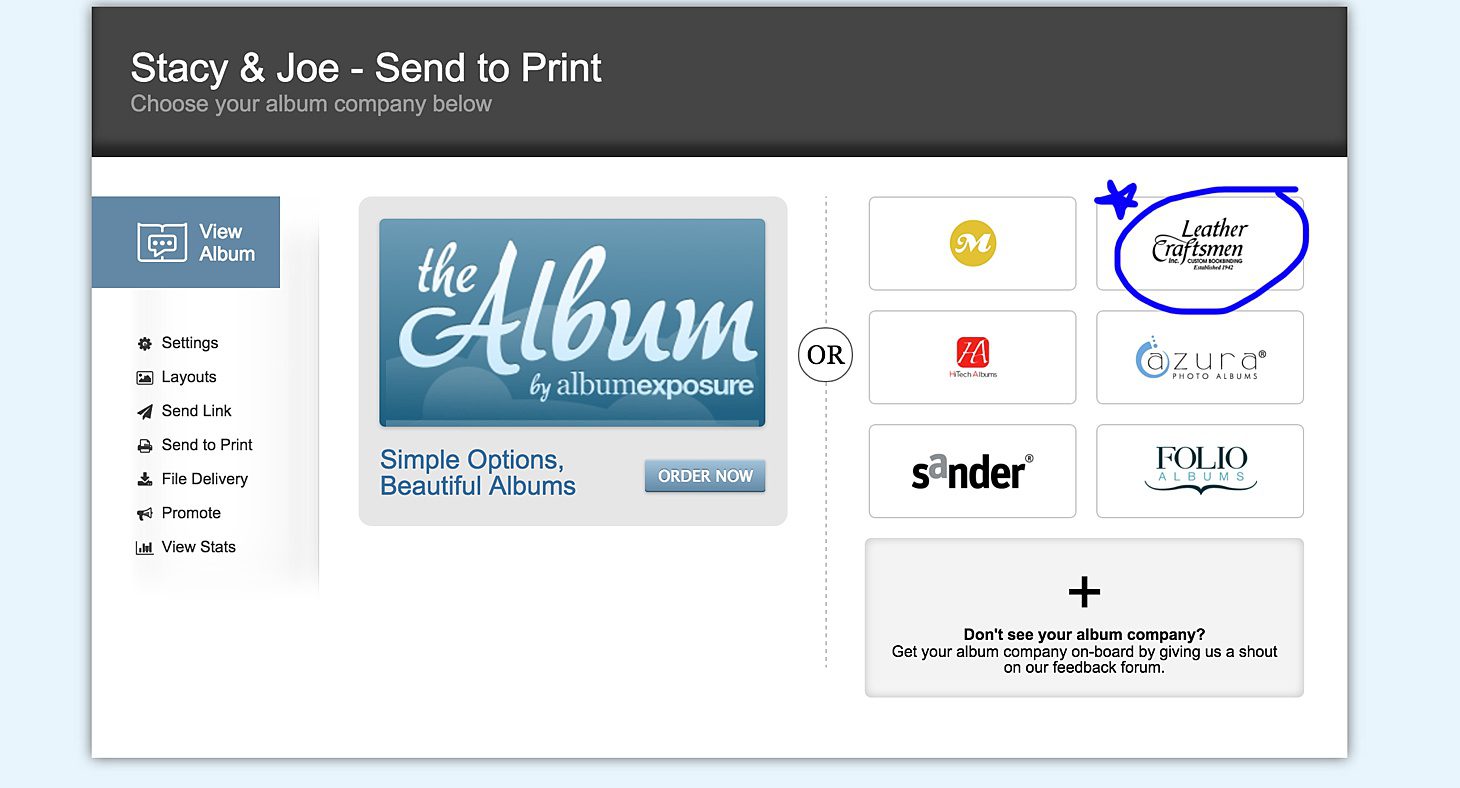
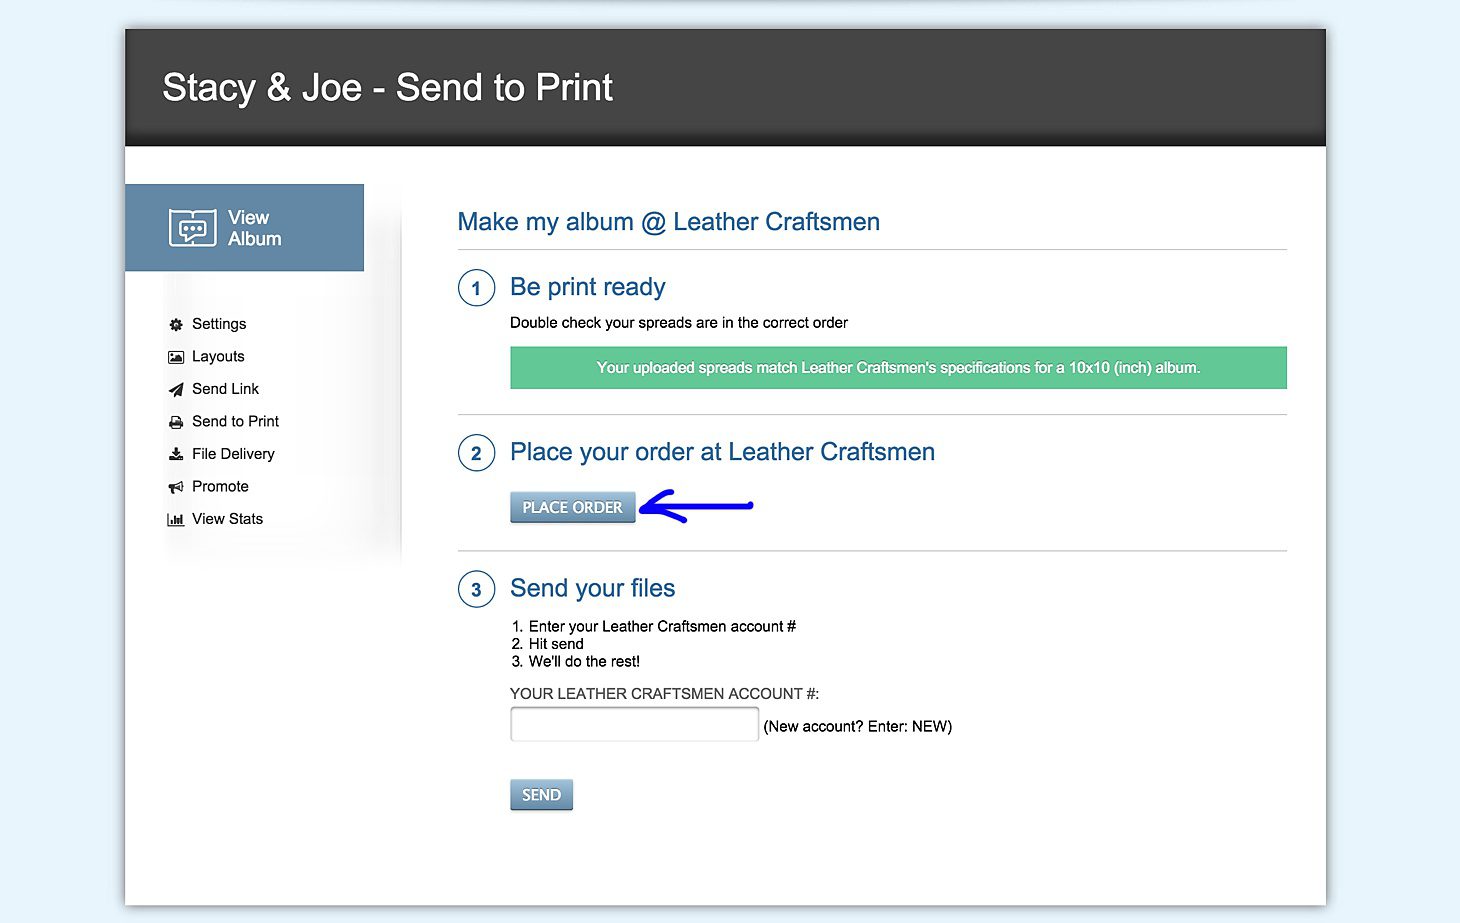
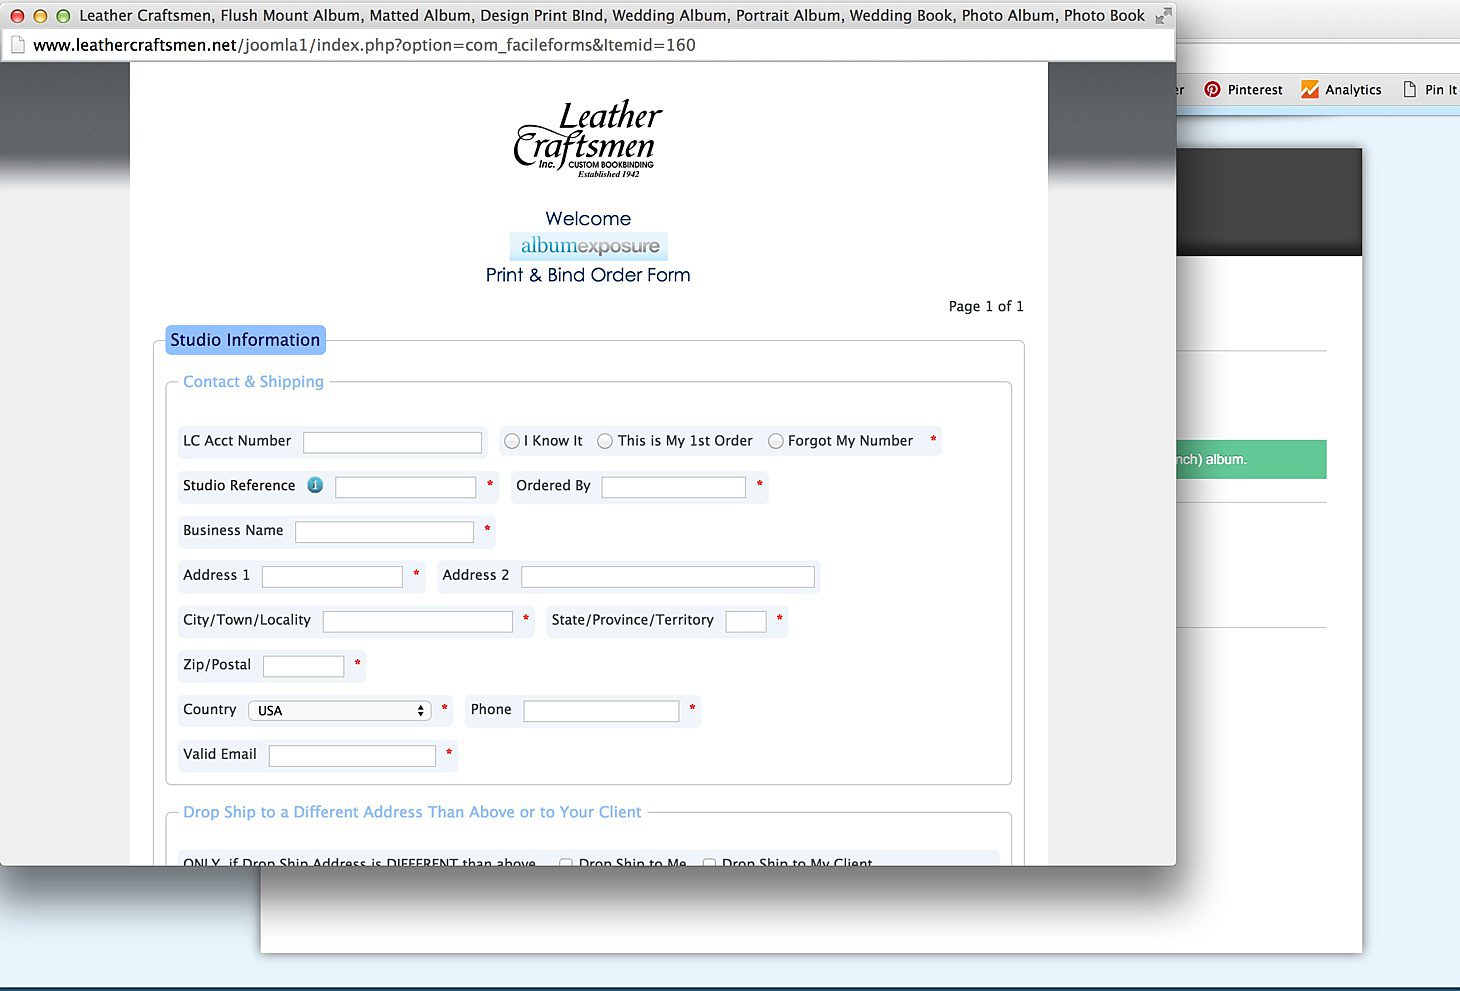
5. Once the client has approved the design and chosen their cover options (which I send to them in an email along with PDFs of cover materials and color choices) – I am able to order the album right through Album Exposure (which makes it sooo much easier than ordering through Leather Craftsmen’s site, which is a bit clunky). I just send the layouts to Leather Craftsmen and complete the order form with specifics regarding the album right from Album Exposures interface. It is so handy!
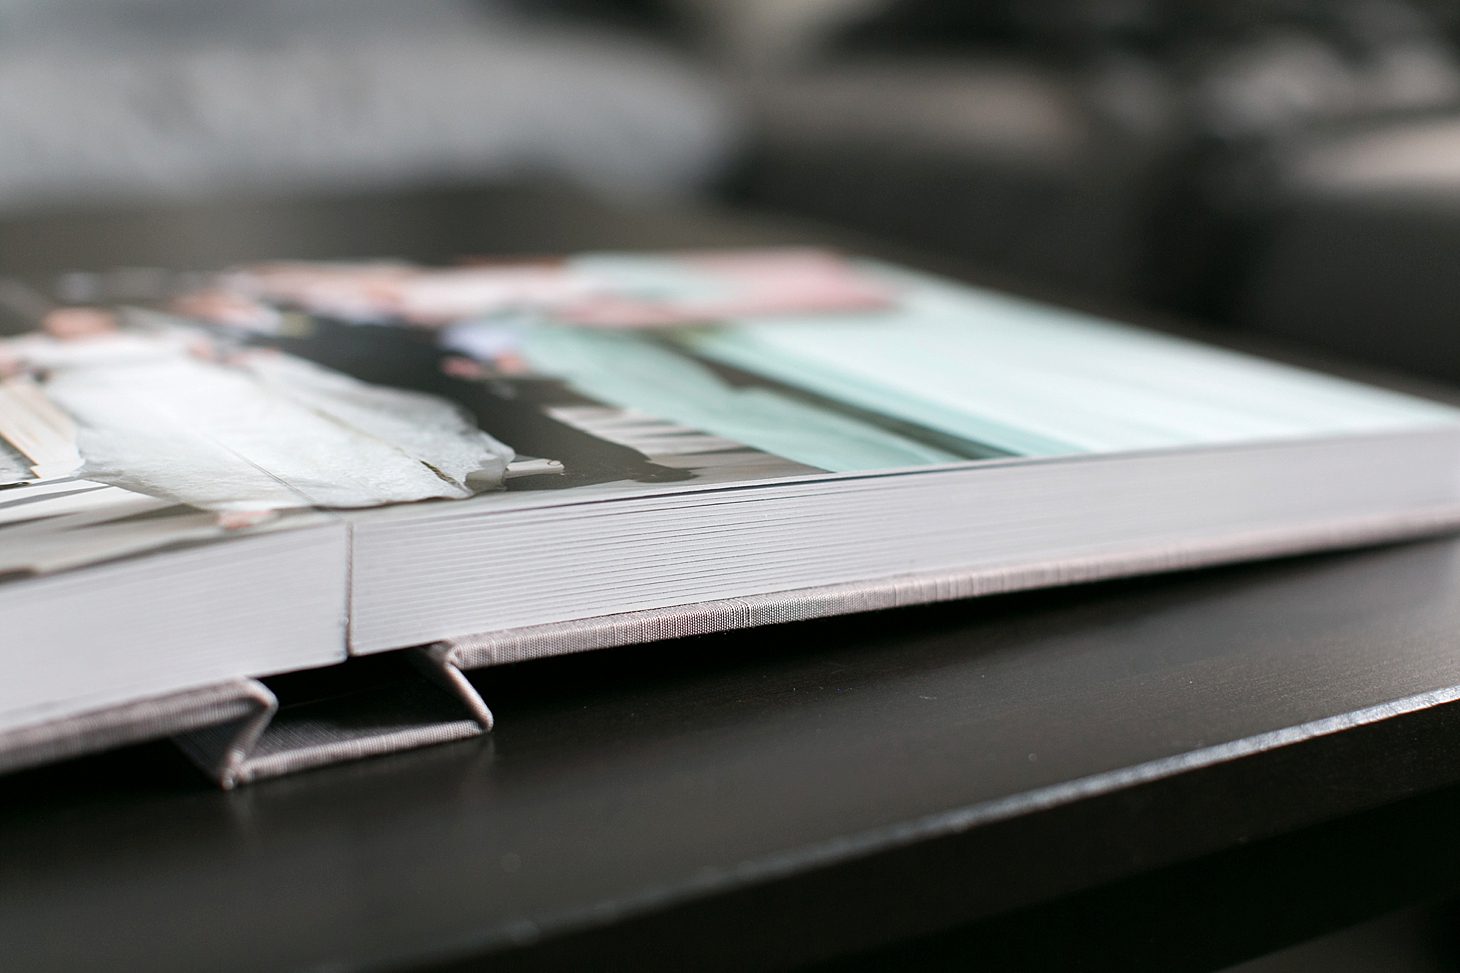
The albums generally take about a month to print, hand mount, and bind at Leather Craftsmen (since they are made by hand)! We get them in the mail first to review and make sure everything is up to par, and then ship them out to our lucky clients!!
Please let me know if this makes sense or if you guys have any specific questions about the process more in detail!!! Hopefully this helps someone out there trying to simplify their album workflow! xoxo
**If you have more FAQs you’d like me to address on the blog – don’t be afraid to shoot me an email and ask! I’m always happy to share more information here!