I’ve had quite a few people email me lately asking about my editing process… namely, wondering how I stay on top of my editing if I’m shooting numerous sessions every weekend and then spending 45-50 hours a week at the day job, including commuting. (And I know I’m not the only one functioning this way as a photographer right now – so I figured this information could be handy to lots of people out there – especially those of us juggling many other things… families, day jobs, etc… outside of photography.)
My schedule as of now basically allows me to edit on week nights after work as long as I possibly can before crashing into bed (when I’m done posting my blog for the next day), and on weekends during the hours when I’m not already shooting a session. Which essentially means that I don’t have much time free for editing, especially if I’d like to try to sleep now and then, occasionally spend time with James, or work out/have time to myself ever (yeah right). ha ha 🙂
So – let me start off by saying that this has been a constant learning/evolving process for me… and by posting this I’m in no way saying this is the right way to do any of this. Oh no, no, noooo. Definitely not saying that! (I’m sure there are lots of you out there with very different processes that work fabulously for you. That’s great!) I’m just offering my insight and sharing what is working for me so far for people who are looking for information. Okay? Everybody got it? Okay, great! 😉
(Now, moving on…) It used to take me FOREVER to edit sessions (especially weddings) for a couple of reasons…
1). I edited TOO MUCH. Man, when I look back at some of my early shoots or photos from school I think to myself… wow, I overdid that! I literally edited the life out of some of my photos! It kills me looking back at those because I didn’t let the images stand on their own. (And I hate to say this, but it’s kind of a rookie mistake… so if you’re reading this and thinking even for a second that you may edit too much… you probably do. If you think you may be trying to compensate in Photoshop for problems you see in your images – then try to learn to shoot better (manually) so that your images look great straight out of the camera. It will speed up your post-production process, and your images will look great without needing much editing done to them at all!) 🙂
2). I did not have my process streamlined. It took me forever to cull images from weddings, because I didn’t have software to do it. This is insane for me to admit – but I used to look at ALL the images I shot for a wedding (1,000’s of them!) in ‘preview’ mode on my computer – and write down by hand on a pad of paper the images I wanted to keep to give to clients. Then I would go through and highlight/click all the images one by one that I wrote down and copy them to another folder to edit each one individually in Photoshop. Ah! This pains me to recall this process – and let’s be honest, it’s kind of super embarrassing. ha ha! But hey, you live, you learn… right?
3). I had a super slow, 5-year old Mac Mini that did not have nearly enough power or memory to handle what I was trying to do with it.
Anyway, needless to say… I have learned a lot since then and streamlined my process immensely.
Here’s my process now:
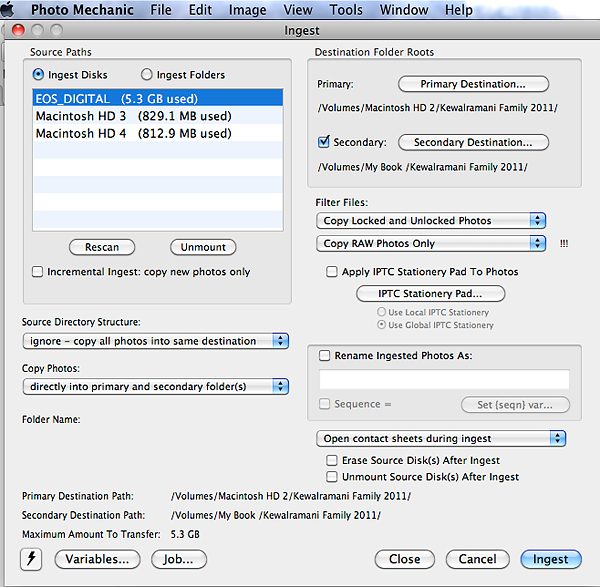
1). I ingest all my images from my CF cards through Photo Mechanic, which lets me chose a primary drive and a back-up drive to put all the images from my cards onto in one step.
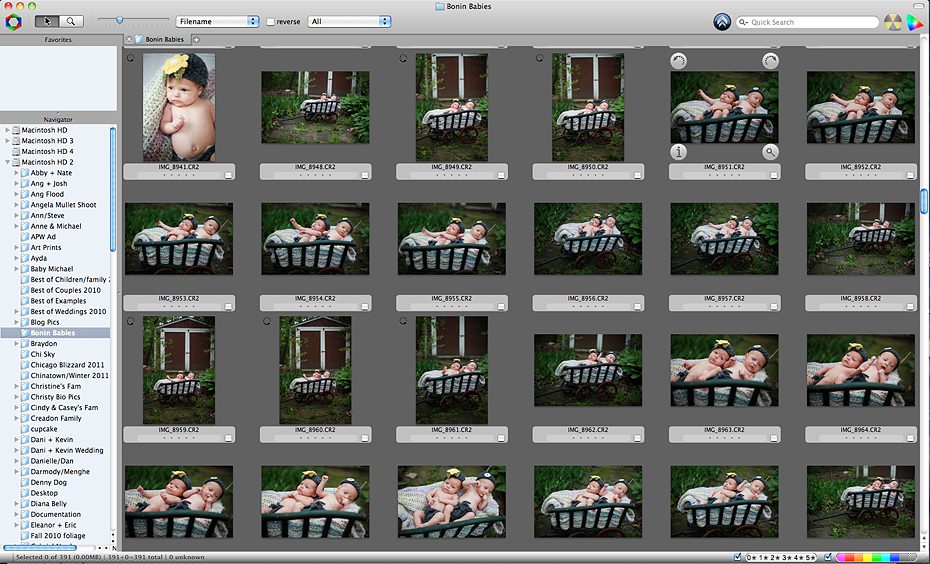
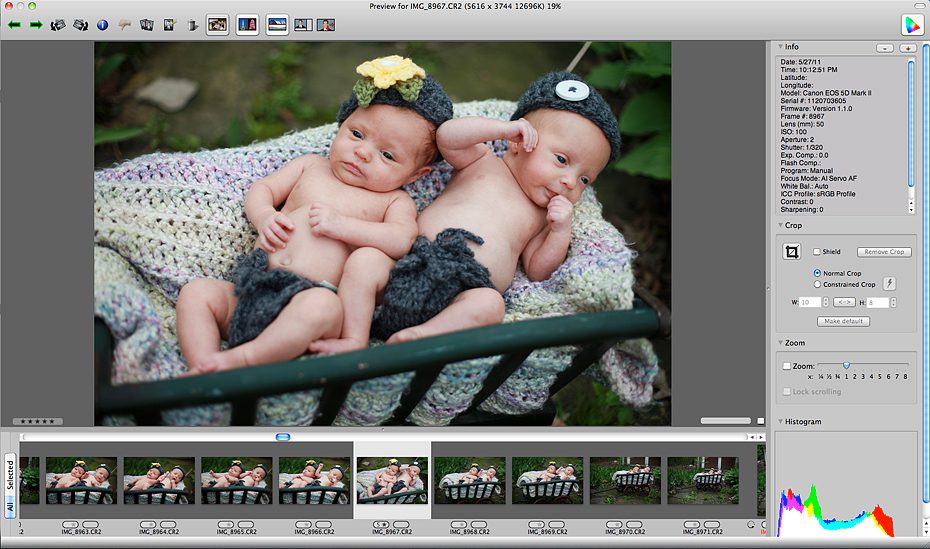
2). I open up my session in Photo Mechanic and cull it – which means, I choose the best images I’m going to keep to give to my clients by giving them a 5-star rating. Photo Mechanic is fabulous for this because it gives me instant large previews… no waiting around and lagging like Light Room tends to do when generating previews of RAW images!
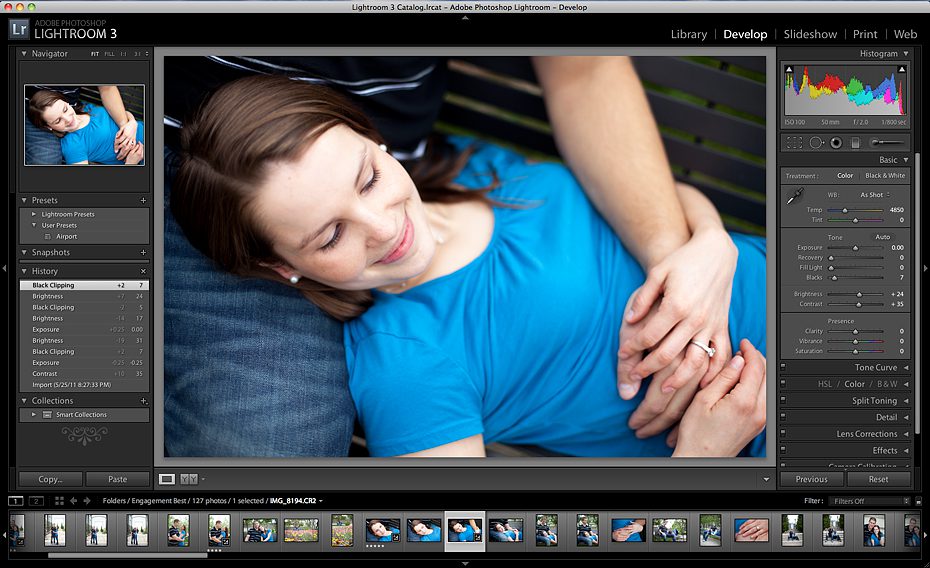
3). I import the culled/keeper RAW files into Light Room and do all my general edits there (contrast/color/etc), which goes super quickly, because if an entire group from a session needs the same exact edits done (if it was in the same location/lighting, for example) – I can do that in Light Room with the click of a button!
4). I export those images as JPGs to a new folder. Then I do a few additional edits (blemishes, etc.) in Photoshop for the best of the best images that I plan to use in my blog post, and for images clients plan to use for prints and/or albums.
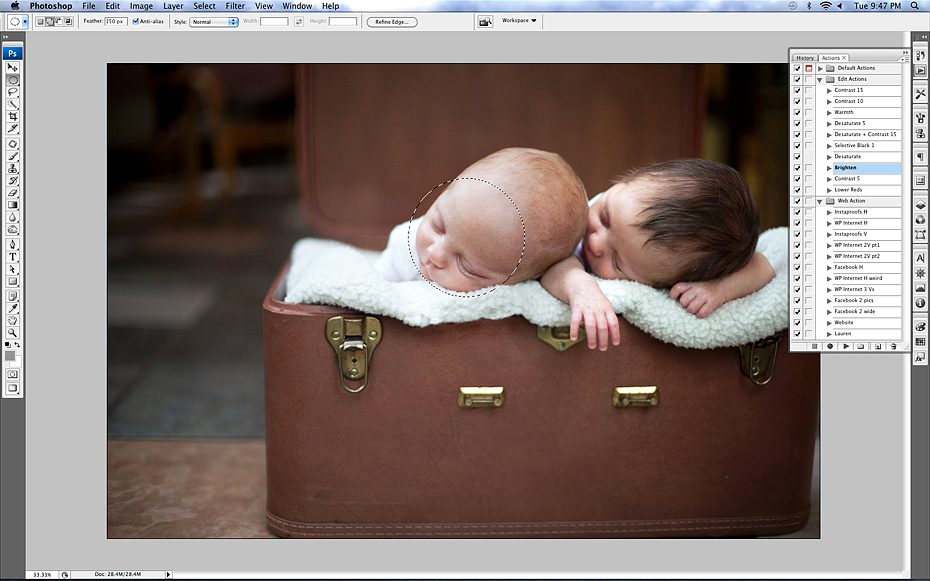
5). Lastly, I burn a DVD of the session – and I’m done!
My hope is that some day soon, when I’m full-time with photography and actually have week days to devote to editing – that I’ll have weddings done within a week of the wedding day, and I’ll have regular sessions done within a day or two of the session date! (I can’t wait to get to that point!!) 🙂
At the moment – due to just not having enough hours in my day after eating, sleeping (rarely), showering, working a day job, commuting, and posting my blog… my current turn around time is about 2 weeks for regular sessions and 4 weeks for weddings. I’m constantly working on improving this and hope that once I catch up with my current back-log of sessions that I’ll be getting them out even quicker than that for the remainder of the year!
Anyway – that’s it! Let me know if you guys need any further explanation or if I just straight up confused you! ha ha 🙂 (Sorry!) In the meantime – I’ll keep you posted of any changes to my work-flow and keep the FAQ questions coming – I’m always happy to help!
XO! ~Christy 🙂


